
Speed to Dial automatically starts an outbound call the moment a new lead or contact is created or updated in your CRM, so your team responds in seconds without any manual dialing.
How Does Speed to Dial Work?
- CRM integration: Connects with your CRM to track new or updated leads and contacts.
- Automatic call trigger: Calls are initiated as soon as a lead or contact is created or updated.
- Call assignment: Calls are routed to available agents or teams based on predefined settings.
- Retry mechanism: If a call goes unanswered, the system can retry after a set interval.
Key Features
- Instant call initiation: No delay between lead generation and first contact.
- CRM synchronization: Triggers calls based on lead or contact activity. For Zoho CRM, create the required webhooks; for Salesforce, configure the remote site settings so Speed to Dial works correctly.
- Automated call allocation: Assigns calls to agents or teams without manual intervention.
- Custom call attempts: Retries unanswered calls based on configured intervals.
Business Use Cases
- Instant lead response: Call inbound leads within seconds of a form submission to improve conversion.
- Event and webinar follow-ups: Contact attendees immediately after an event for better engagement.
- Booking and appointment confirmations: Call customers right after they request an appointment to secure the slot.
- Competitive lead capture: Reach leads before competitors by being first to call.
- Financial and loan processing: Banks and lenders connect with applicants immediately.
How to Set Up Speed to Dial
- Open Speed to Dial: Log in to the dashboard, go to Auto Dialer > Speed to Dial, and click Add Campaigns.
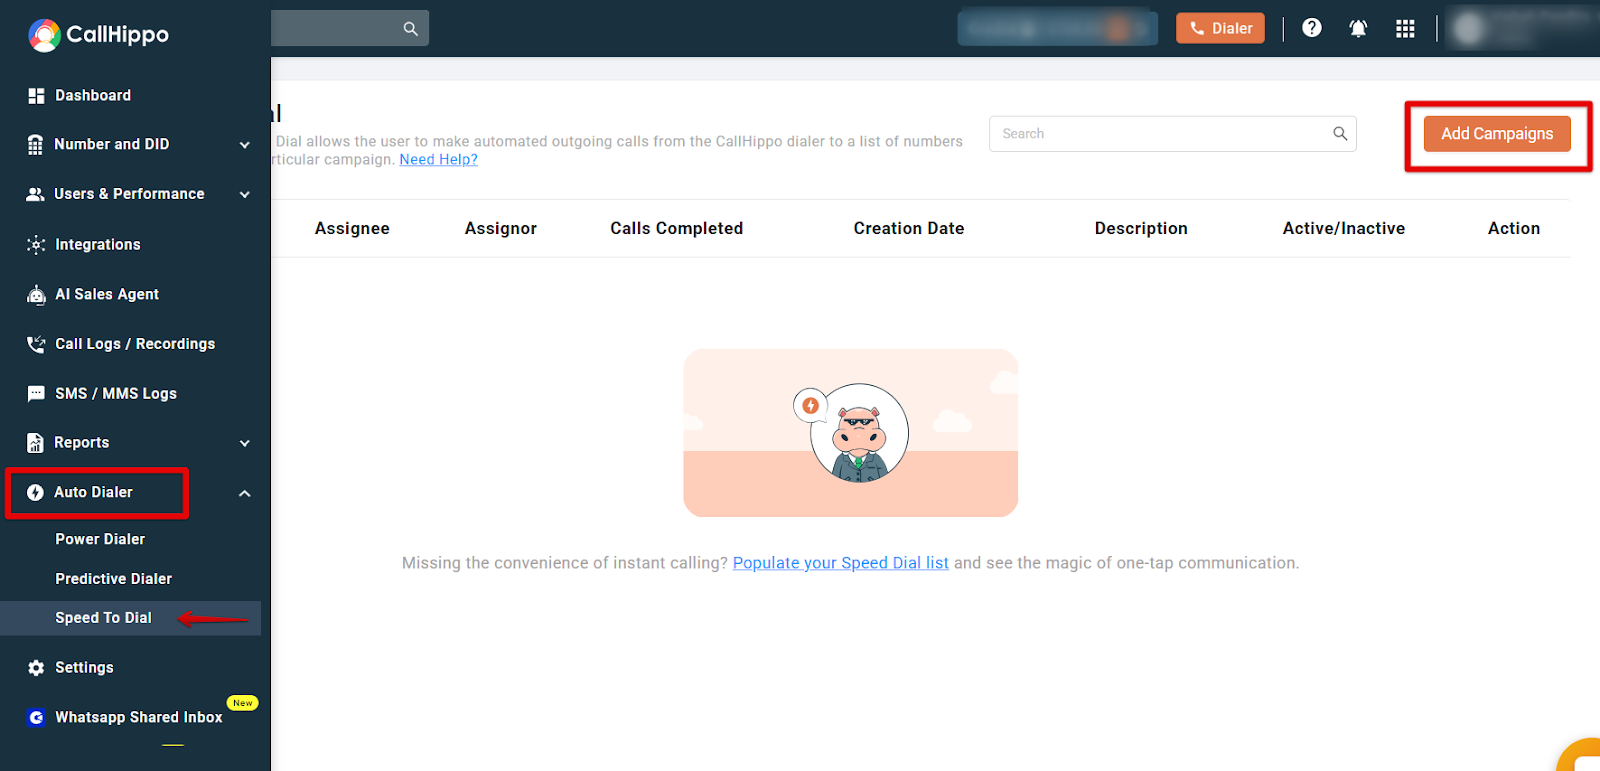
- Name the campaign: Give it a name that is at least five characters long.
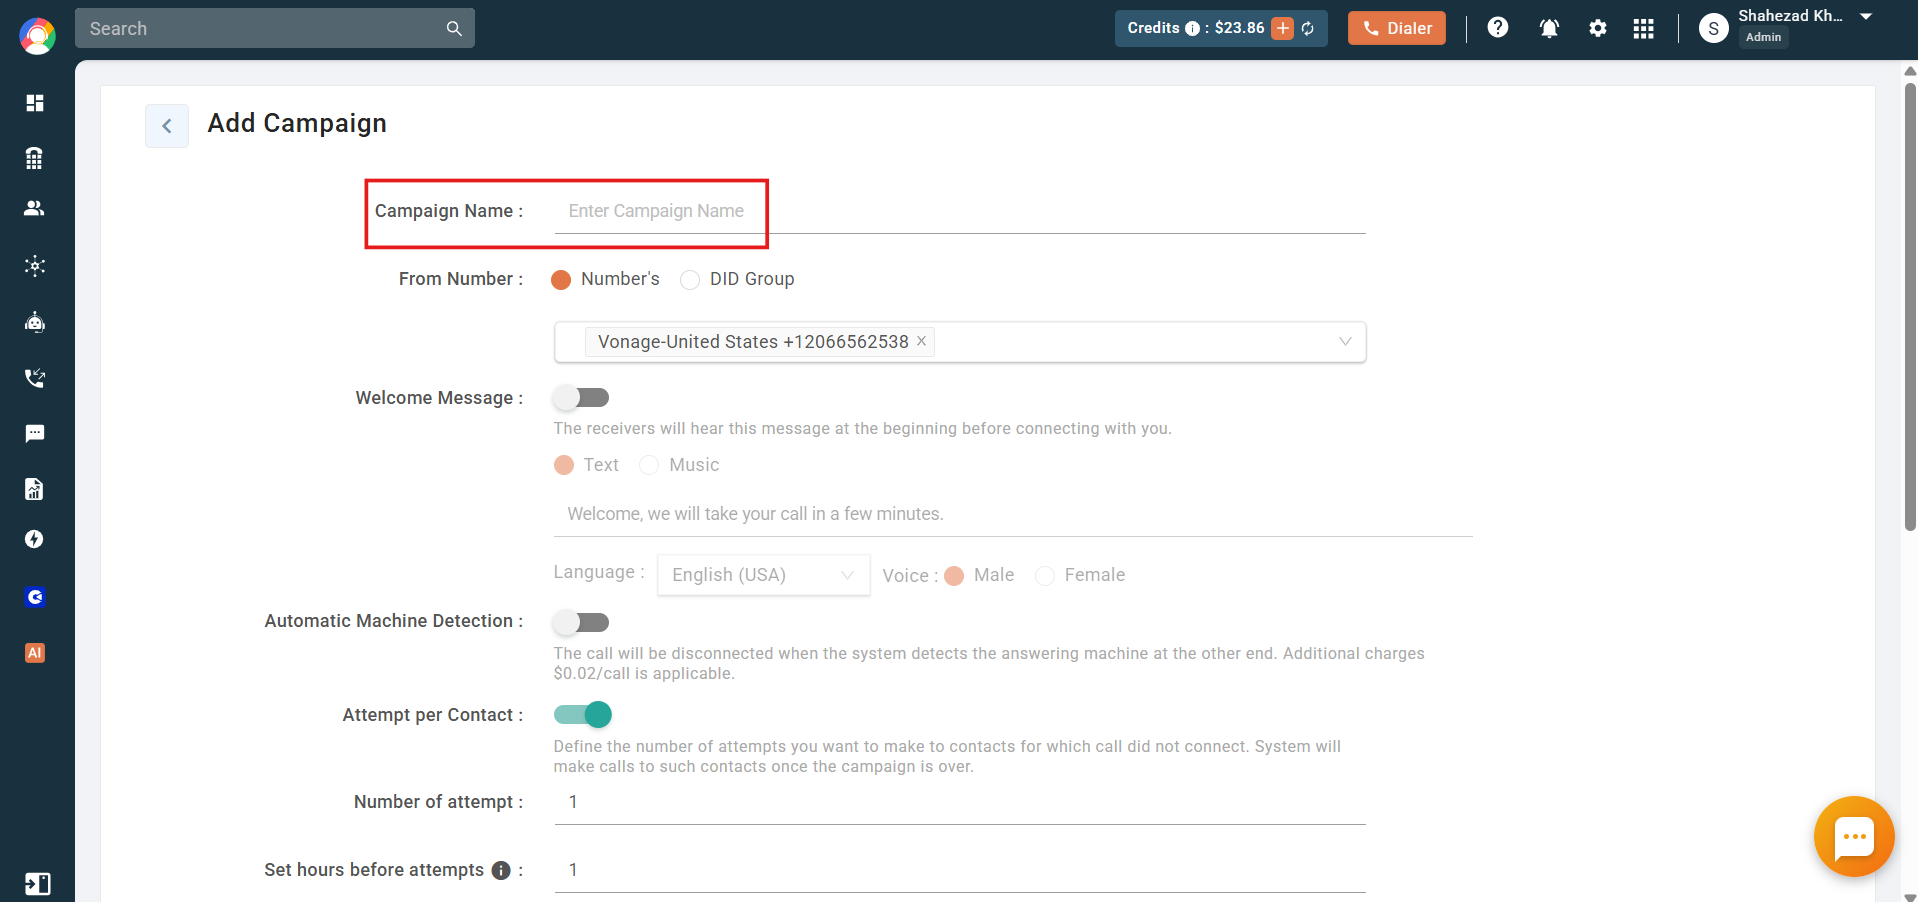
- Select the From Number: Choose either individual Numbers or a DID Group.
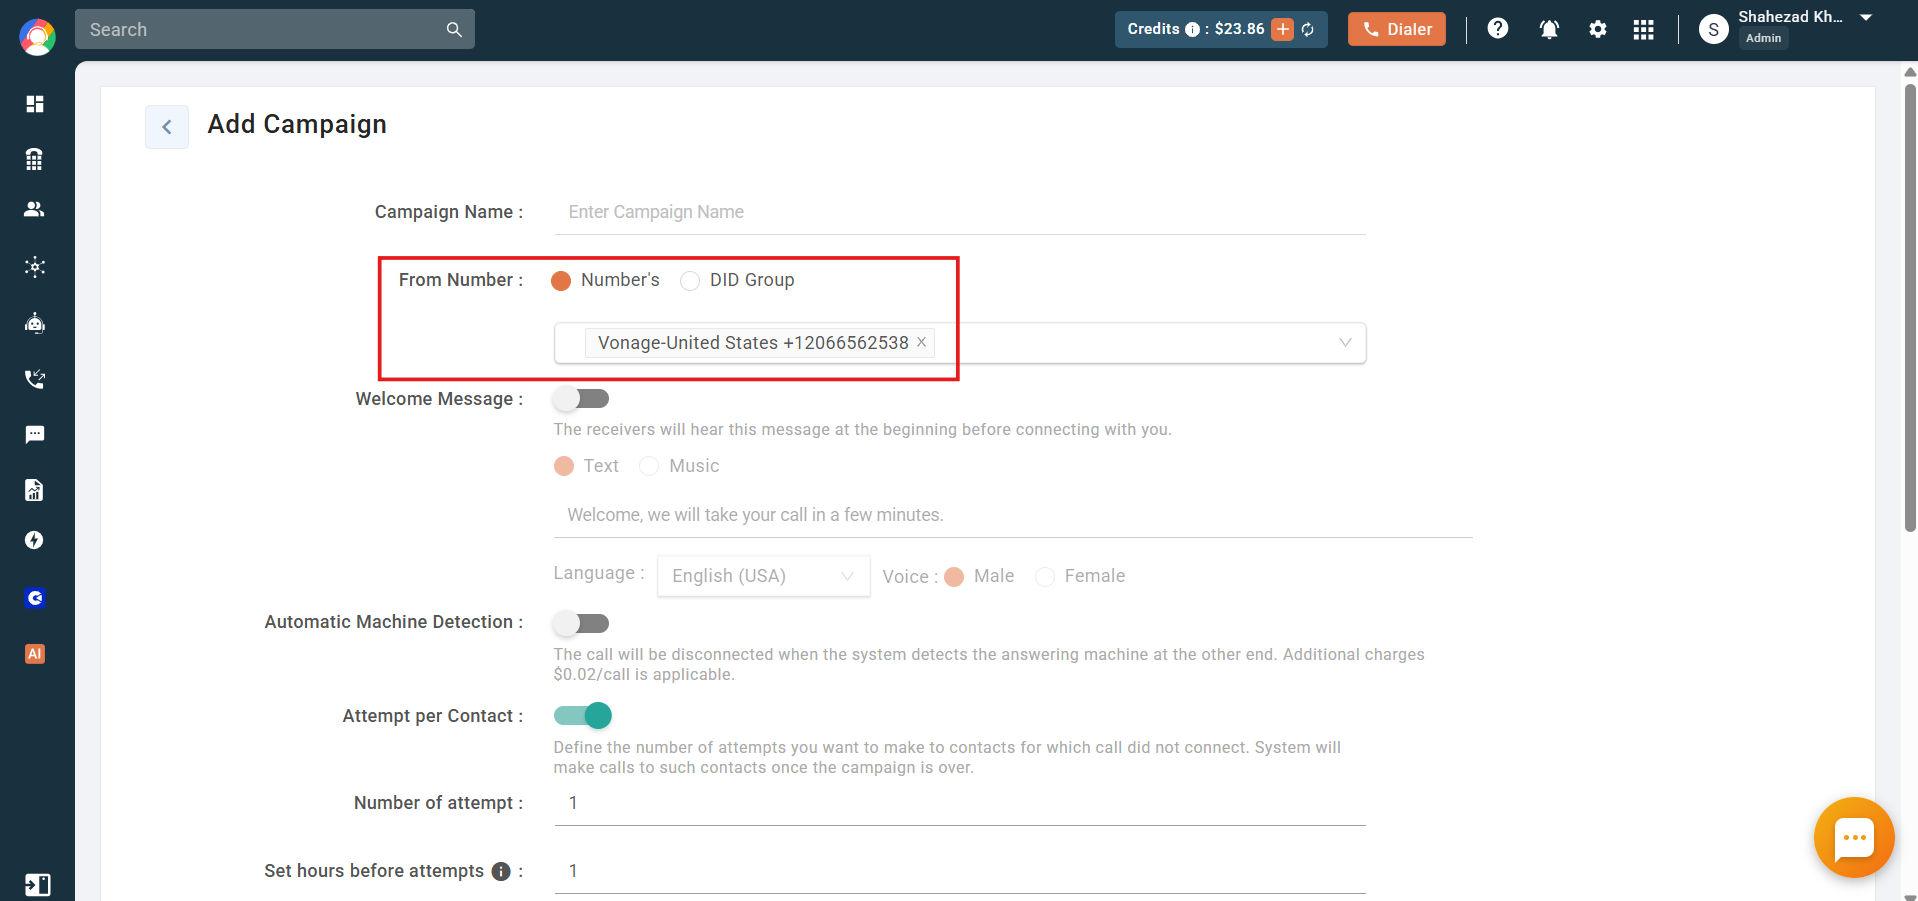
- Set a welcome message: This plays at the start of the call before the recipient is connected to an agent.
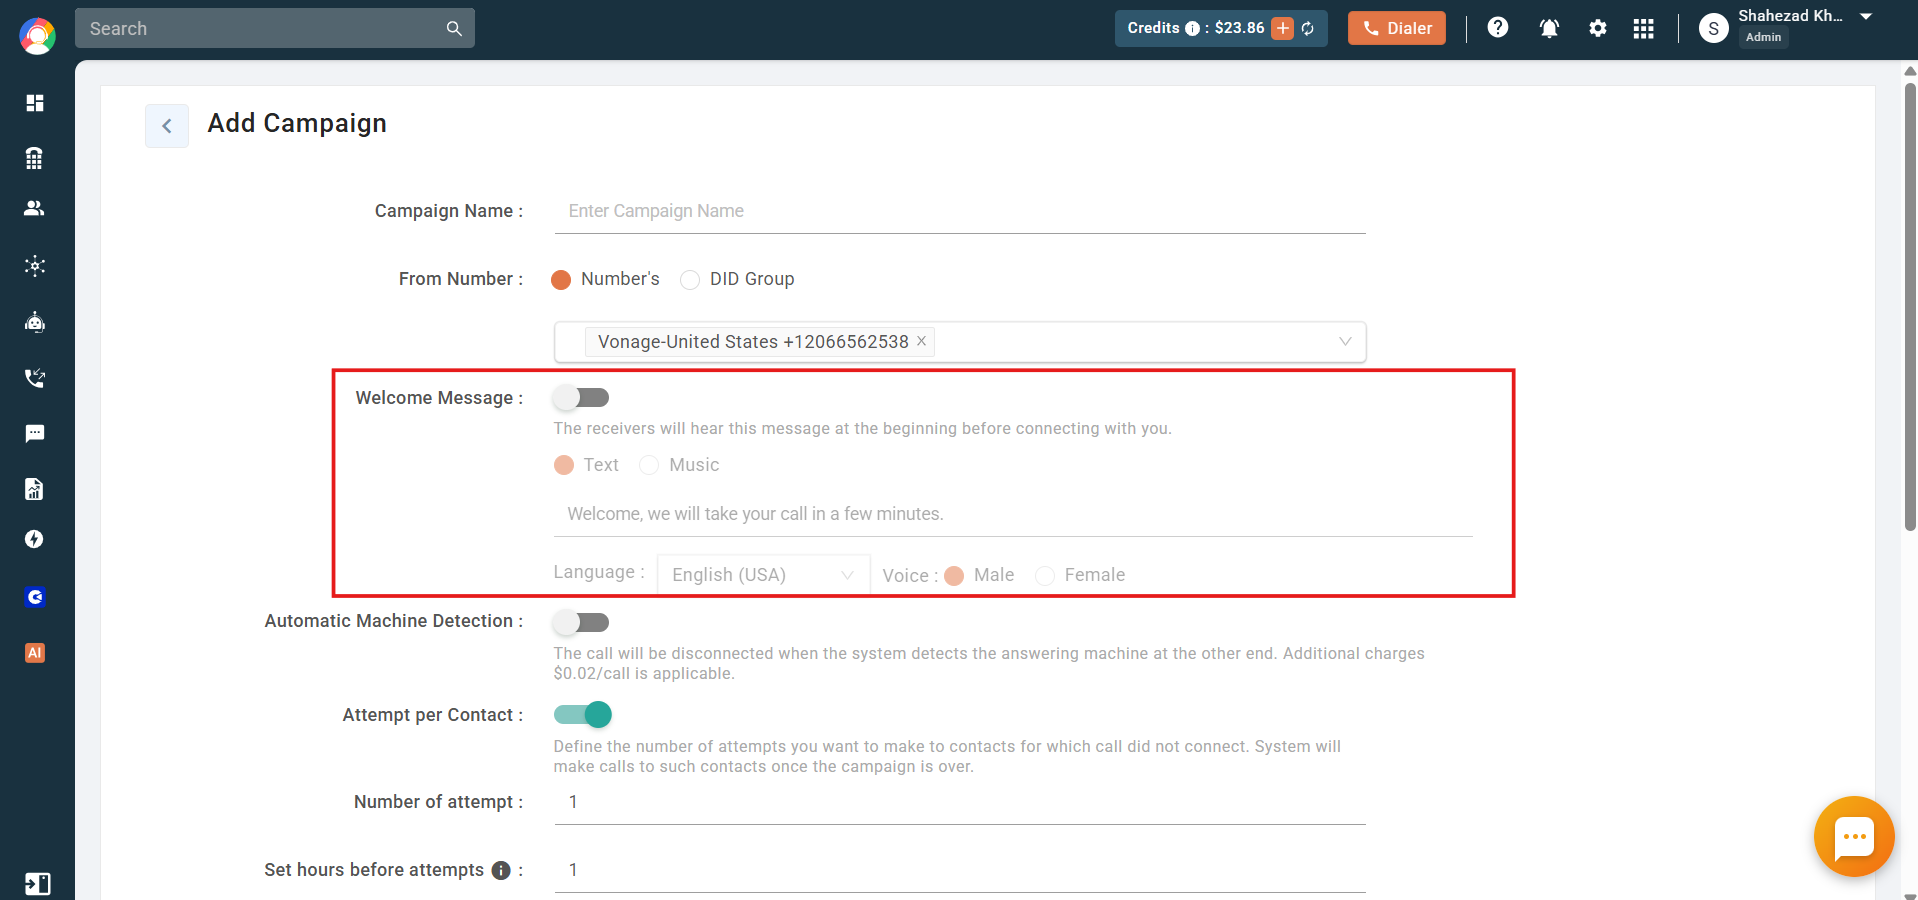
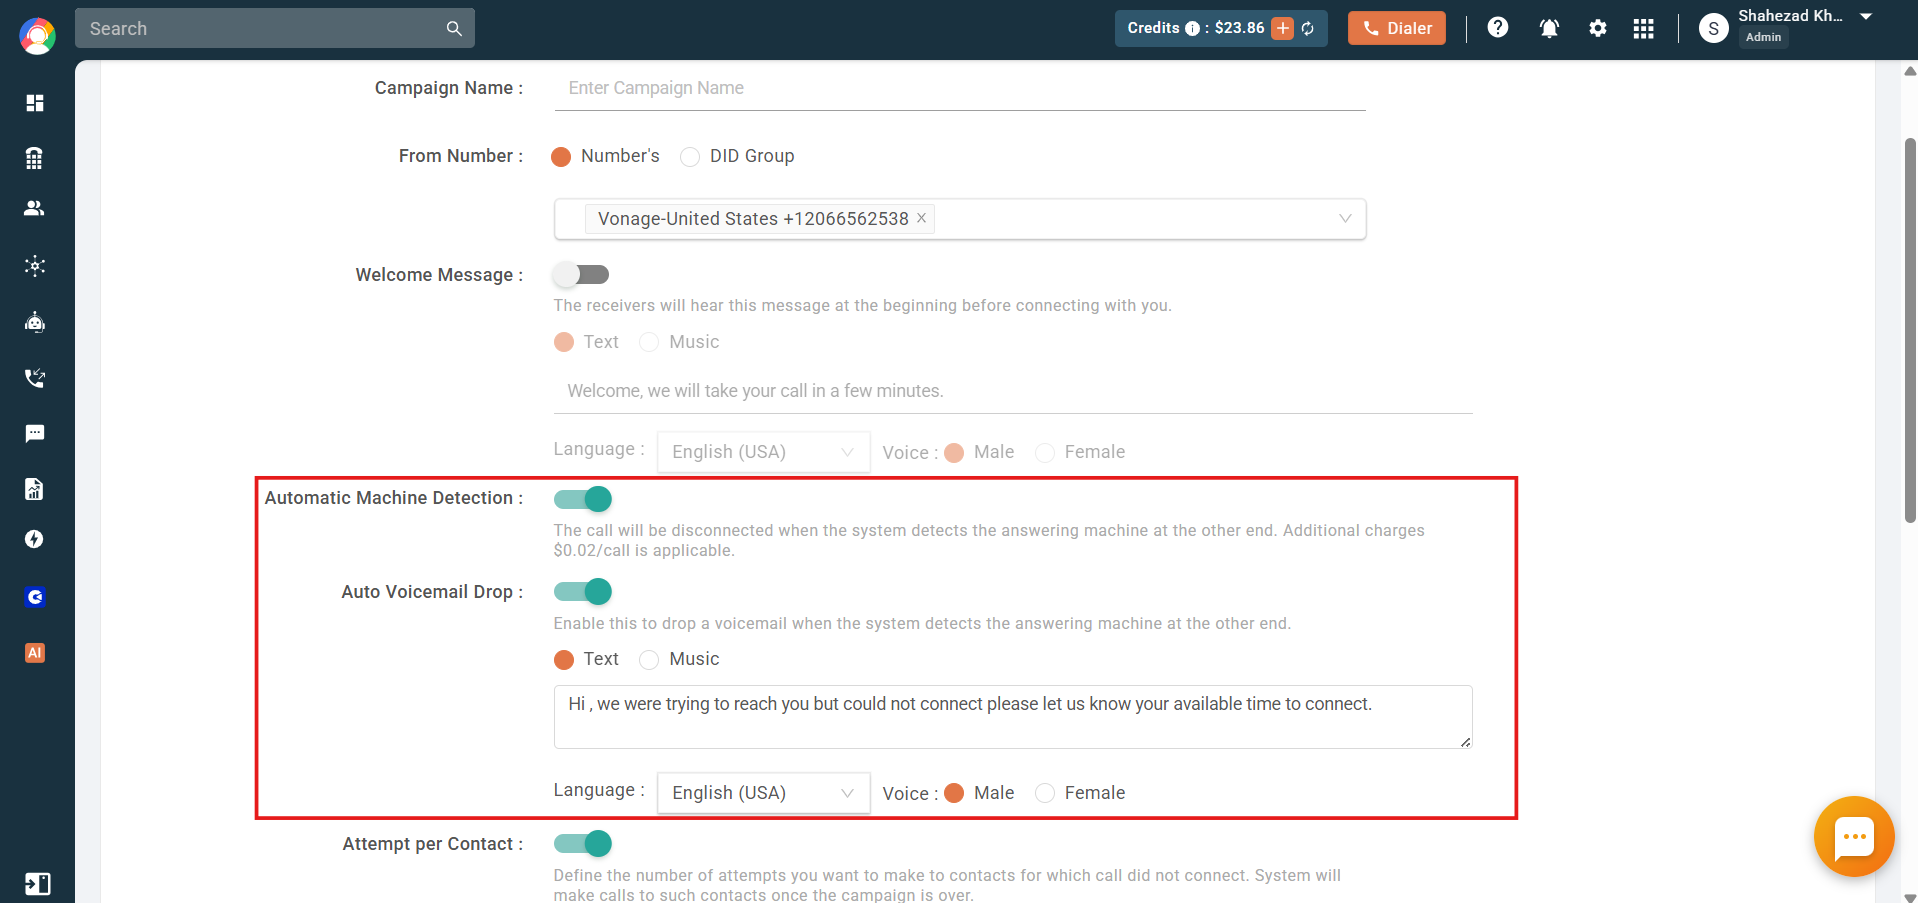
- Configure machine detection: Enable Automatic Machine Detection to disconnect when an answering machine is detected, and enable Auto Voicemail Drop to leave a pre-recorded voicemail automatically in that case.
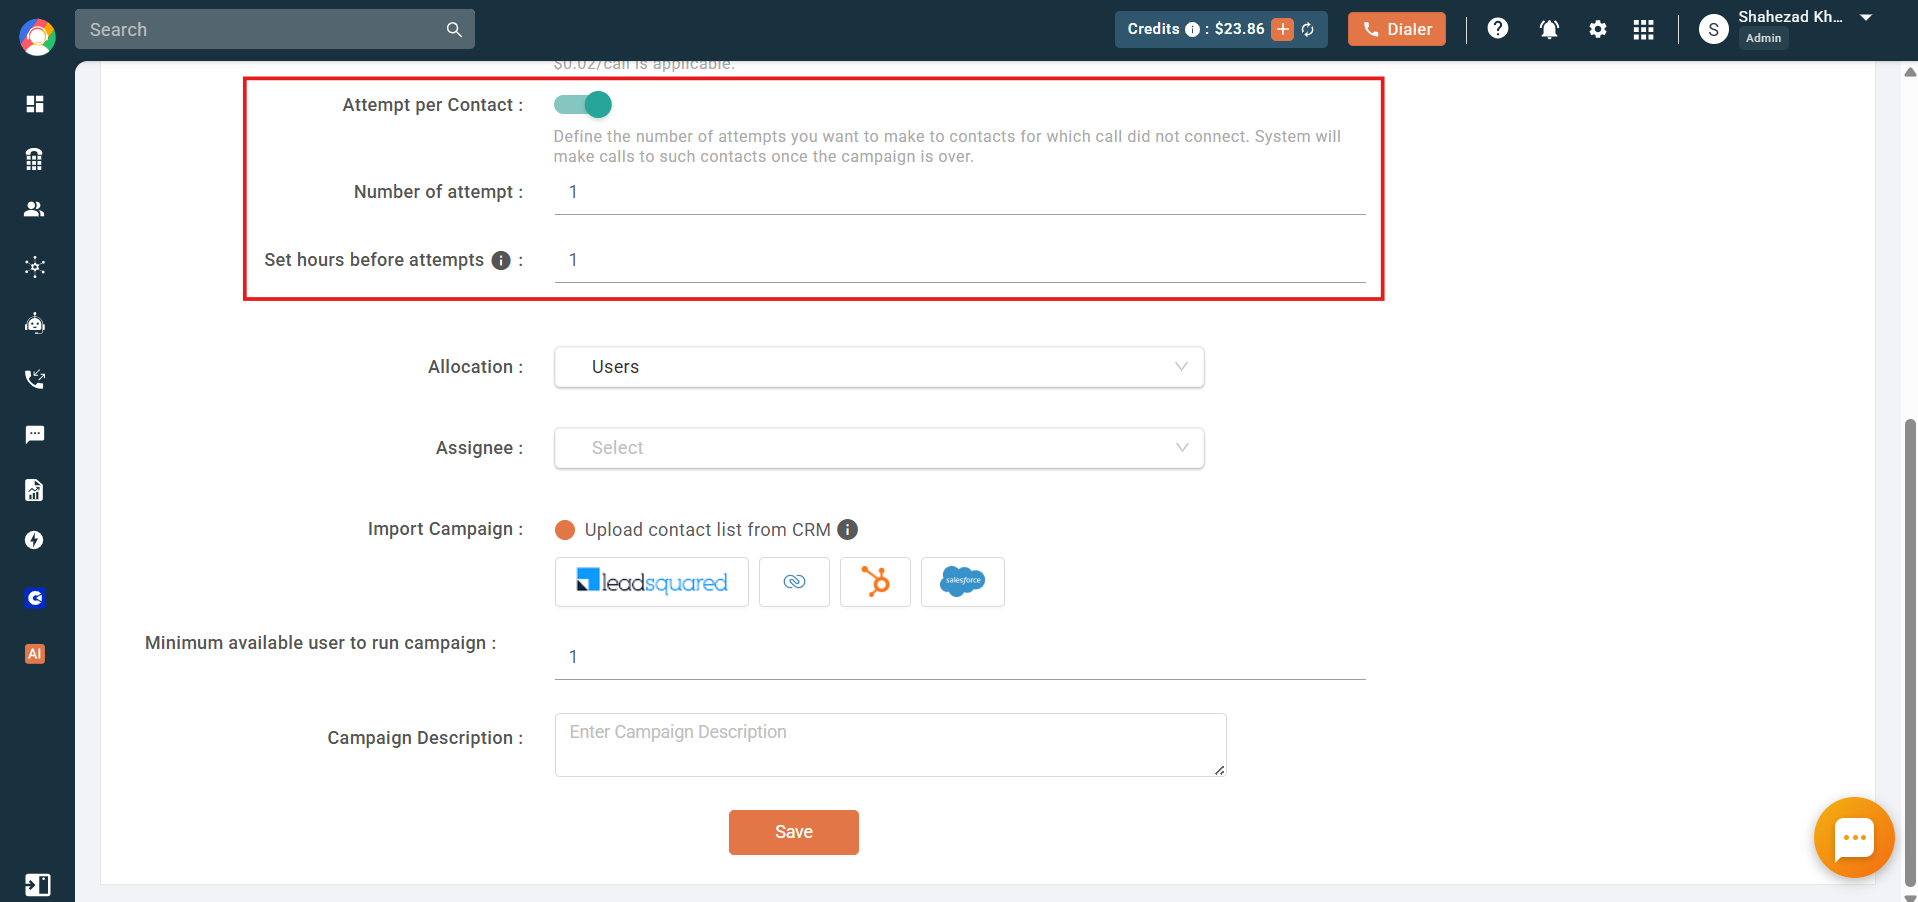
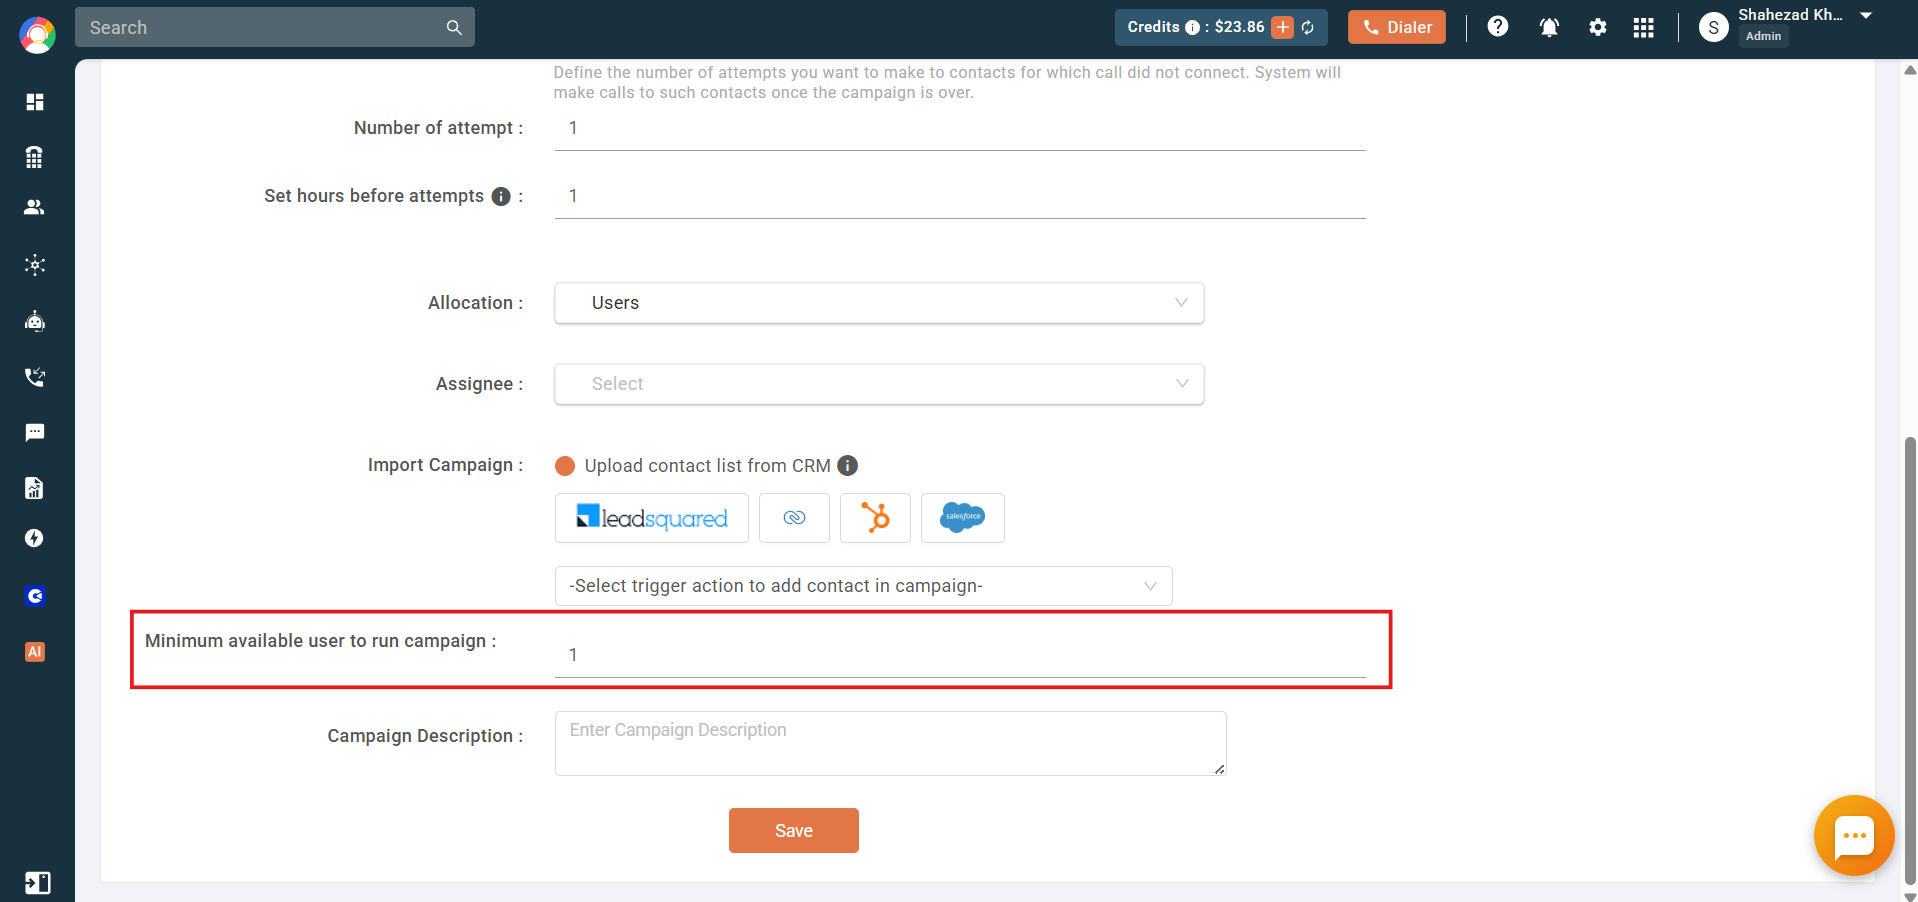
- Set attempts per contact: Define how many times unconnected numbers are retried, and the number of hours to pause before the next attempt.
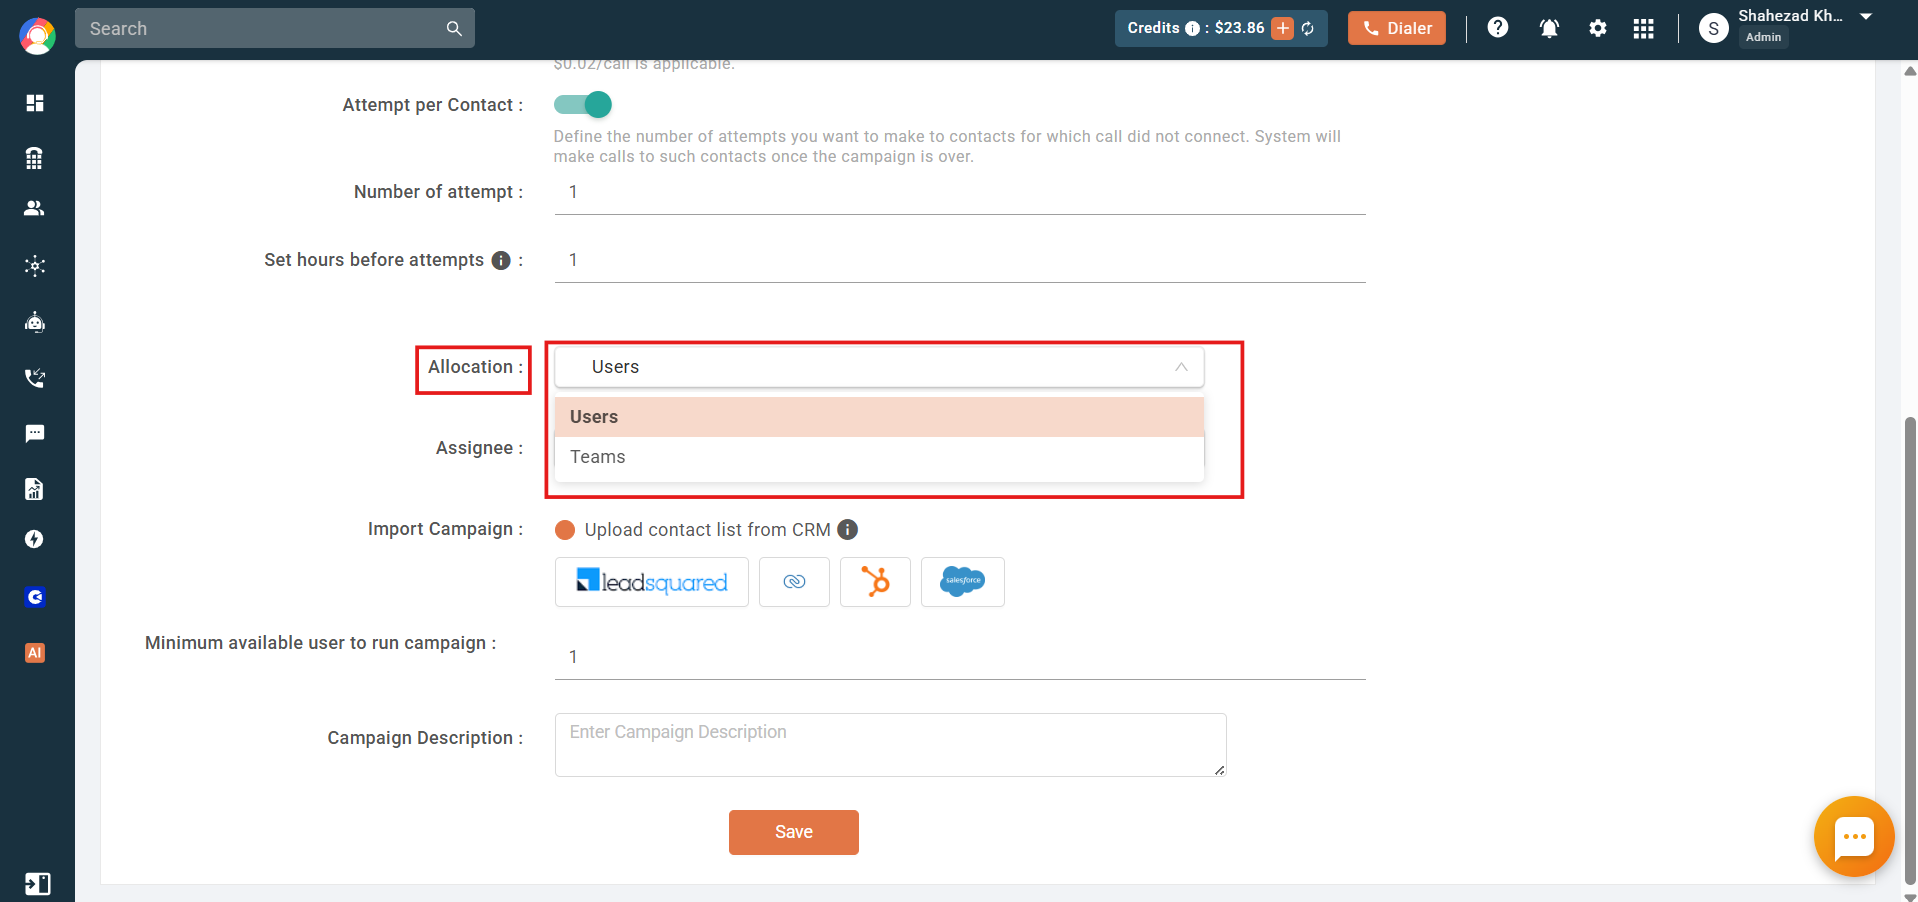
- Choose the allocation type: Assign the campaign to Users or Teams.
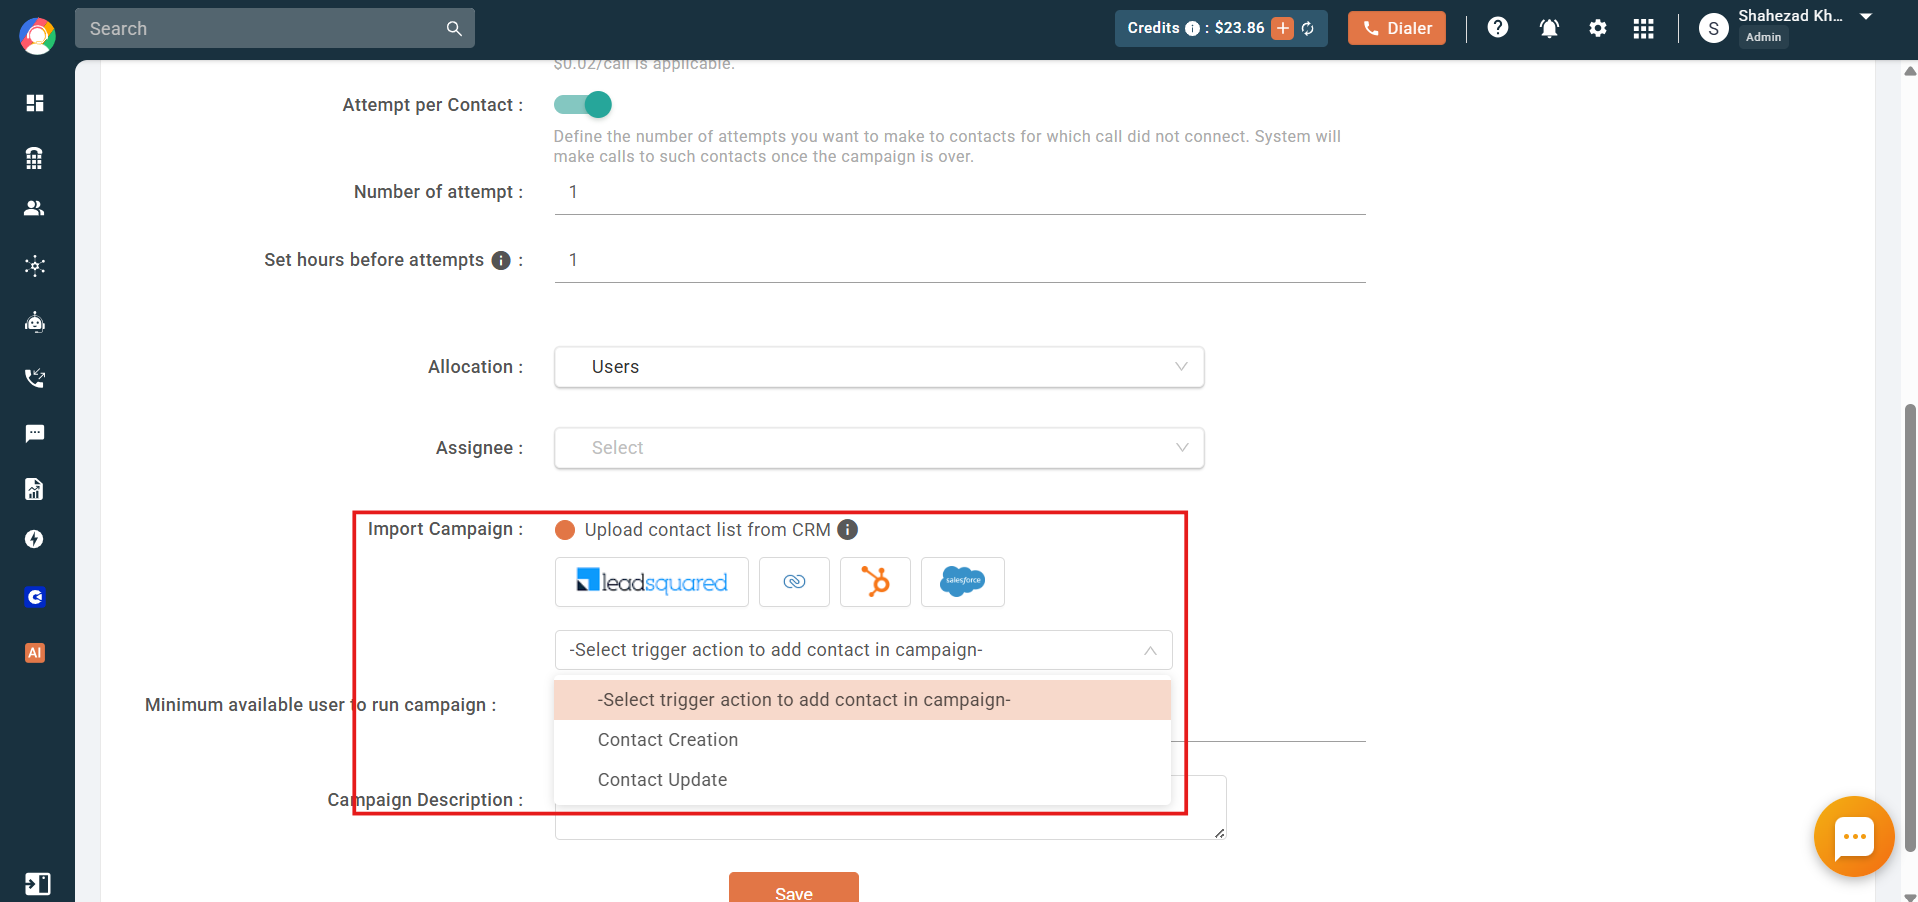
- Select the CRM and trigger: Choose the CRM to import from, then pick a single trigger for the campaign. The trigger can be for Lead or Contact creation, or Lead or Contact updation, but only one trigger can be set per campaign.
- Set the minimum user limit and save: Define the minimum number of available users needed to run the campaign. If fewer users are available, the campaign will not run or will stop. Add an optional description, then click Save.
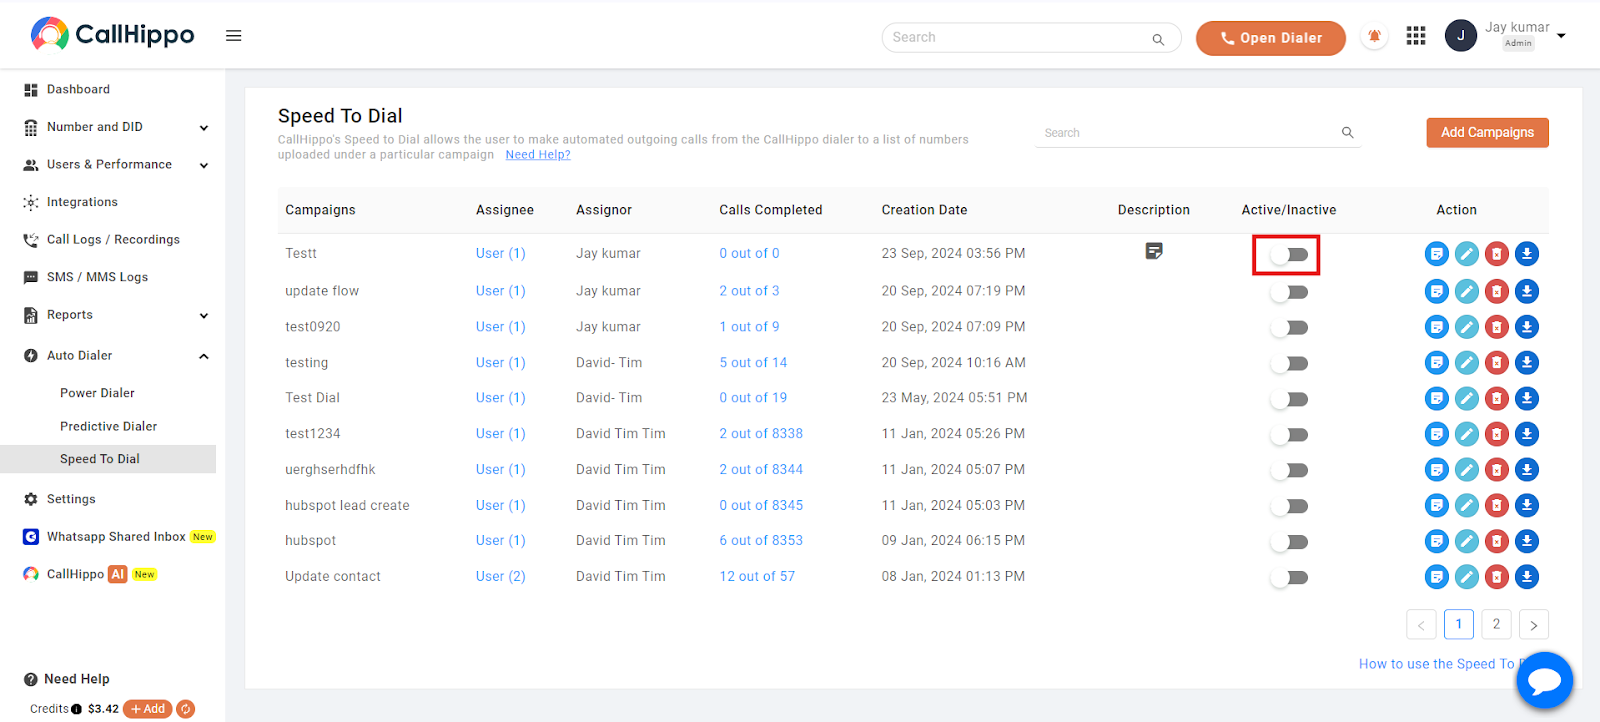
- Start the campaign: Make sure all agents have their dialers open, then toggle the switch to begin. Once all available contacts or leads are called, the campaign is automatically marked inactive. When new contacts or leads are added, toggle the switch again to resume calling.
During the Campaign
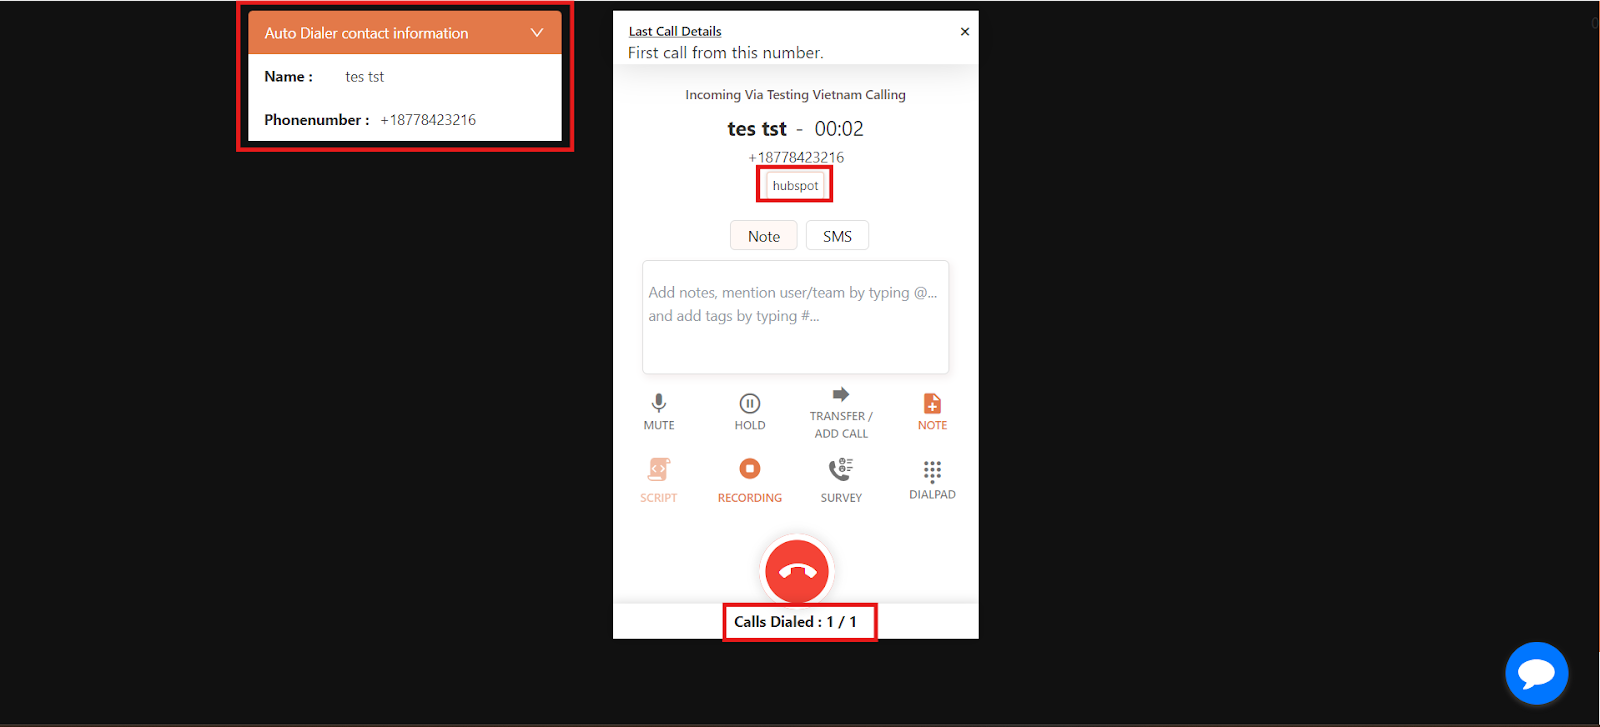
Once the session starts, agents begin receiving calls on their dialers, complete with the contact’s information.
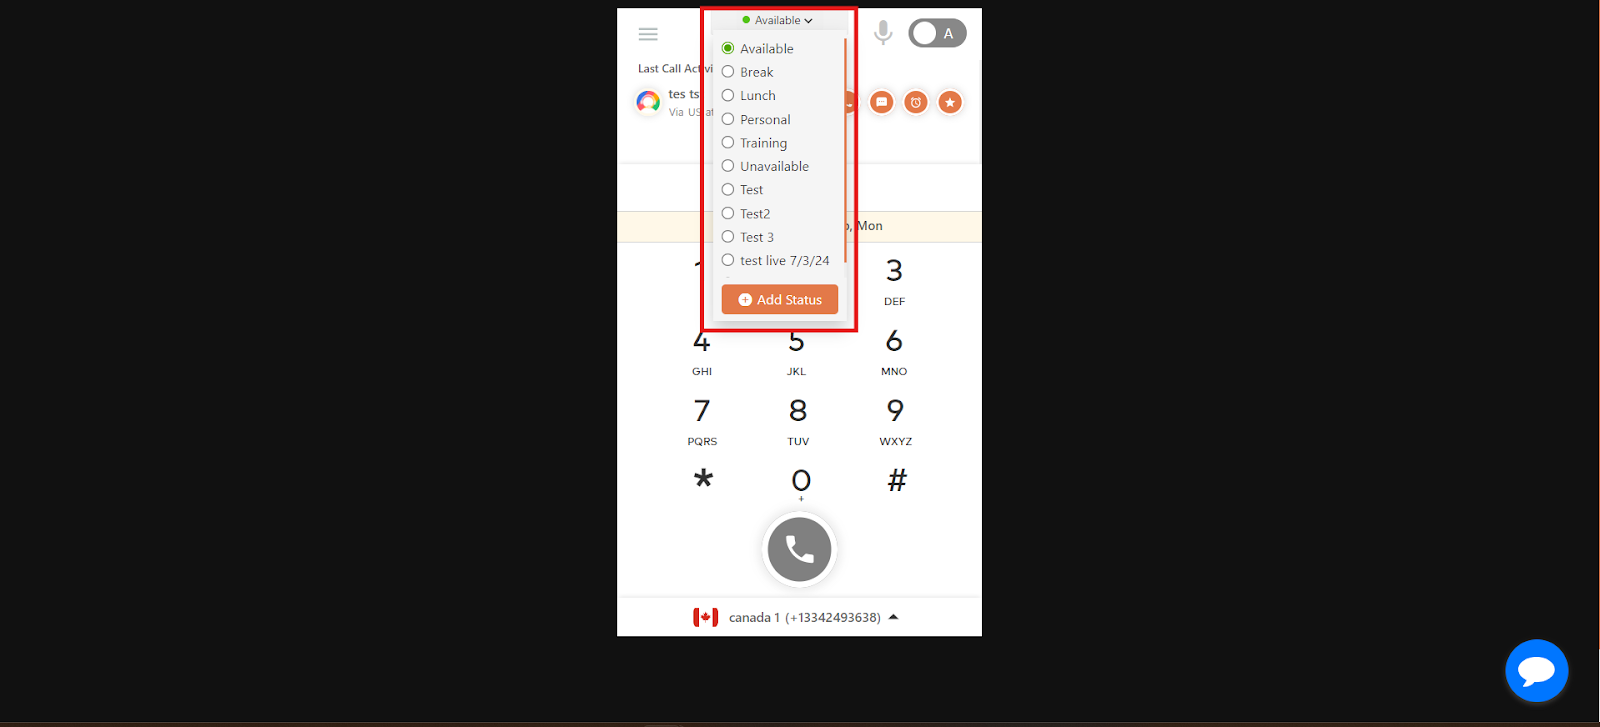
Agents can change their availability status to take breaks and update it again when they return.
After the Campaign
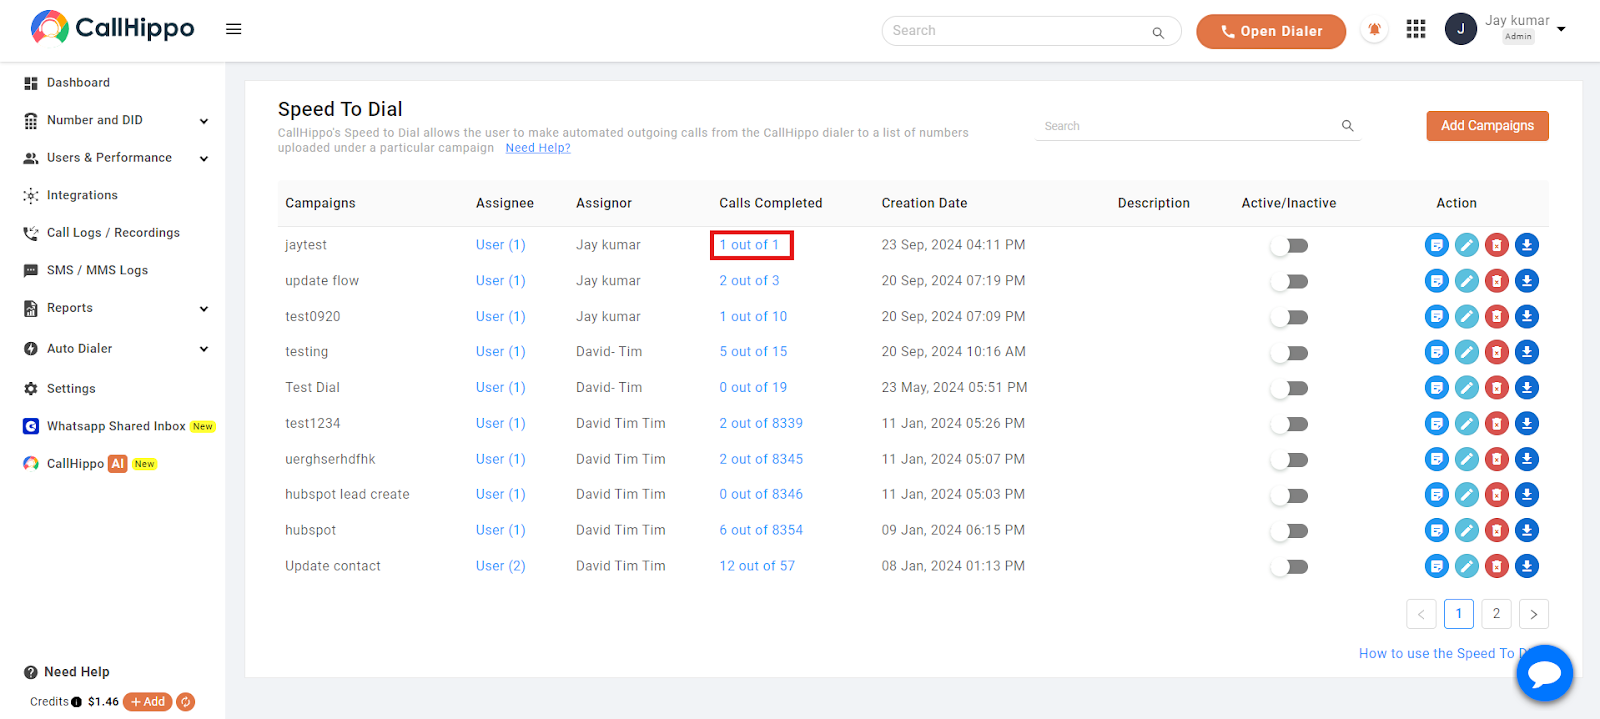
Return to the dashboard to see the total number of calls made during the campaign.
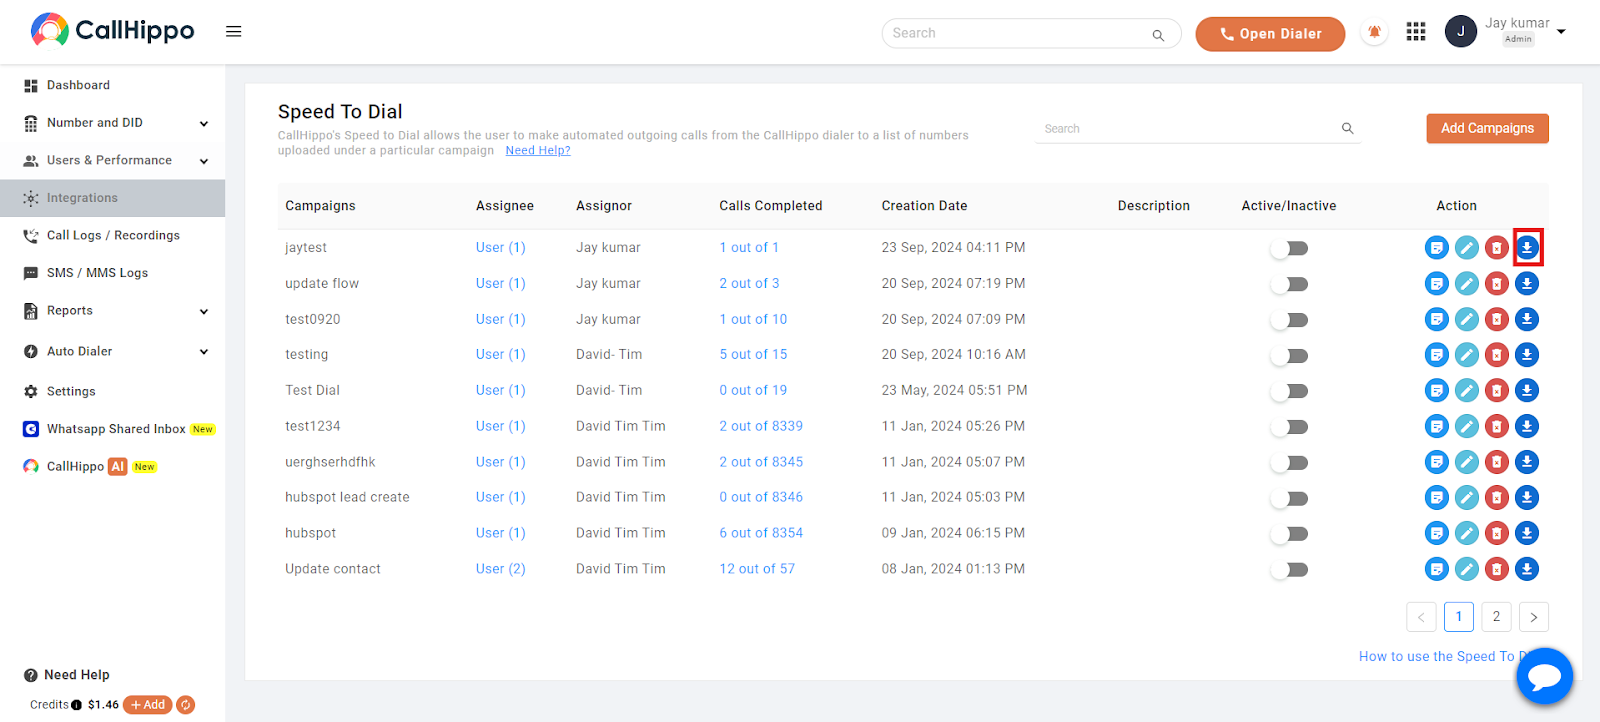
You can also download a report of the calls made during the campaign.
How Triggers Work
- Contact creation: A new contact in the CRM syncs instantly with the linked campaign, and the call initiates when the campaign starts.
- Contact updation: Updates to an existing contact sync with the campaign, and the call initiates when the campaign starts.
- Lead creation: A new lead syncs instantly with the campaign, and the call initiates when the campaign starts.
- Lead updation: Updates to an existing lead sync with the campaign, and the call initiates when the campaign starts.
Note: Only newly created contacts or leads are synced; existing ones will not sync. Bulk-imported contacts are split into slots and updated at set intervals. The assigned user must be available on the dialer for calls to be made; if they are unavailable when a contact or lead is created or updated, the call initiates once the user becomes available.