
Connect Plurilock SSO with CallHippo to give your team secure, single sign-on access to CallHippo backed by Plurilock’s biometric-enhanced authentication. The setup has two halves: first you start the integration in CallHippo, then you configure the matching app inside Plurilock.
Activate Plurilock SSO in CallHippo
- Log in to your CallHippo account.
- Open the Integrations section from the left sidebar menu.
- Search for Plurilock SSO and click Connect.
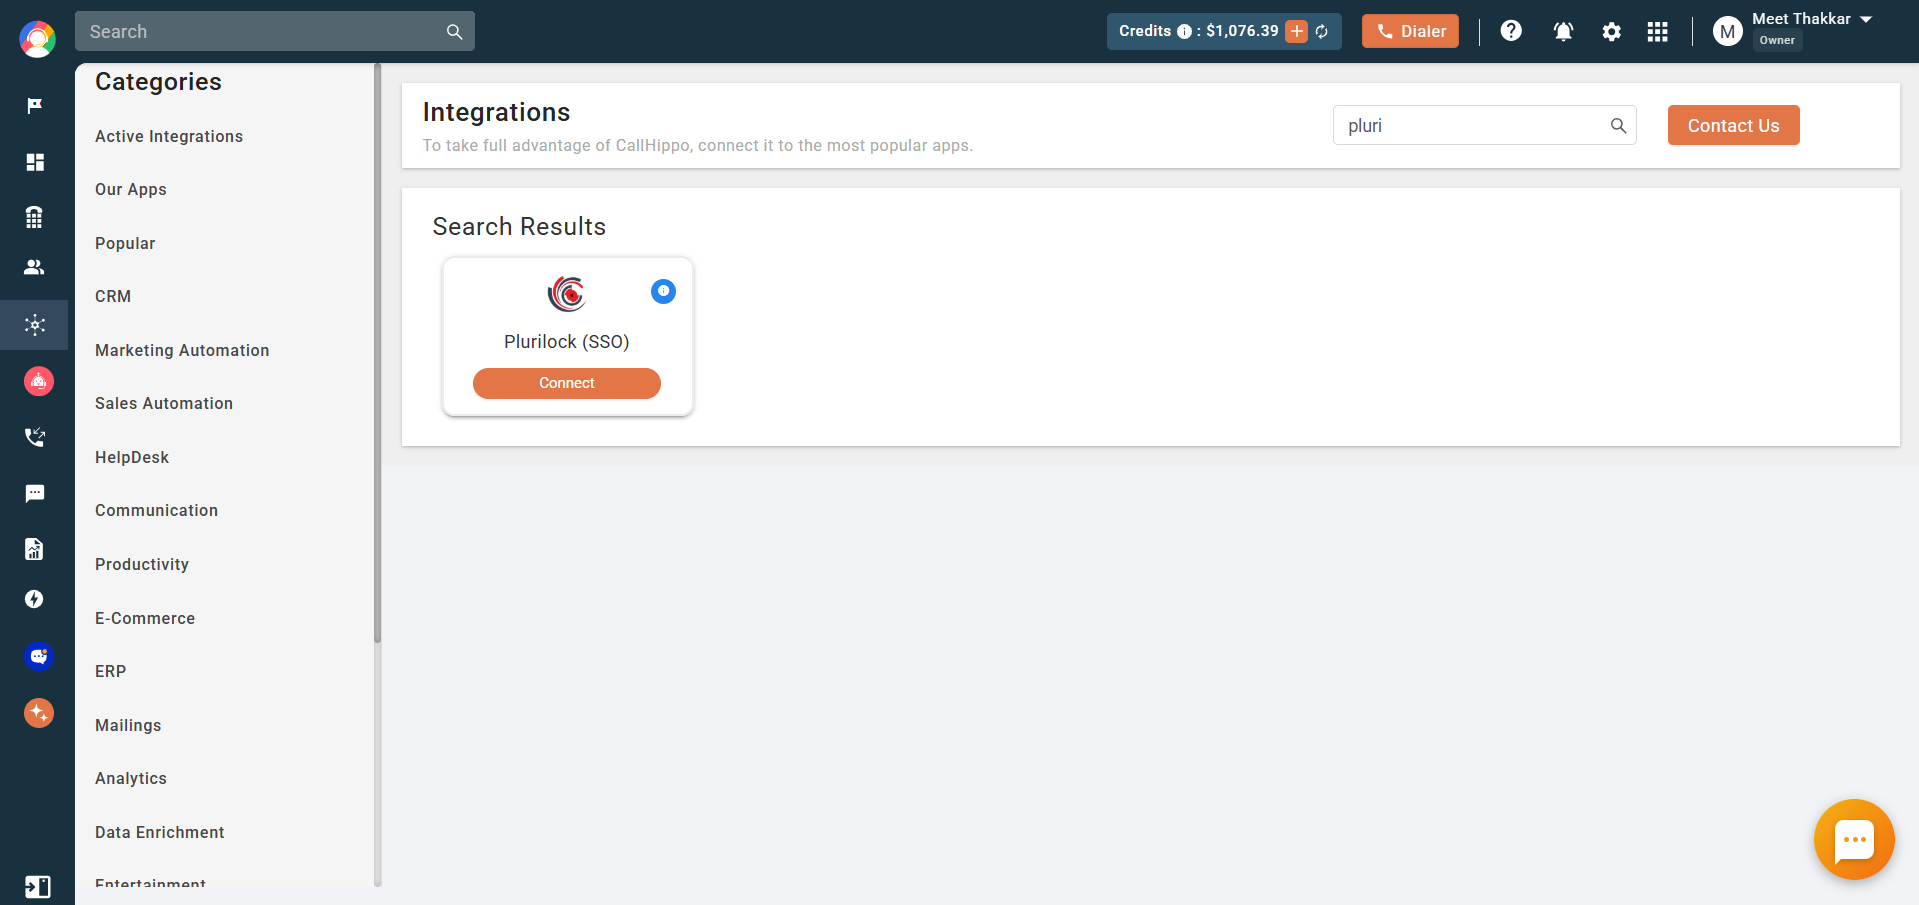
- In the Integration Setup pop-up, click Connect Now.
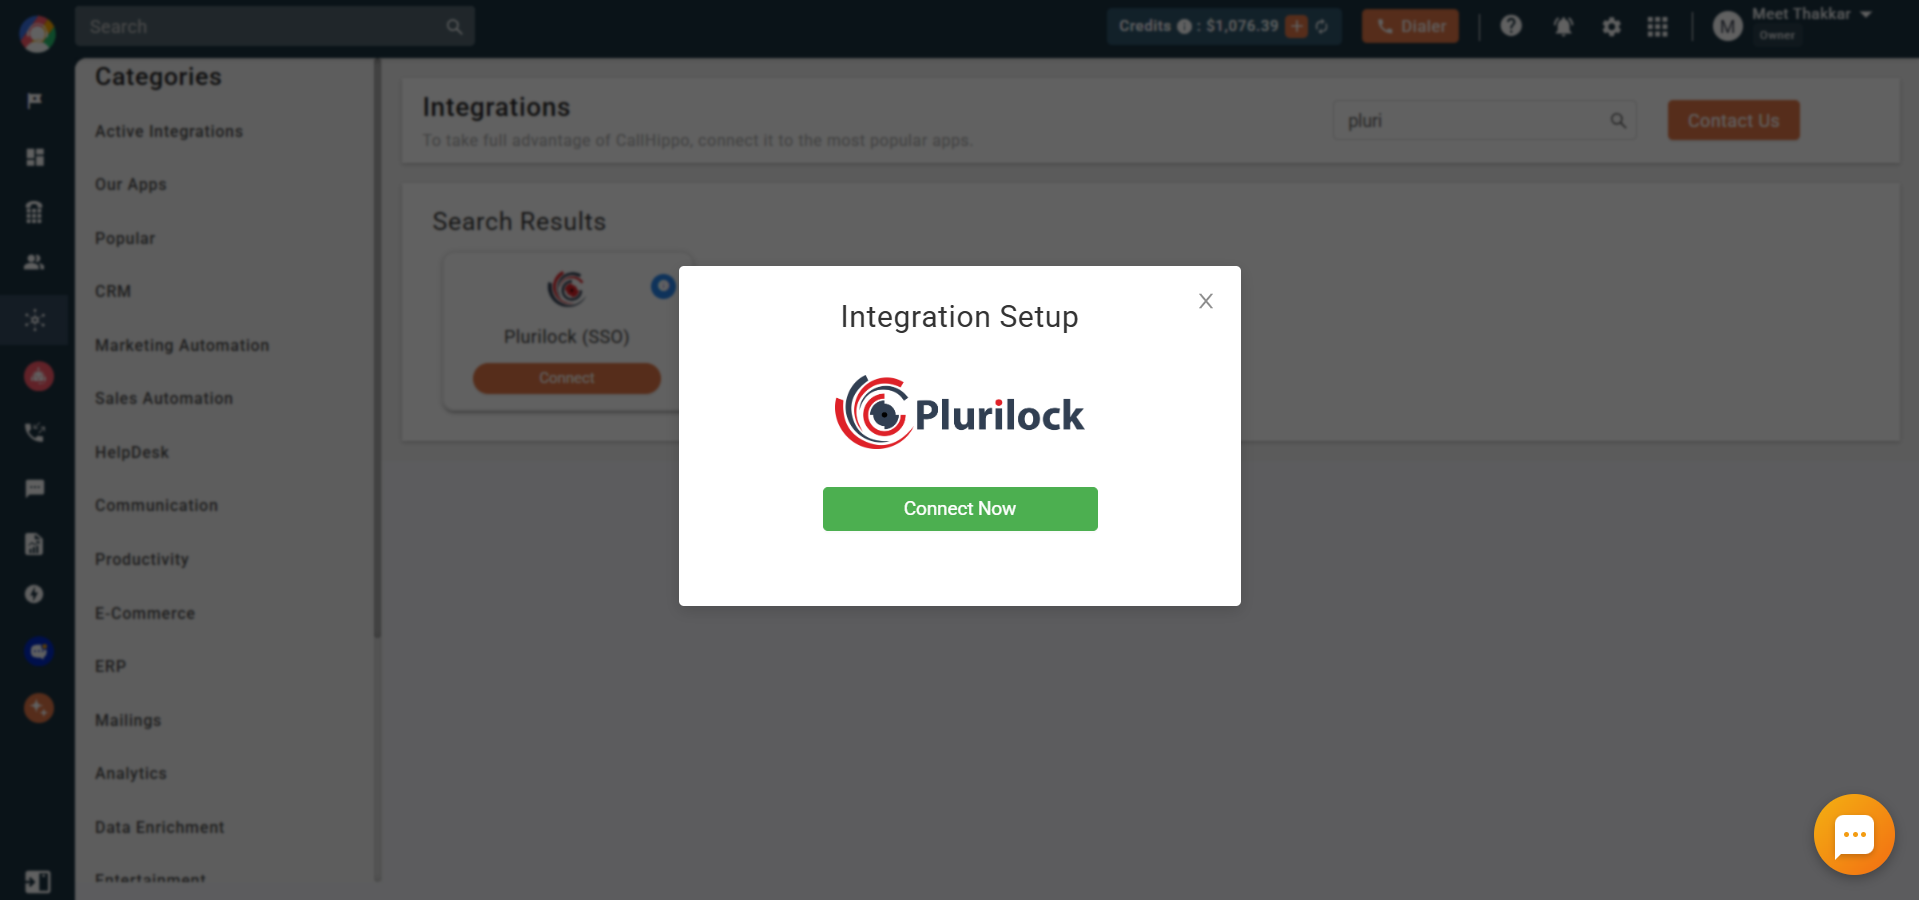
- The integration status now shows In Progress while you complete the configuration.
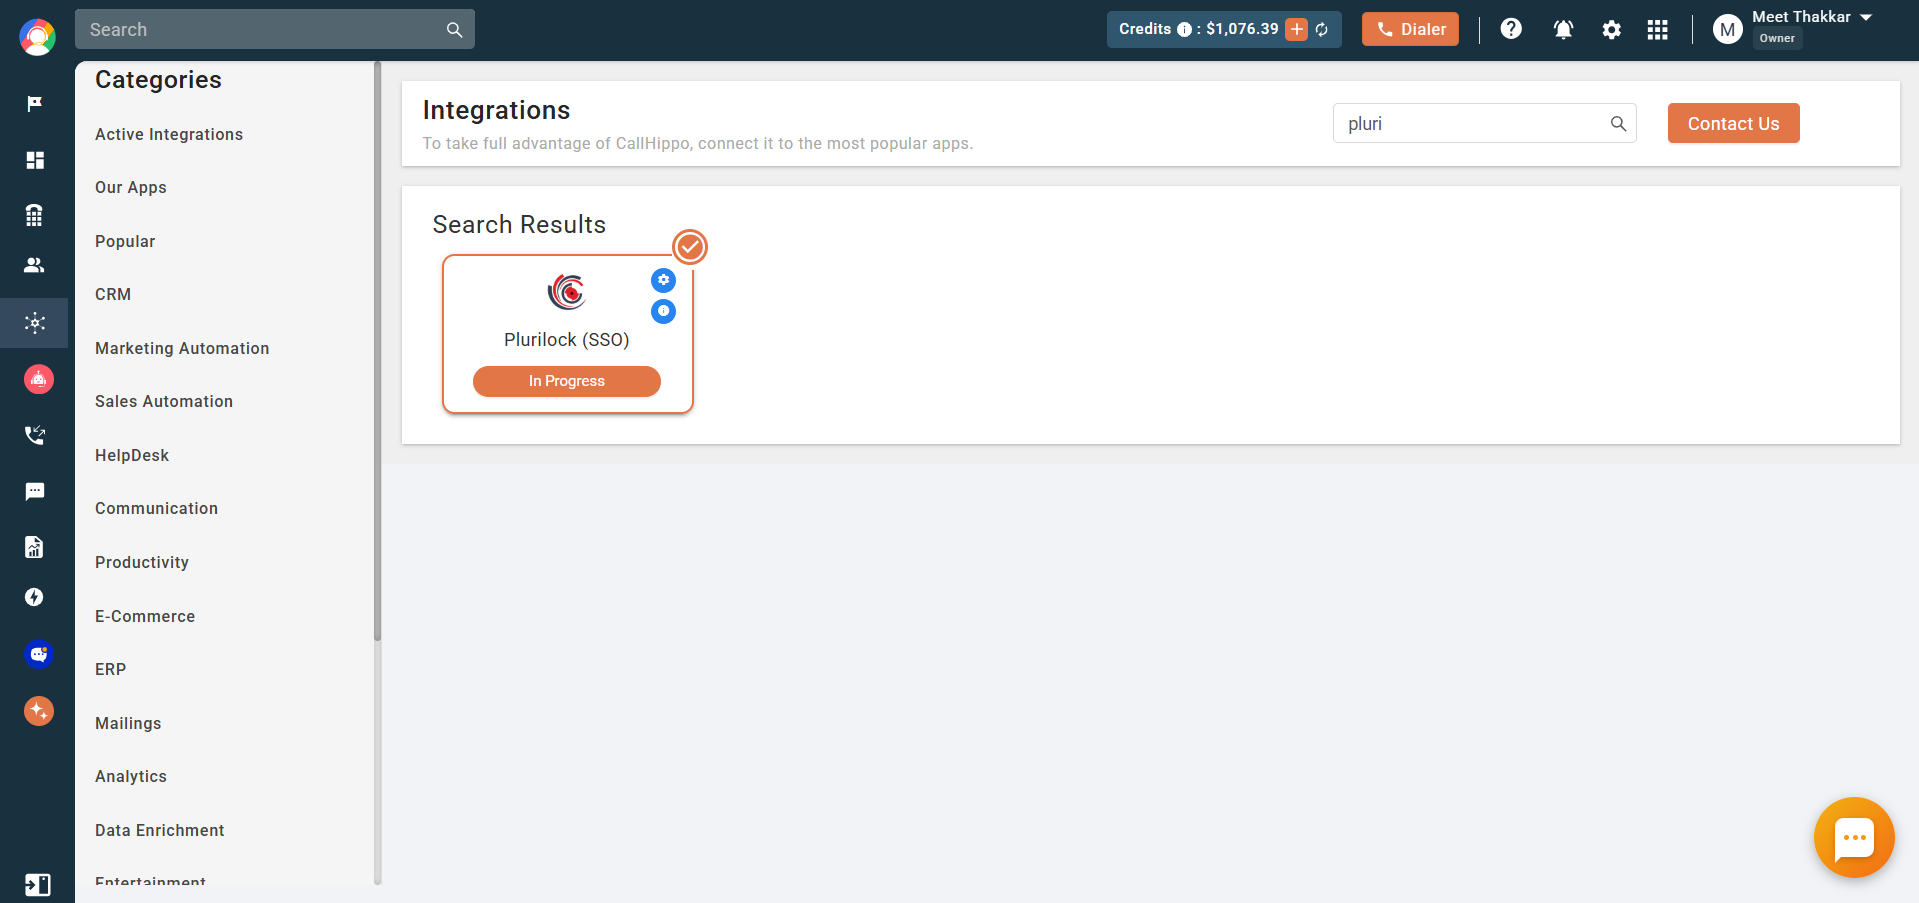
- Open the Integration Settings pop-up. On the SSO SAML Settings tab, copy the Recipient URL and the ACS (Consumer) URL — you’ll paste both into Plurilock in the next section.
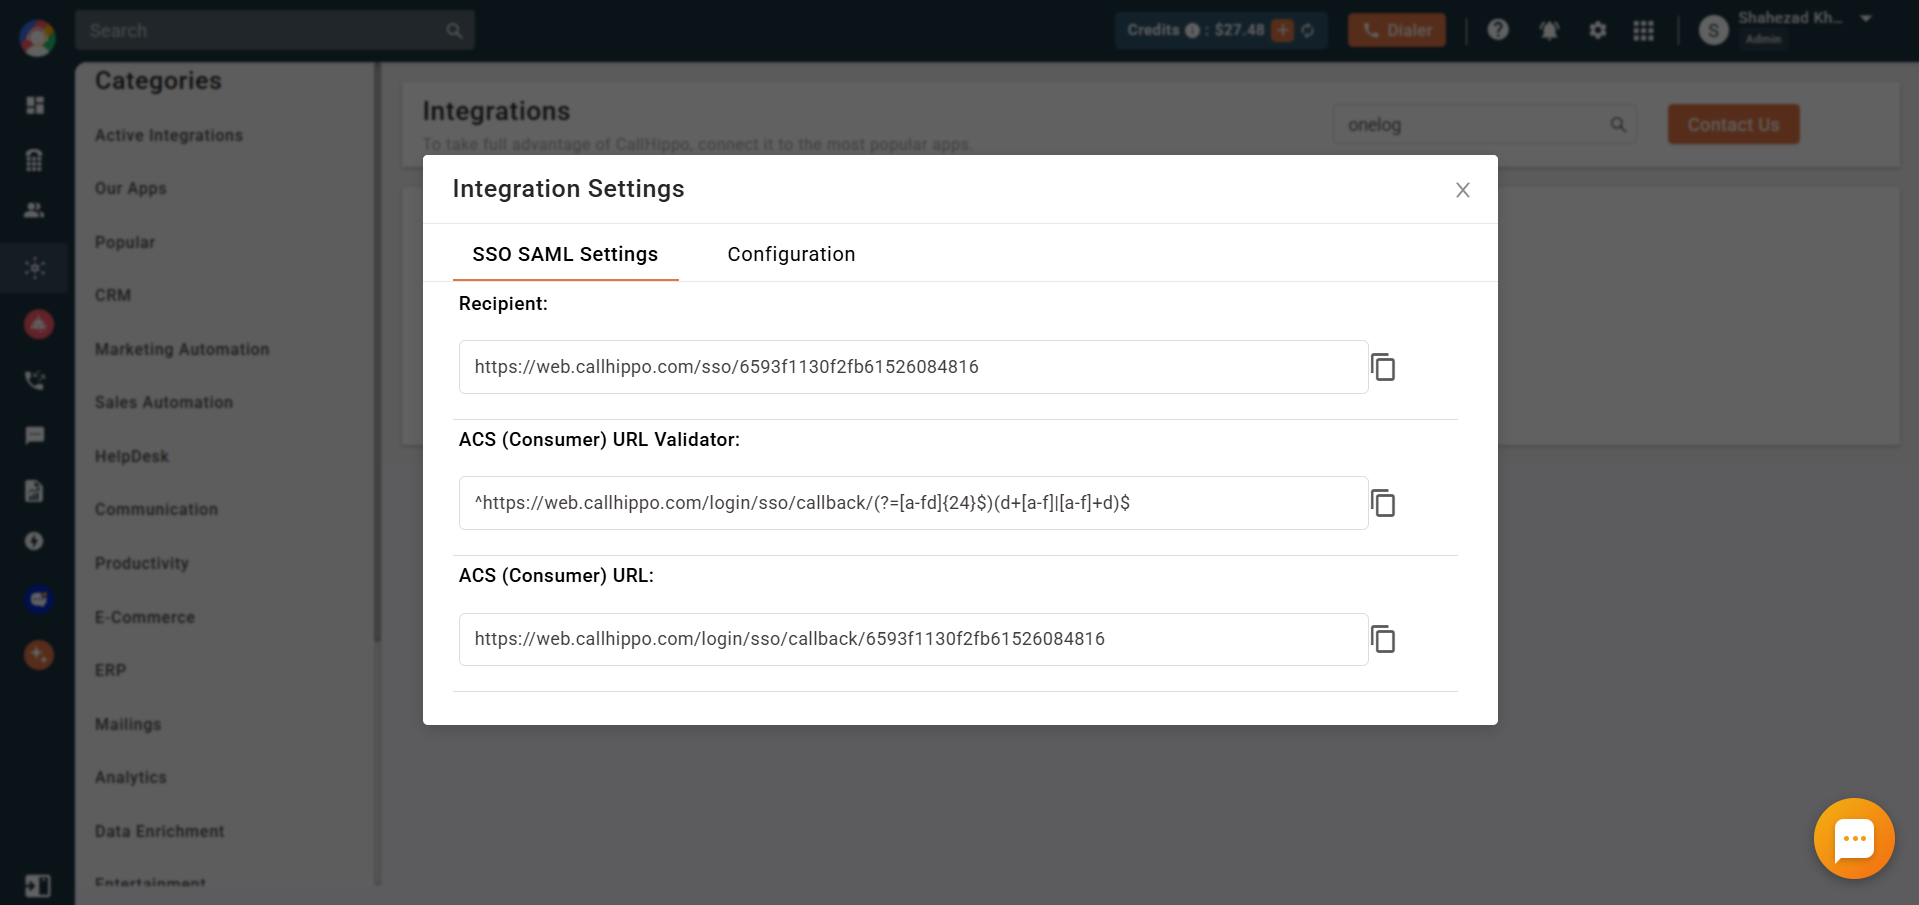
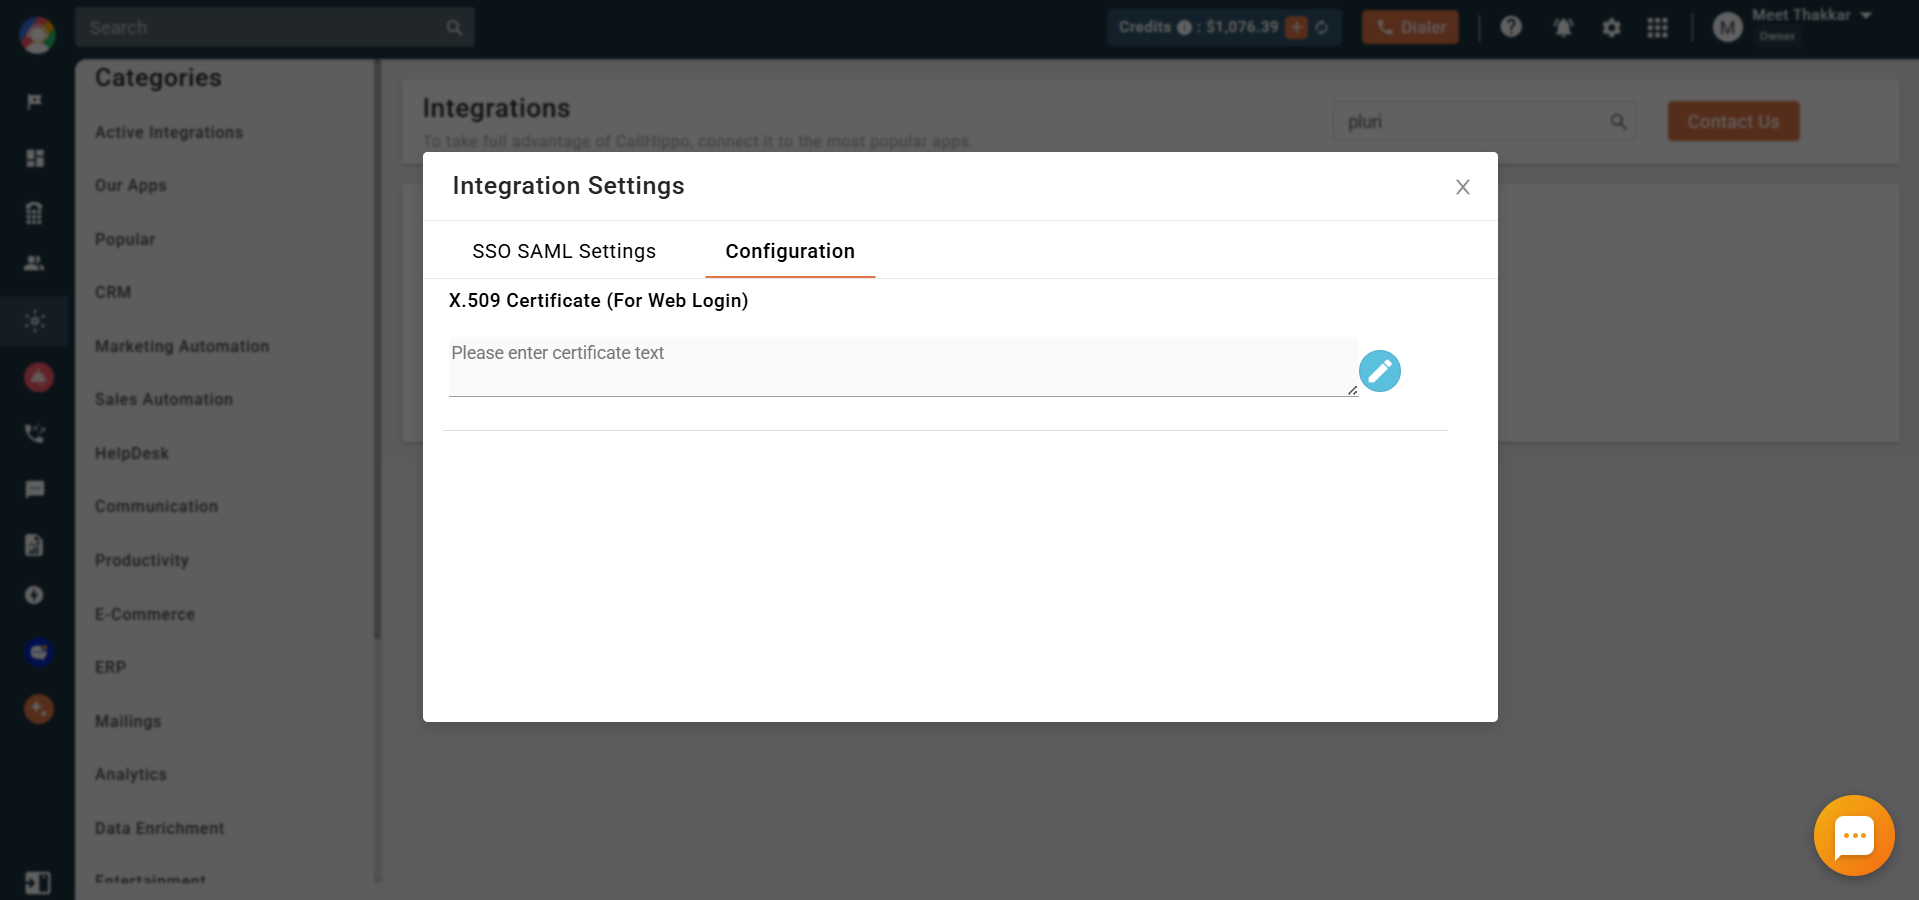
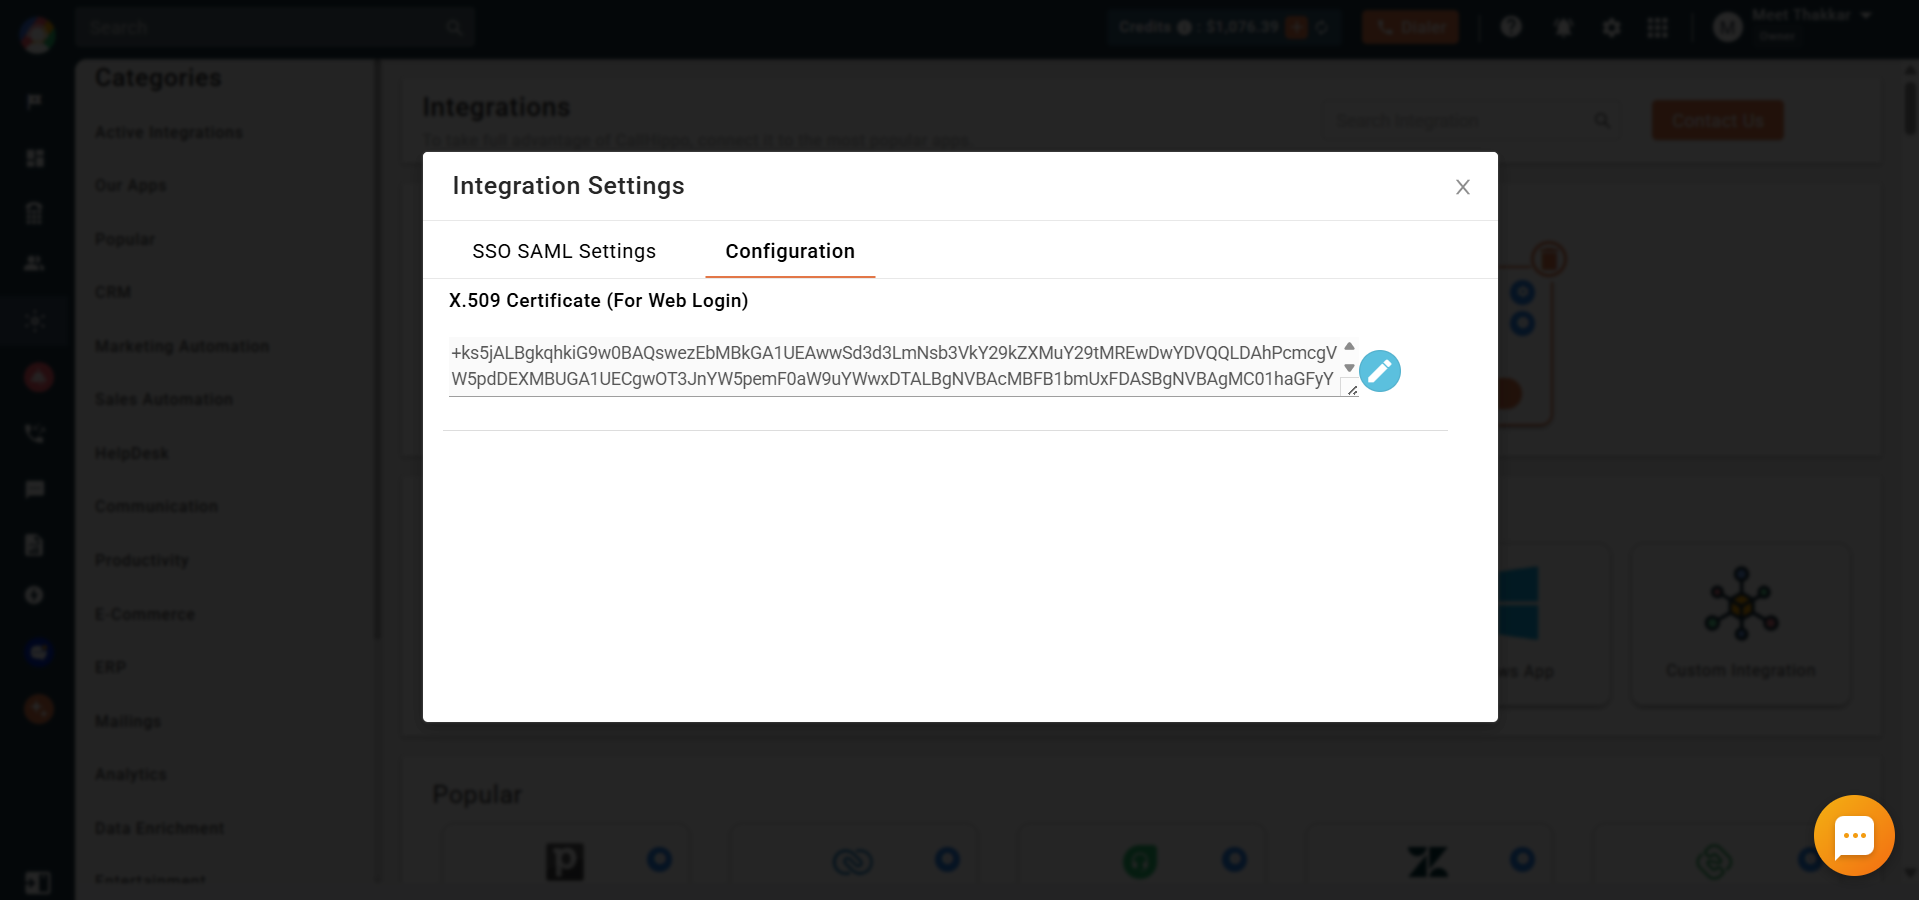
- Switch to the Configuration tab. This is where you’ll paste the X.509 certificate from Plurilock once you’ve generated it.
Configure SSO in Plurilock
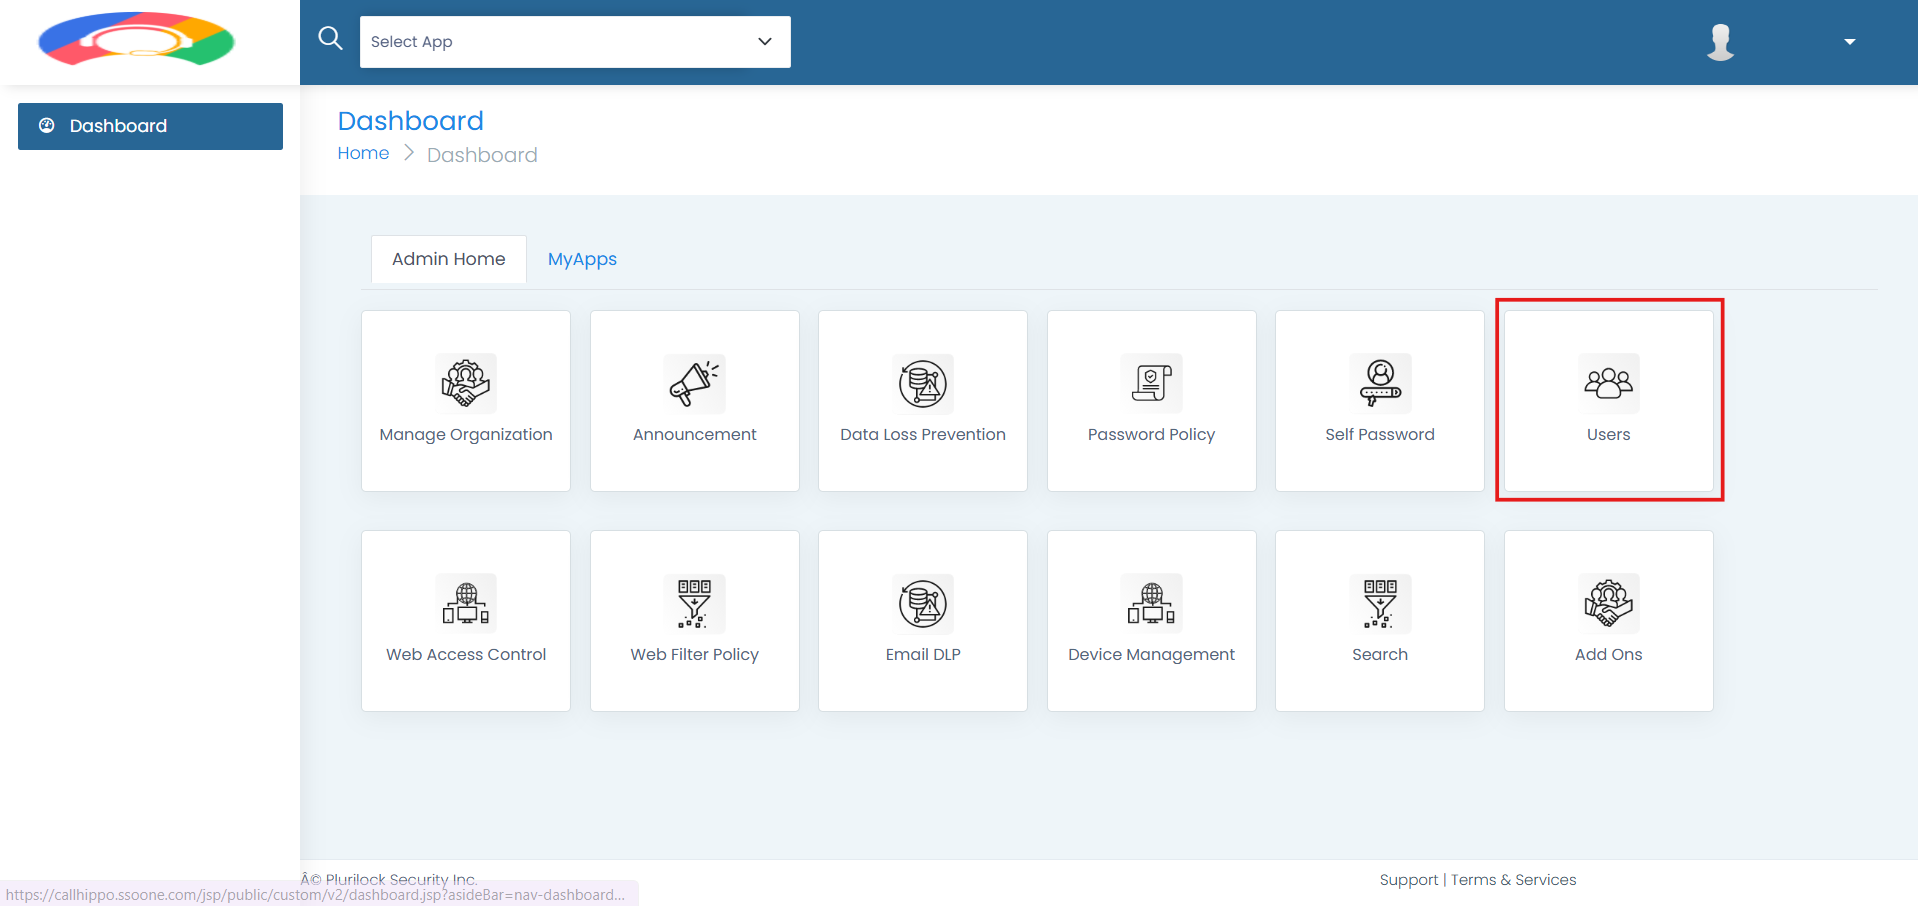
- Log in to your Plurilock account and click Users on the dashboard.
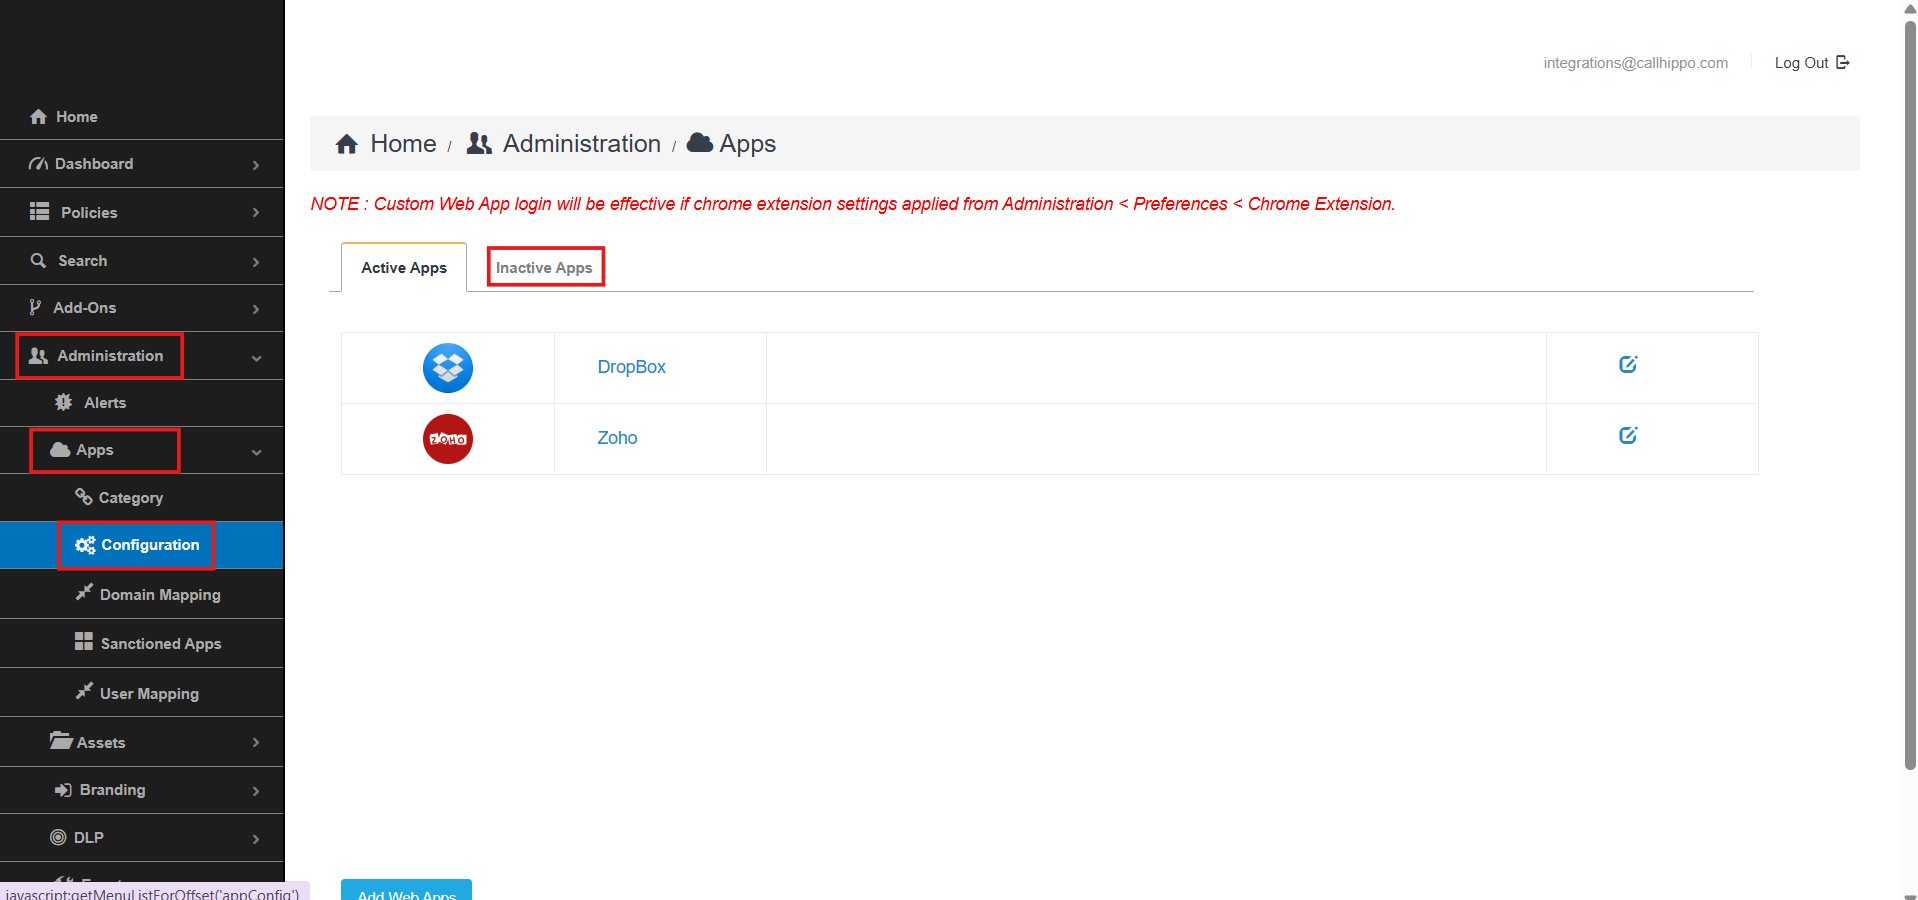
- Go to Administration → Apps → Configuration and open the Inactive Apps section.
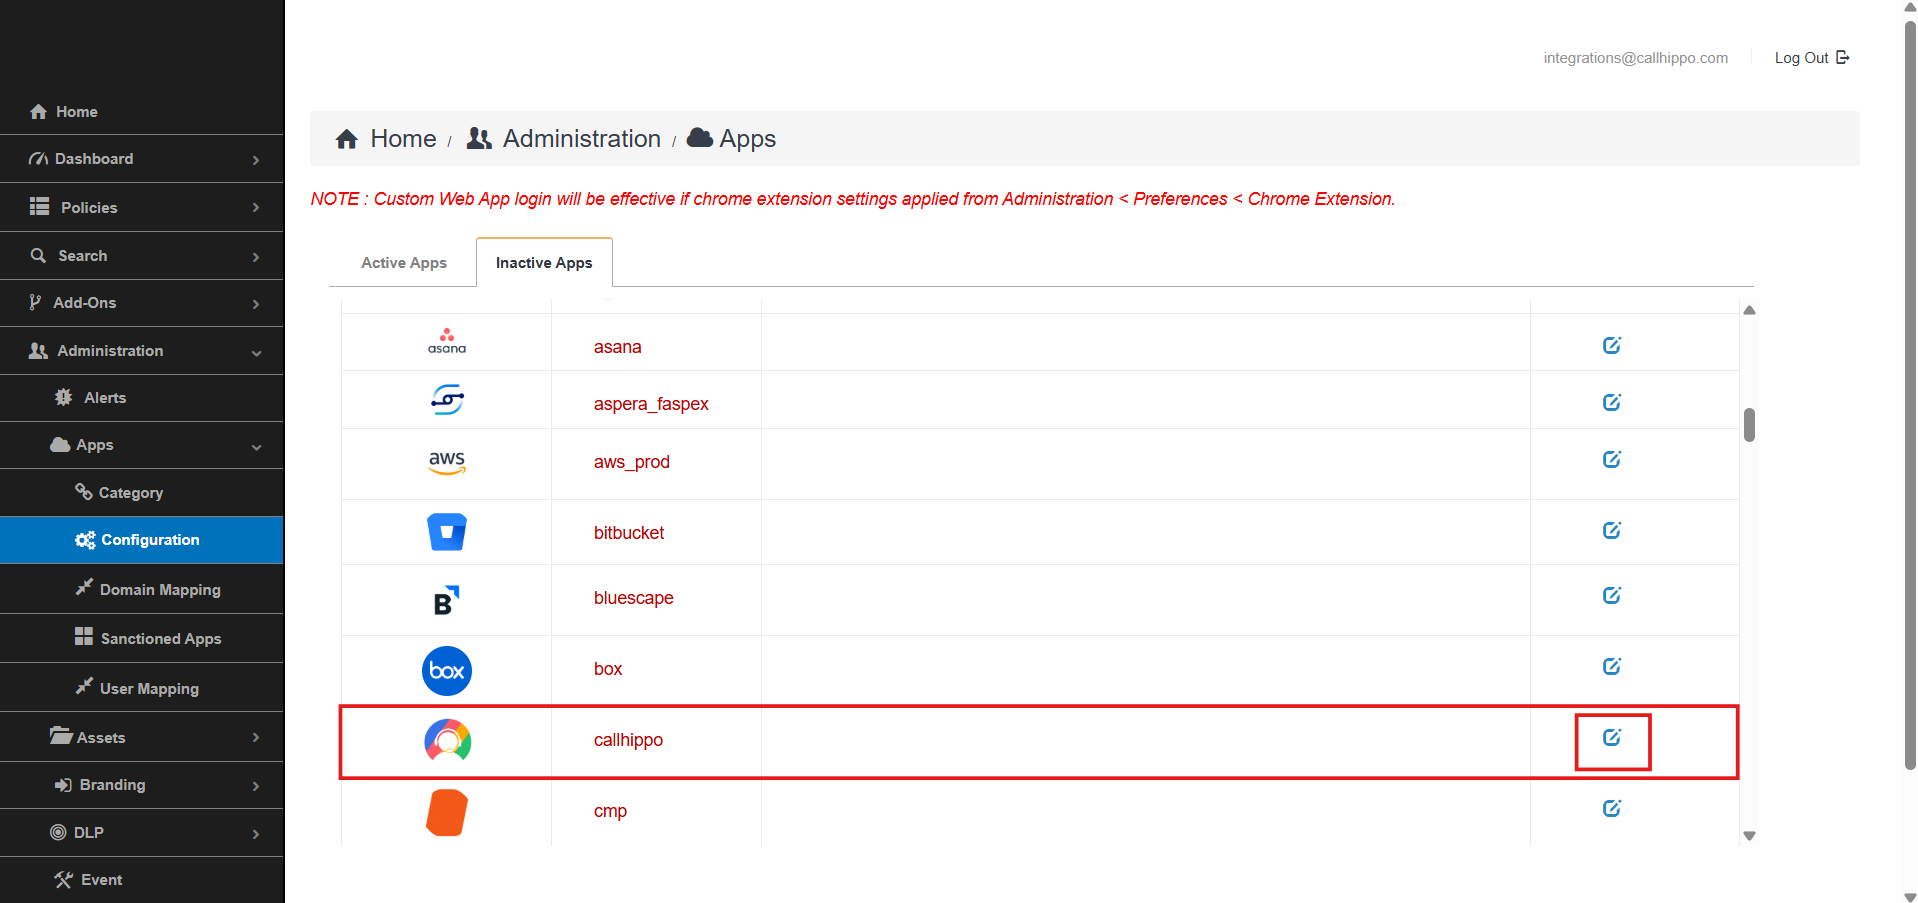
- In Inactive Apps, search for callhippo and click the configure (edit) button.
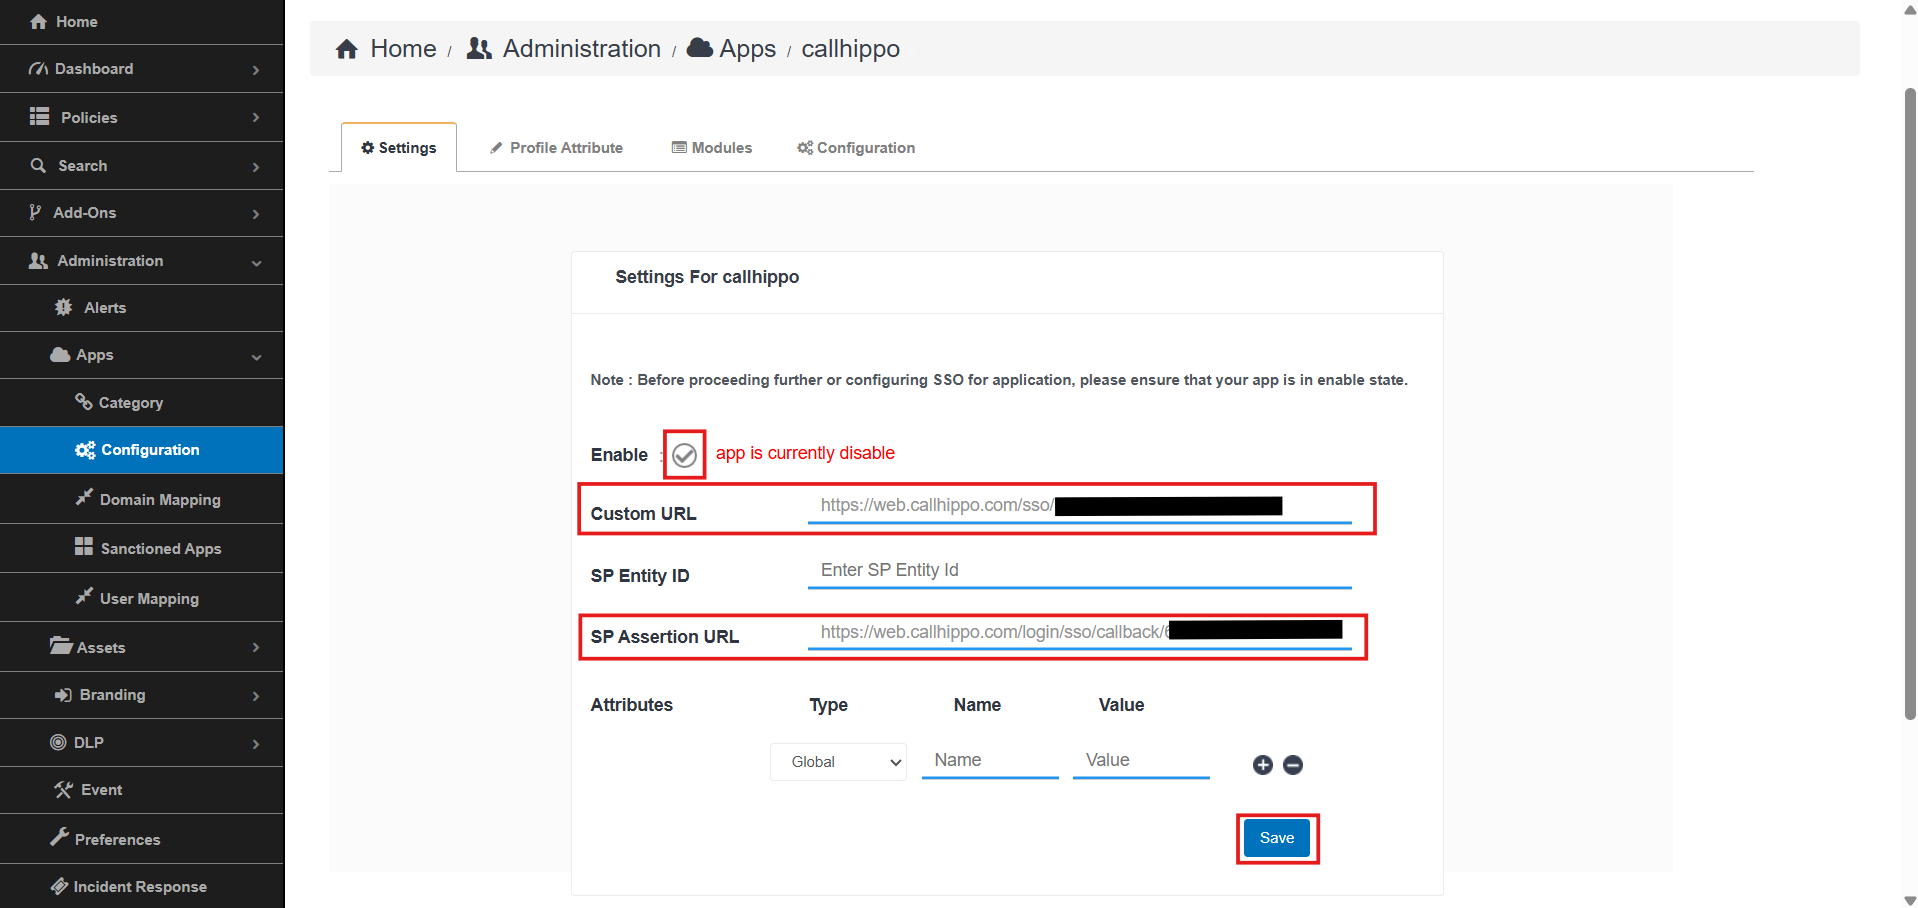
- On the CallHippo settings page, configure the following and then click Save:
- Click the tick button to Enable the app (it is disabled by default).
- In the Custom URL field, enter the Recipient URL you copied from CallHippo.
- Leave SP Entity ID as it is.
- In the SP Assertion URL field, enter the ACS (Consumer) URL you copied from CallHippo.
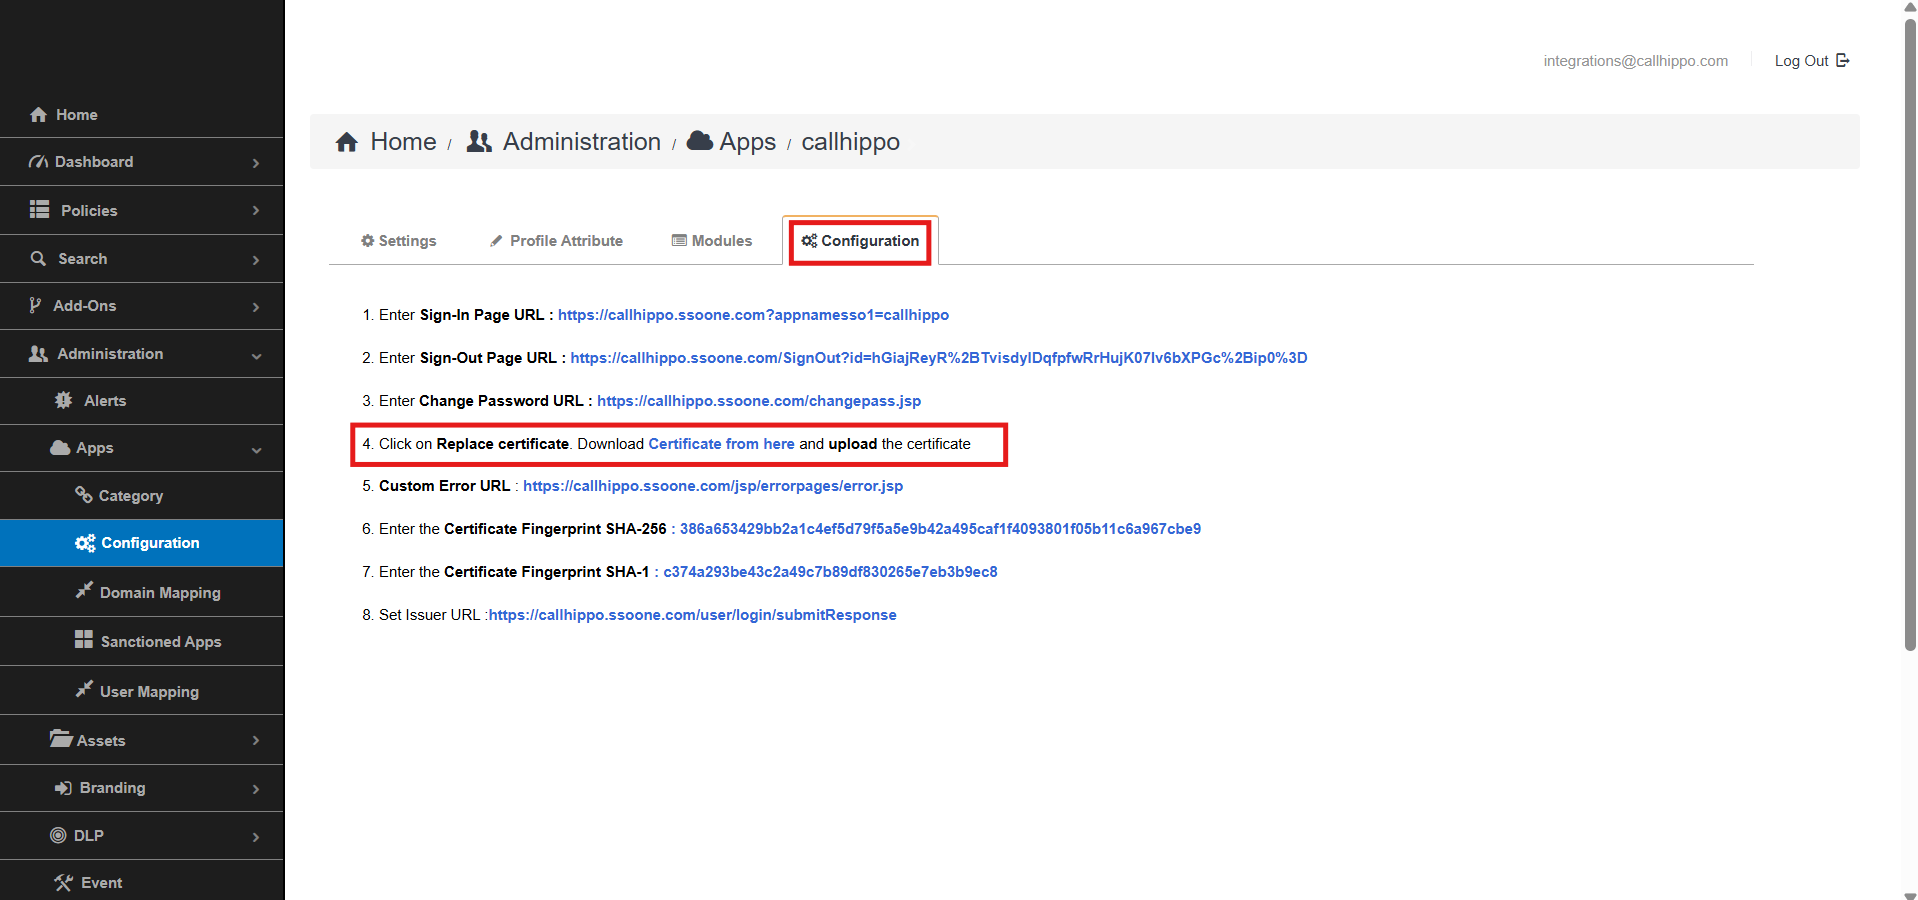
- Open the Configuration tab and download the certificate using the Certificate from here link.
- Open the downloaded certificate in any text editor and copy the full certificate text. Back in CallHippo, open the Plurilock SSO Integration Settings, go to the Configuration tab, edit the X.509 certificate field, paste the complete certificate, and save. Make sure you copy the entire certificate.
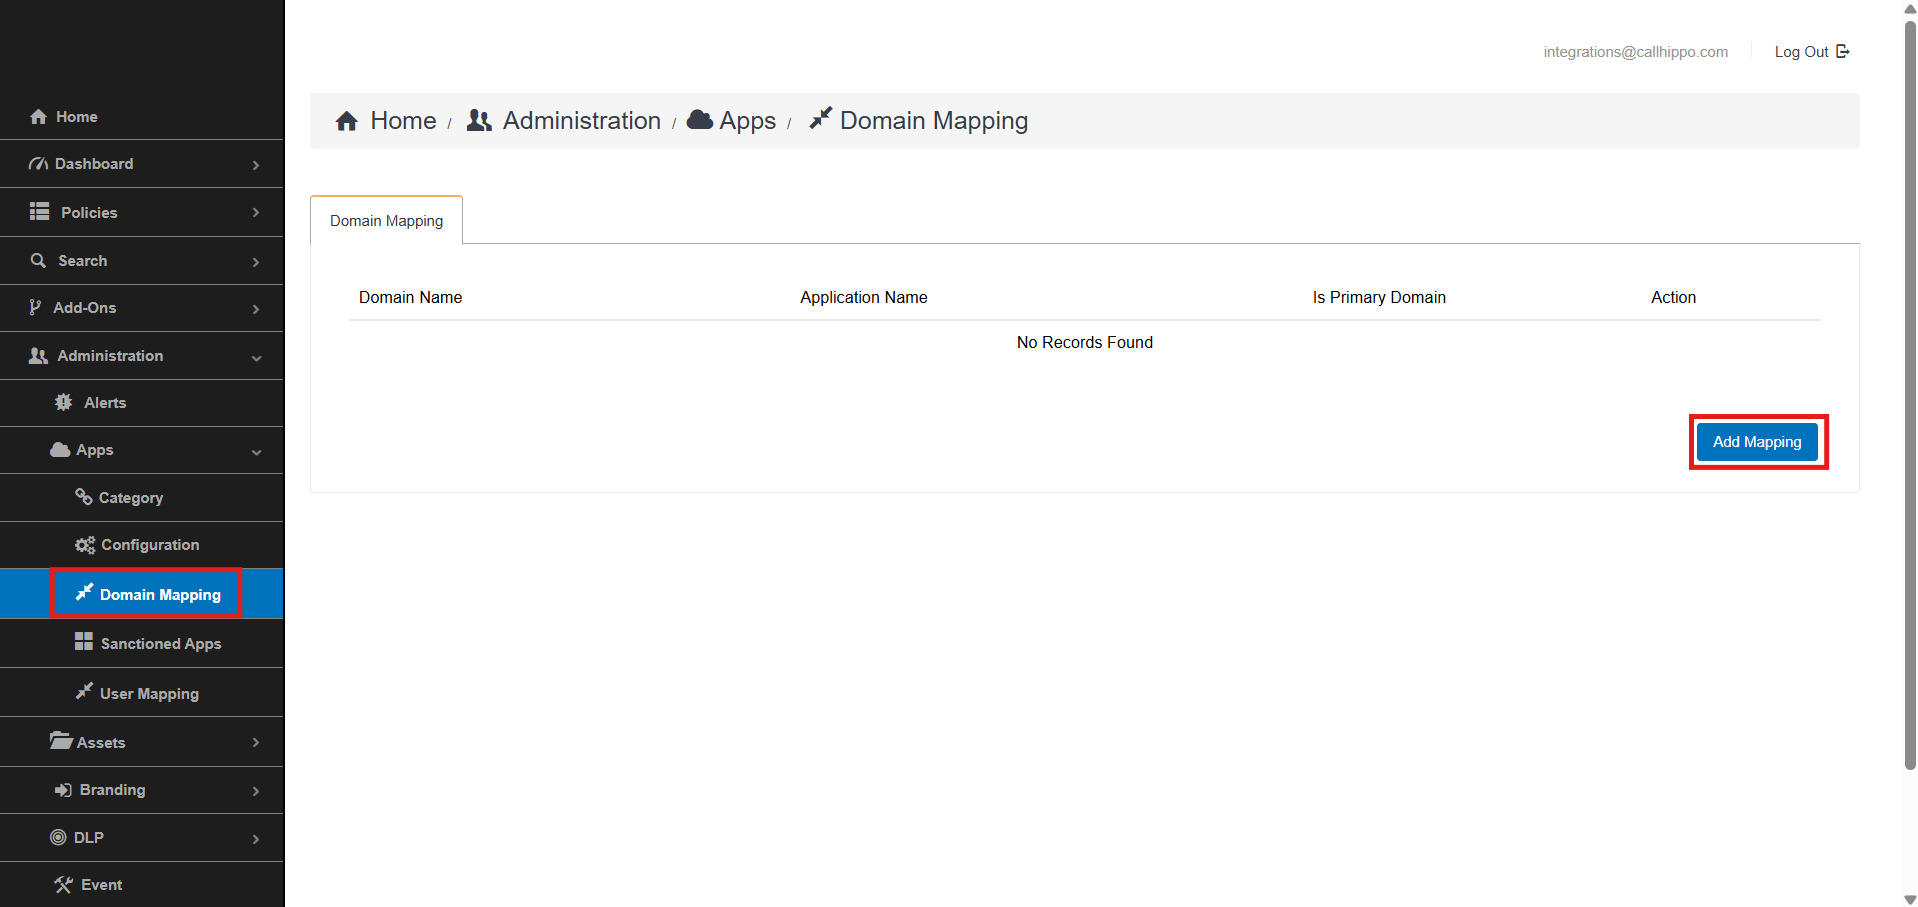
- Return to Plurilock, go to Domain Mapping, and click Add Mapping.
- In the Add Mapping pop-up, select callhippo.com as the Domain Name, select callhippo as the App Name, and click Add.
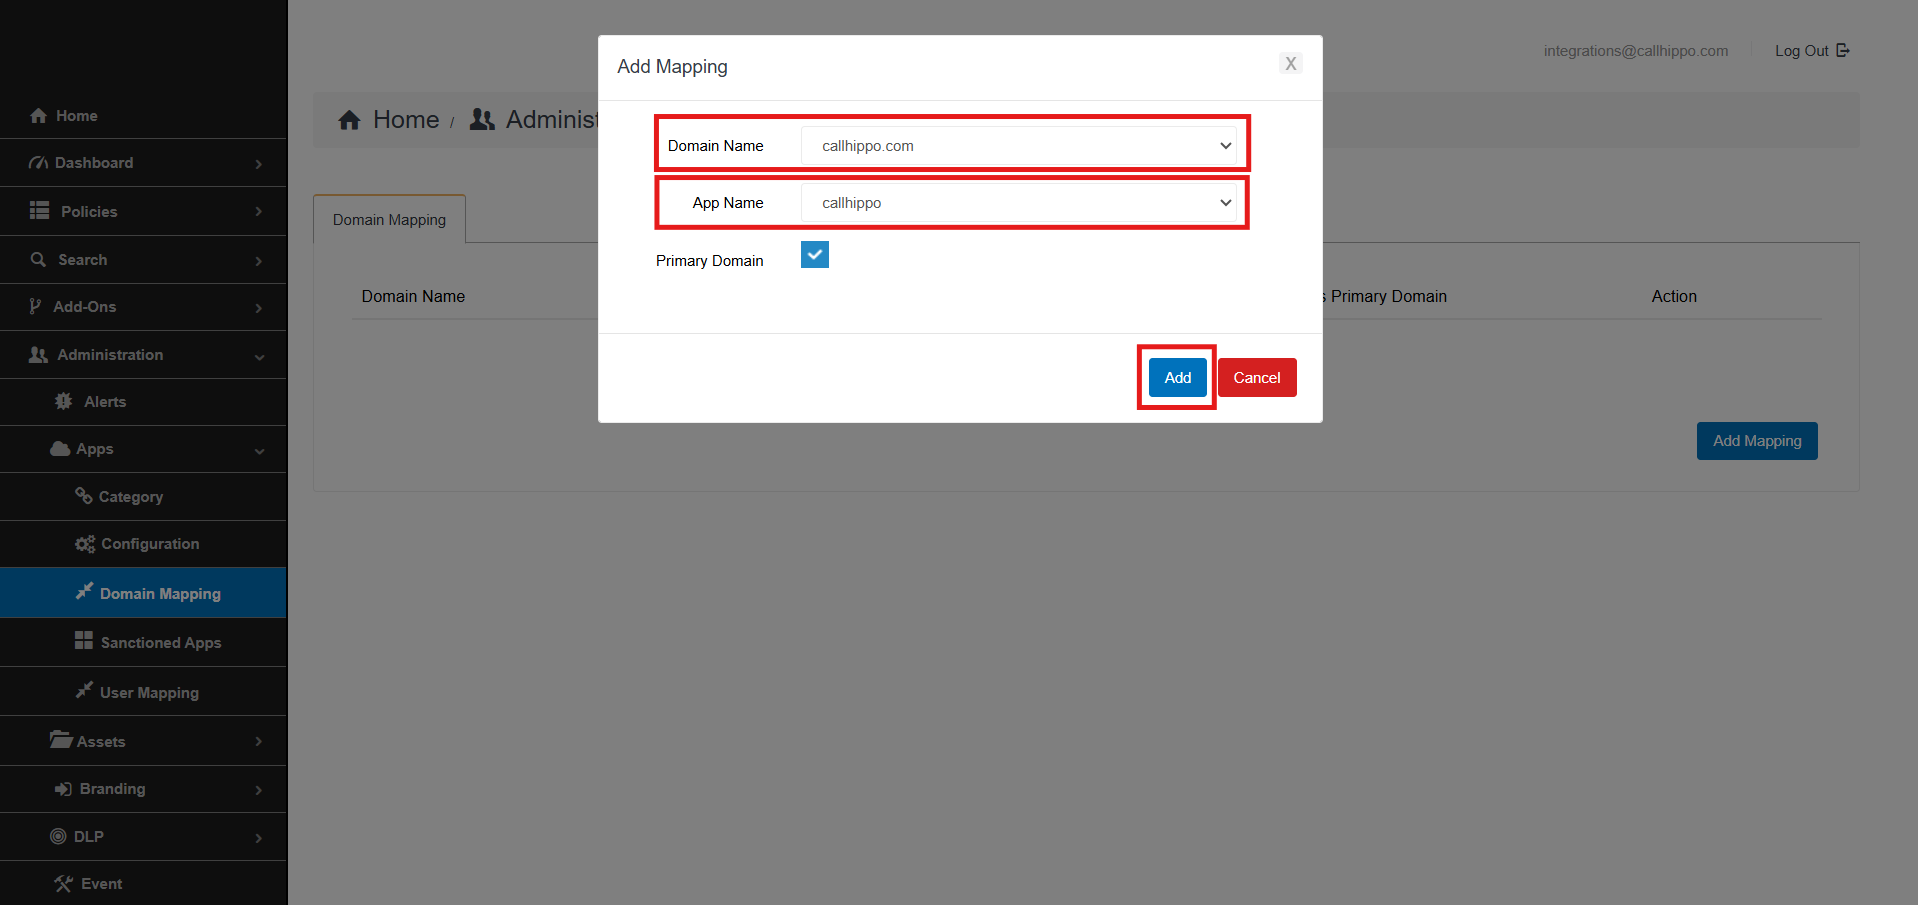
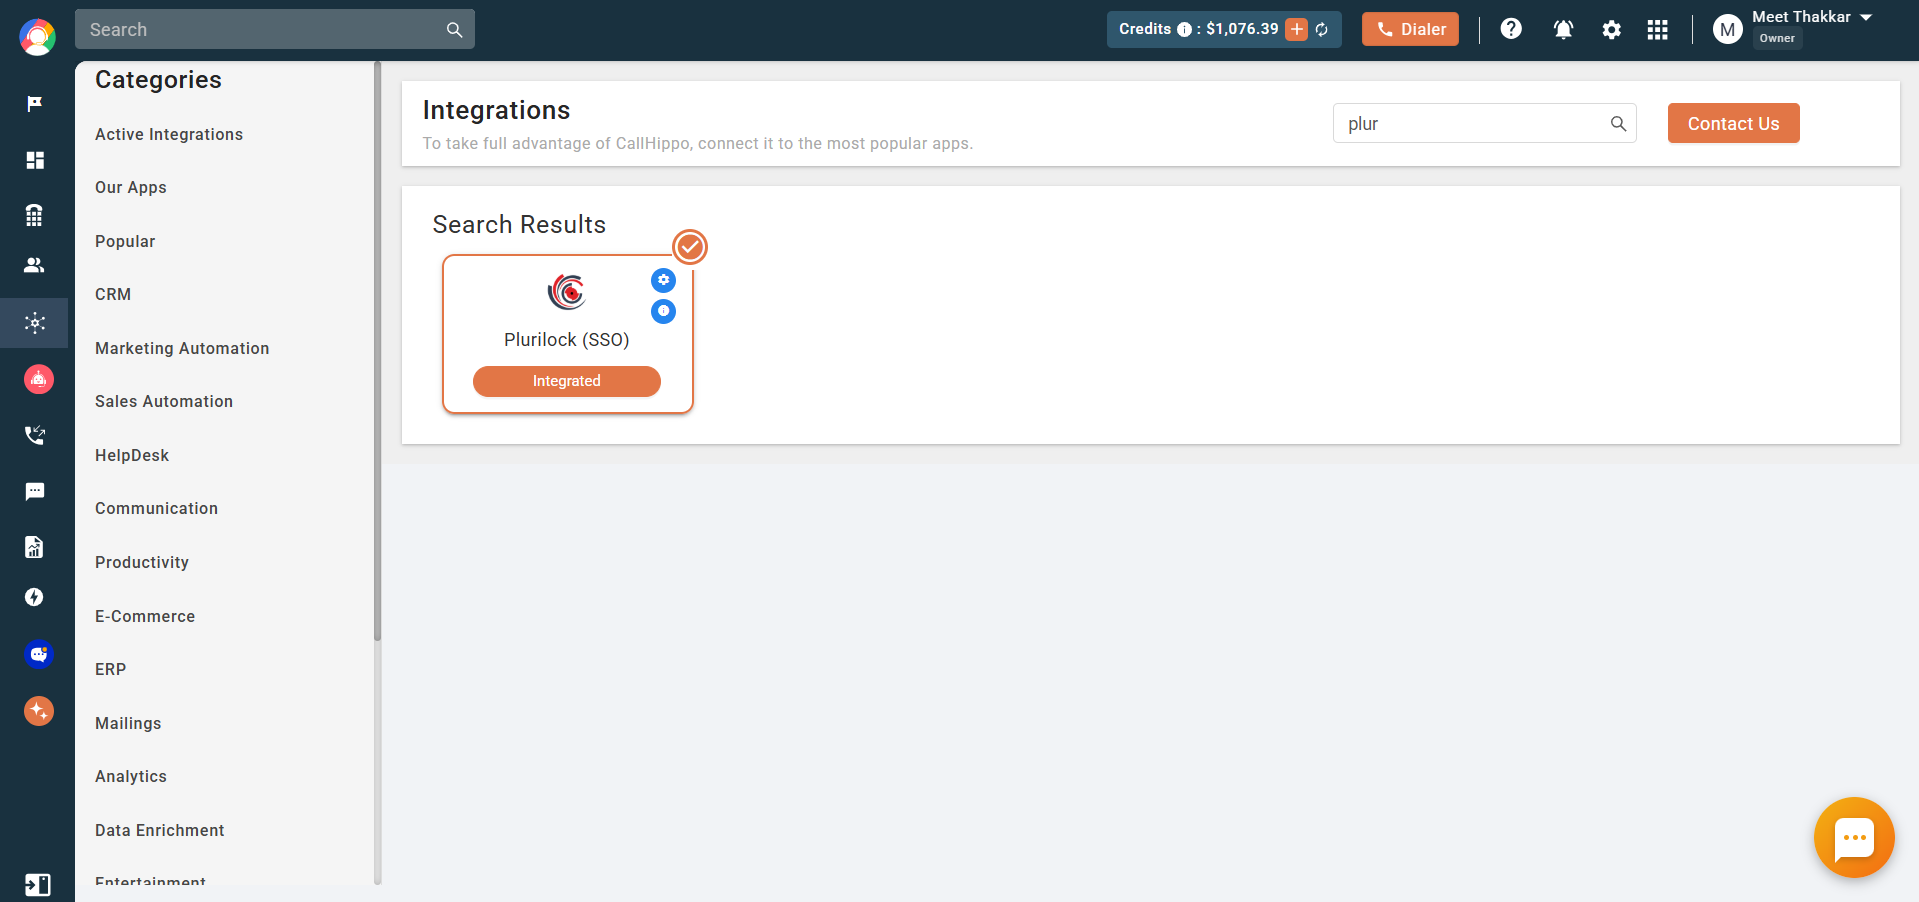
- The domain is mapped successfully. Once all configuration is complete and the required information is filled in, the CallHippo integration status changes to Integrated and your users can log in to CallHippo using Plurilock SSO.
Before your users log in
For SSO login to work, the email address of each CallHippo sub-user must match the email address of the corresponding Plurilock user. If a user can’t sign in, confirm their email is identical in both systems.
Still need help? Reach us at [email protected].