
Connecting Salesforce with CallHippo lets you dial contacts straight from Salesforce, log every call and SMS to the right record, and keep contacts synced in both directions.
Before you begin
Your Salesforce account must be on one of the following editions to use the integration:
- Enterprise Edition
- Unlimited Edition
- Developer Edition
- Performance Edition
- Professional Edition — API access must be enabled, as Salesforce does not include it by default with this edition.
Copy your Salesforce domain
- Log in to your Salesforce account.
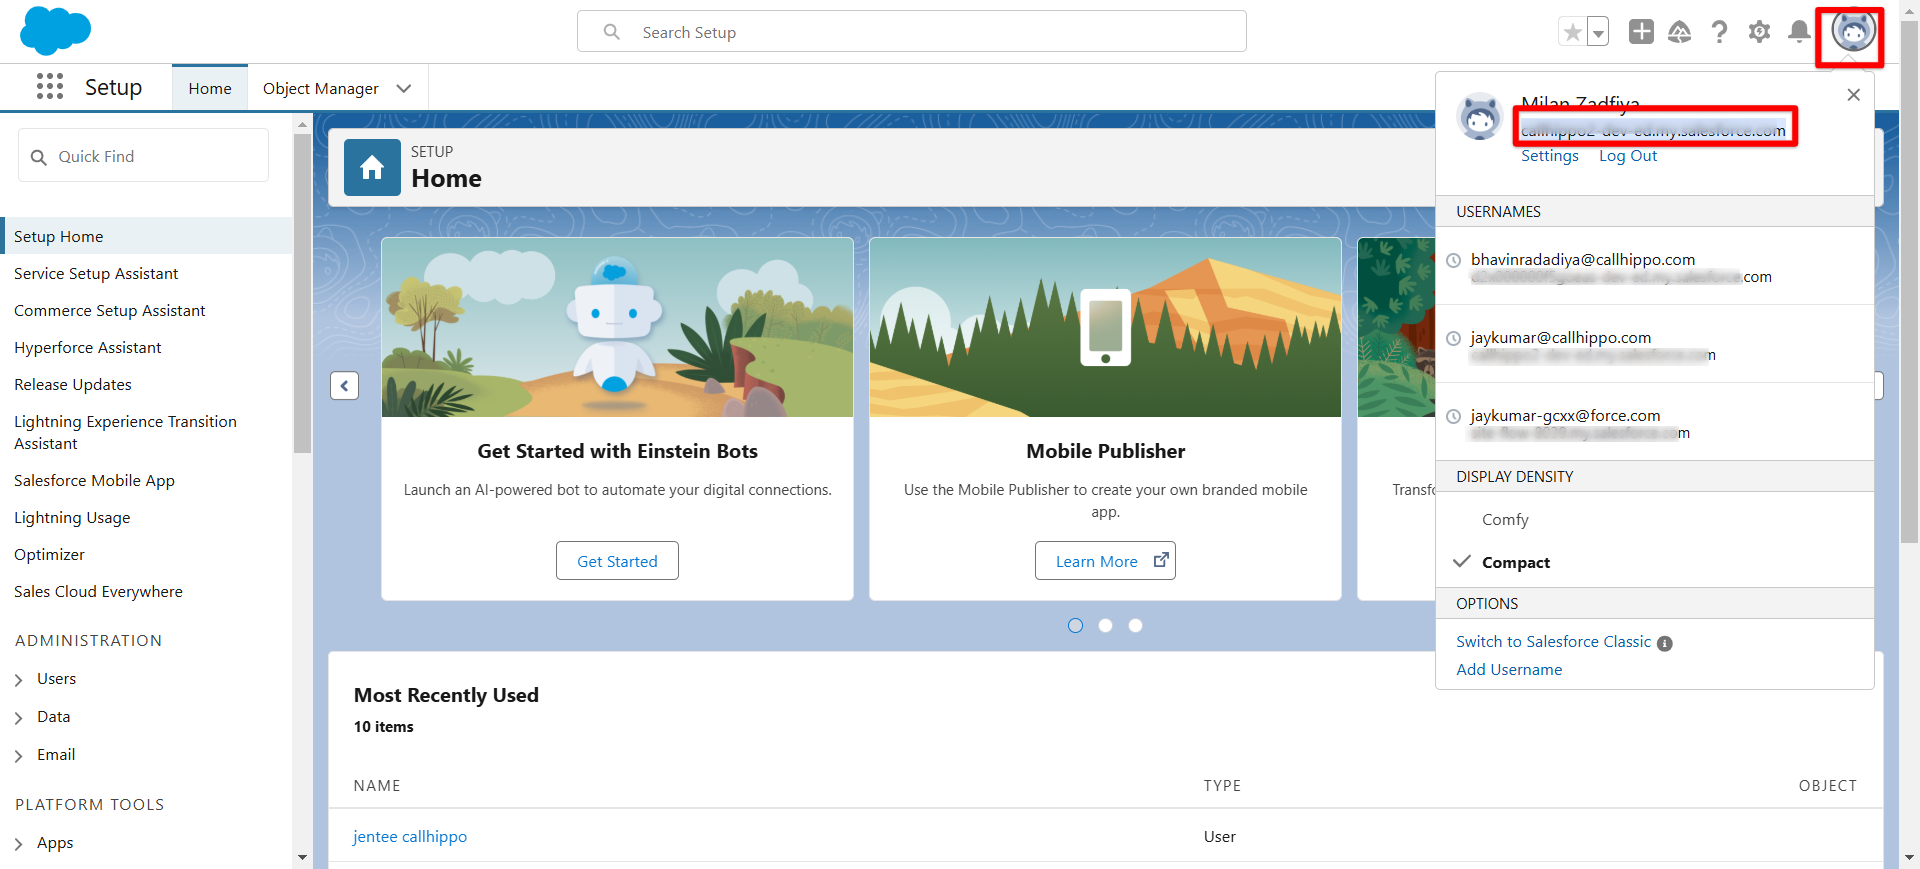
- Click the profile icon in the top-right corner and copy your domain from the dropdown.
Connect Salesforce inside CallHippo
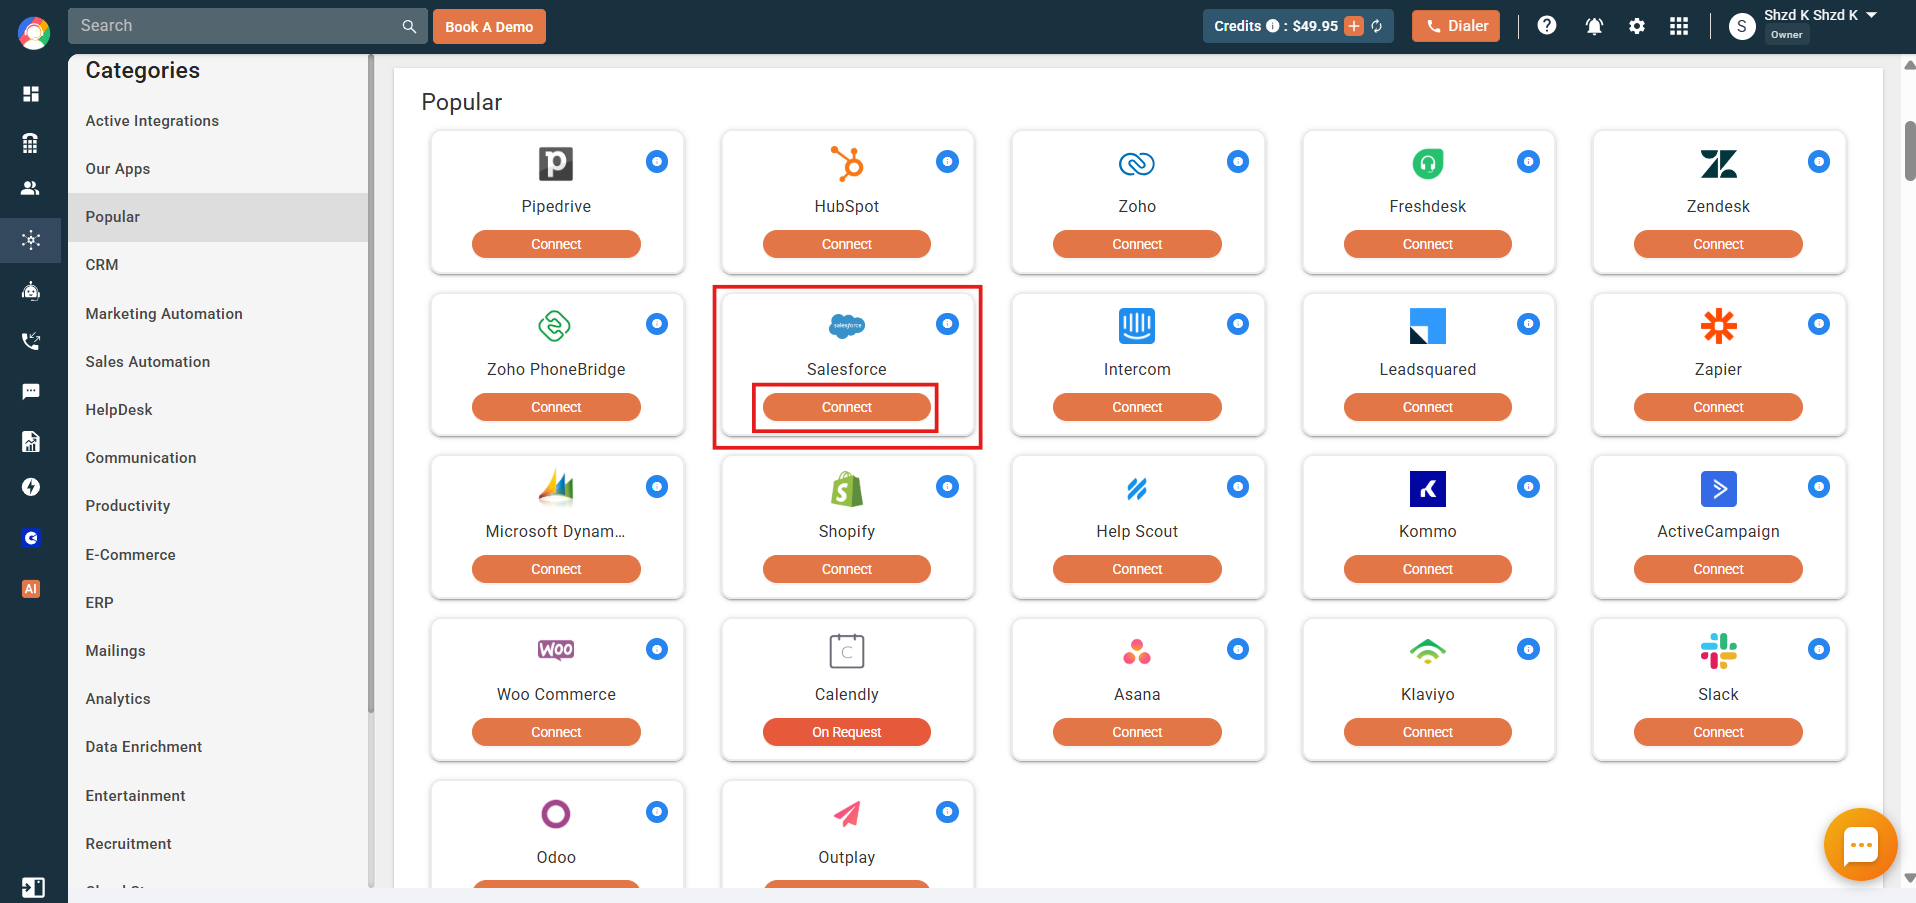
- Log in to CallHippo and open Side menu > Integrations > Popular > Salesforce.
- Click Connect on the Salesforce tab.
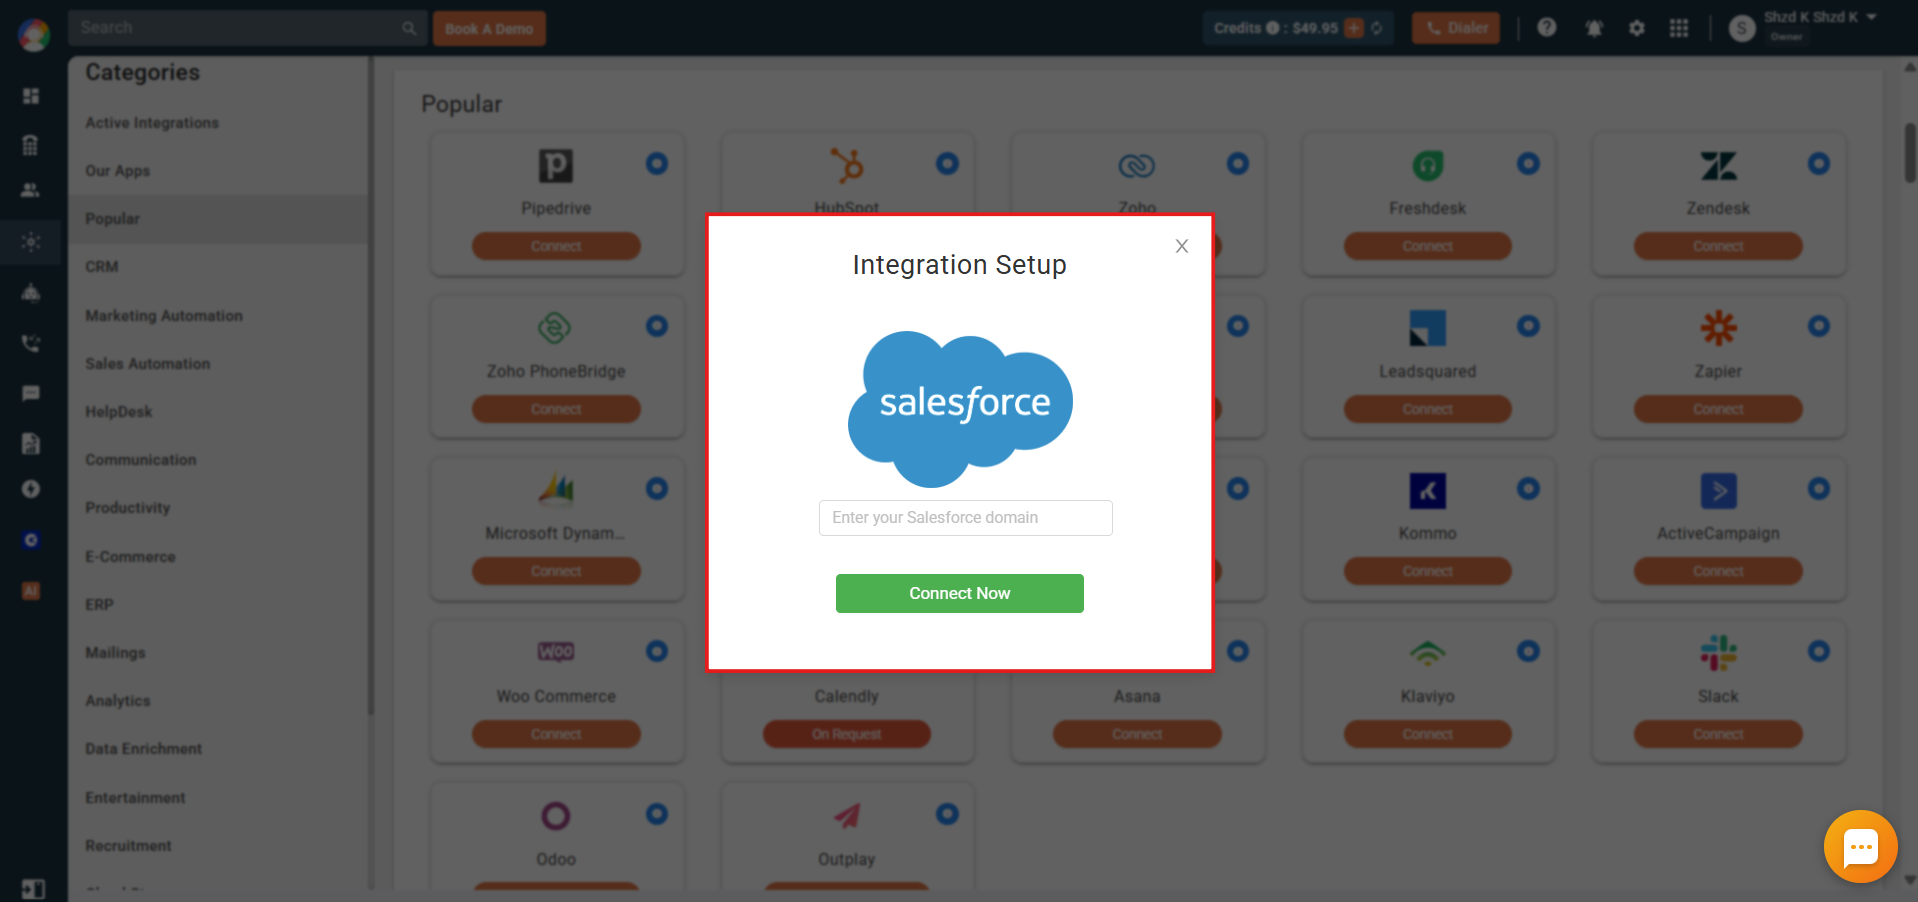
- Enter your Salesforce domain in the popup and click Connect Now.
- If you are not already signed in, Salesforce will prompt you to log in. (If Salesforce is open in another tab, you skip straight to the next step.)

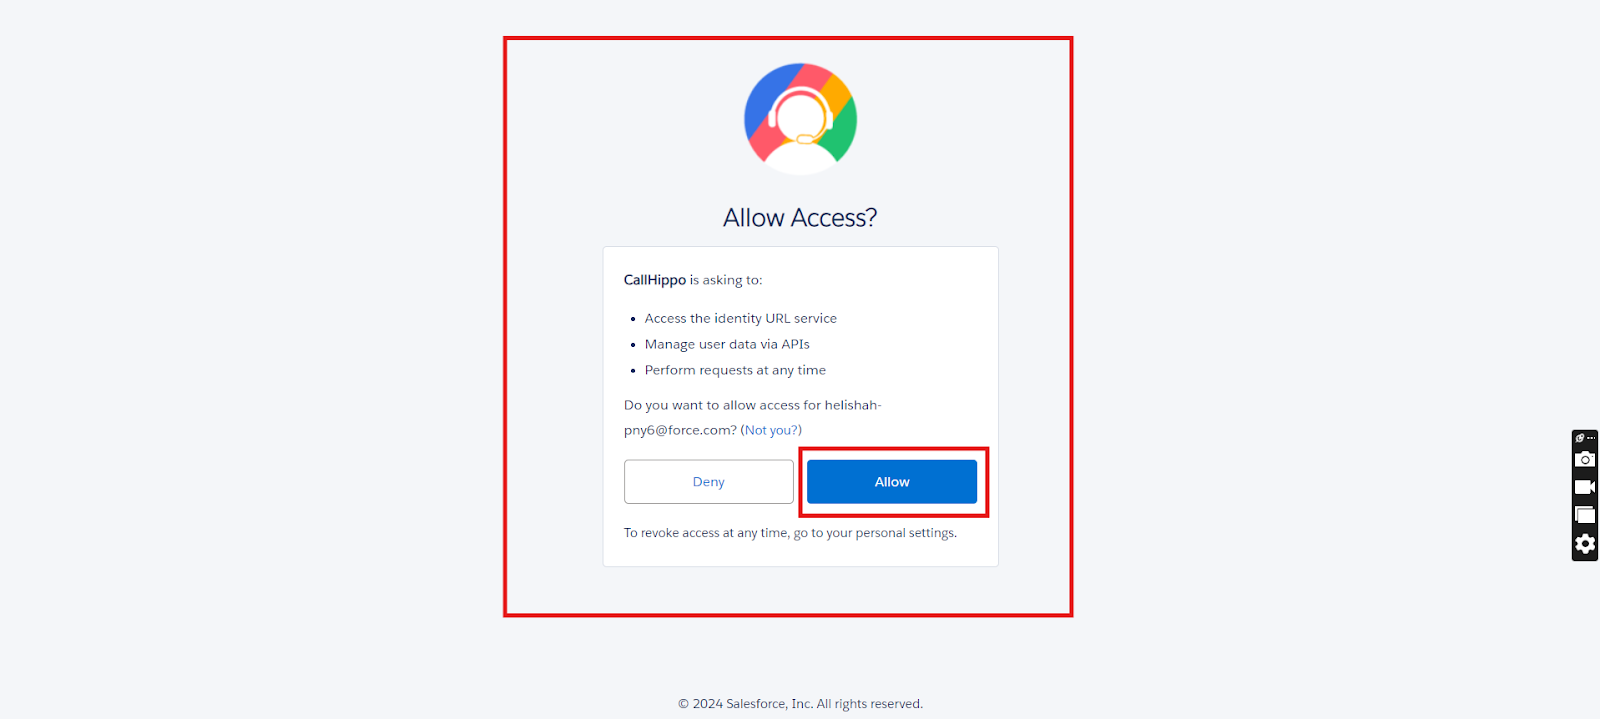
- Salesforce asks you to grant a few permissions. Click Allow.
- Once access is granted, you are redirected back to the CallHippo integrations page, ready to configure your settings.
Configuration tab
Open the integration settings to control what syncs between CallHippo and Salesforce.
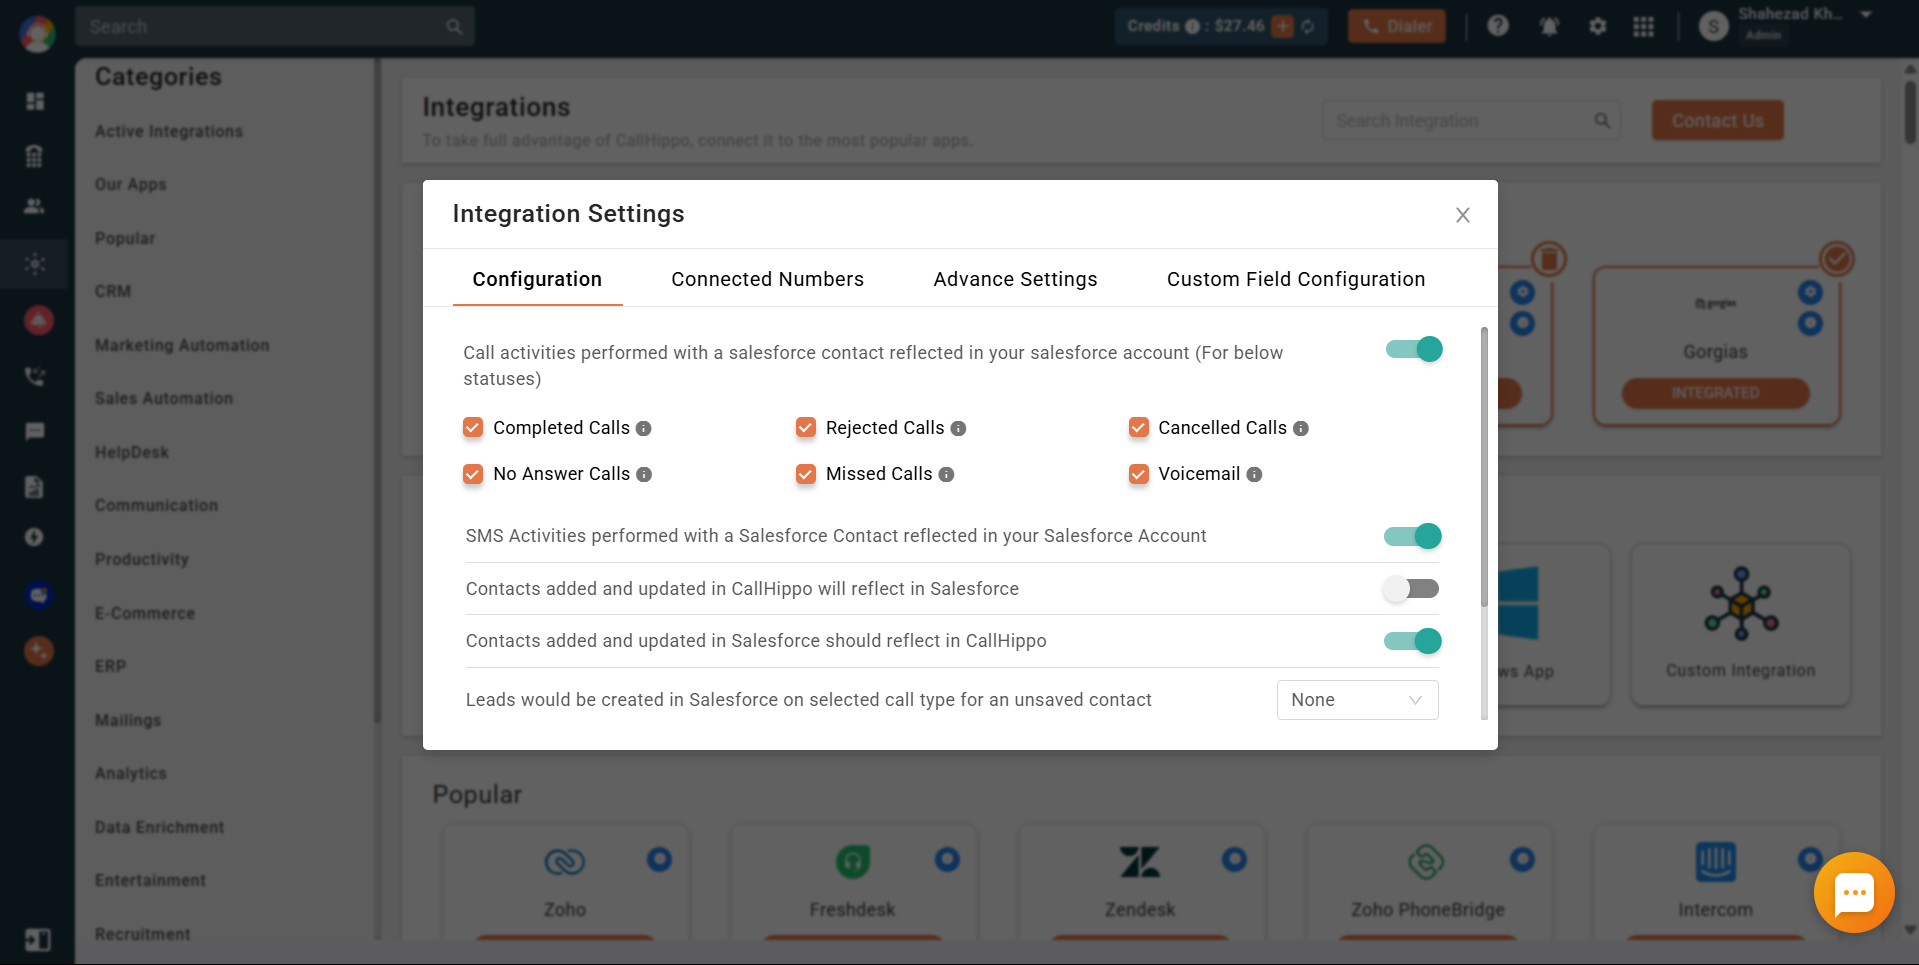
- Call activities reflected in Salesforce: when enabled, calls placed on a Salesforce contact through CallHippo appear in that contact’s activity. Choose which statuses to sync (Completed, Rejected, Cancelled, No Answer, Missed, Voicemail). Disabling this stops all call-activity sync. Sync takes roughly 30 seconds to a minute.
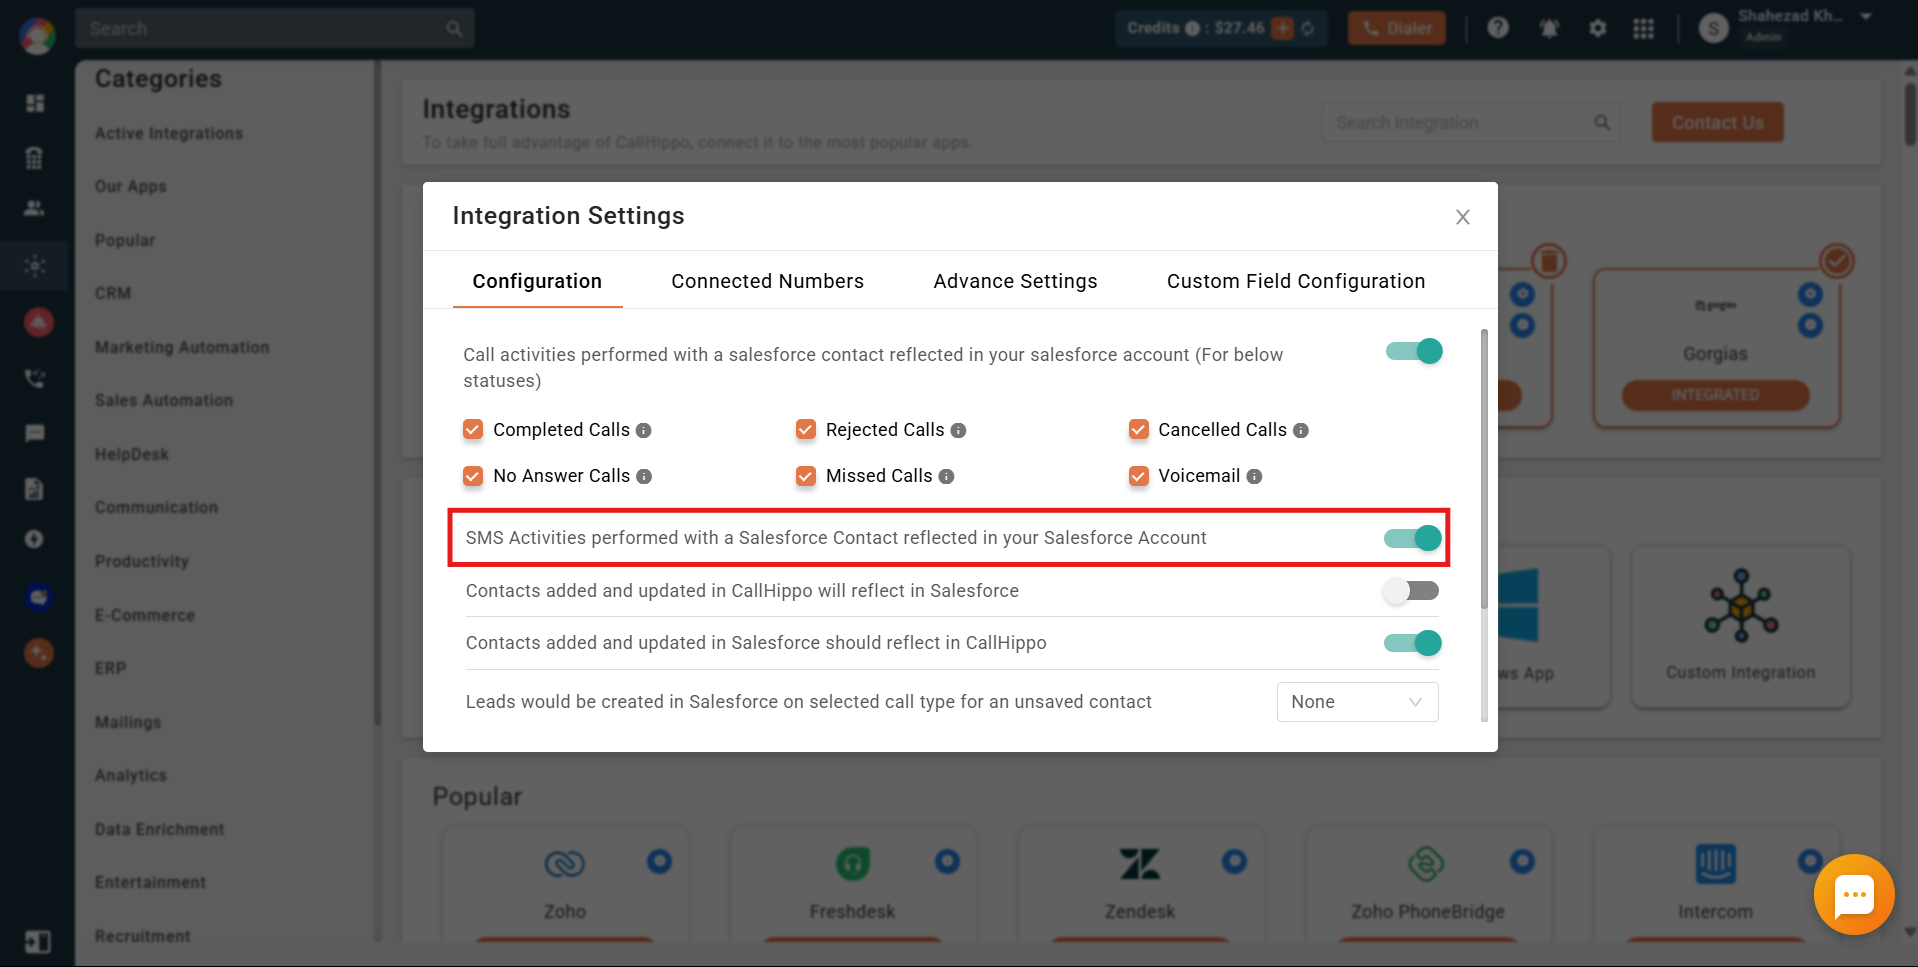
- SMS activities reflected in Salesforce: when enabled, SMS activity syncs to the Salesforce contact’s Activity section.
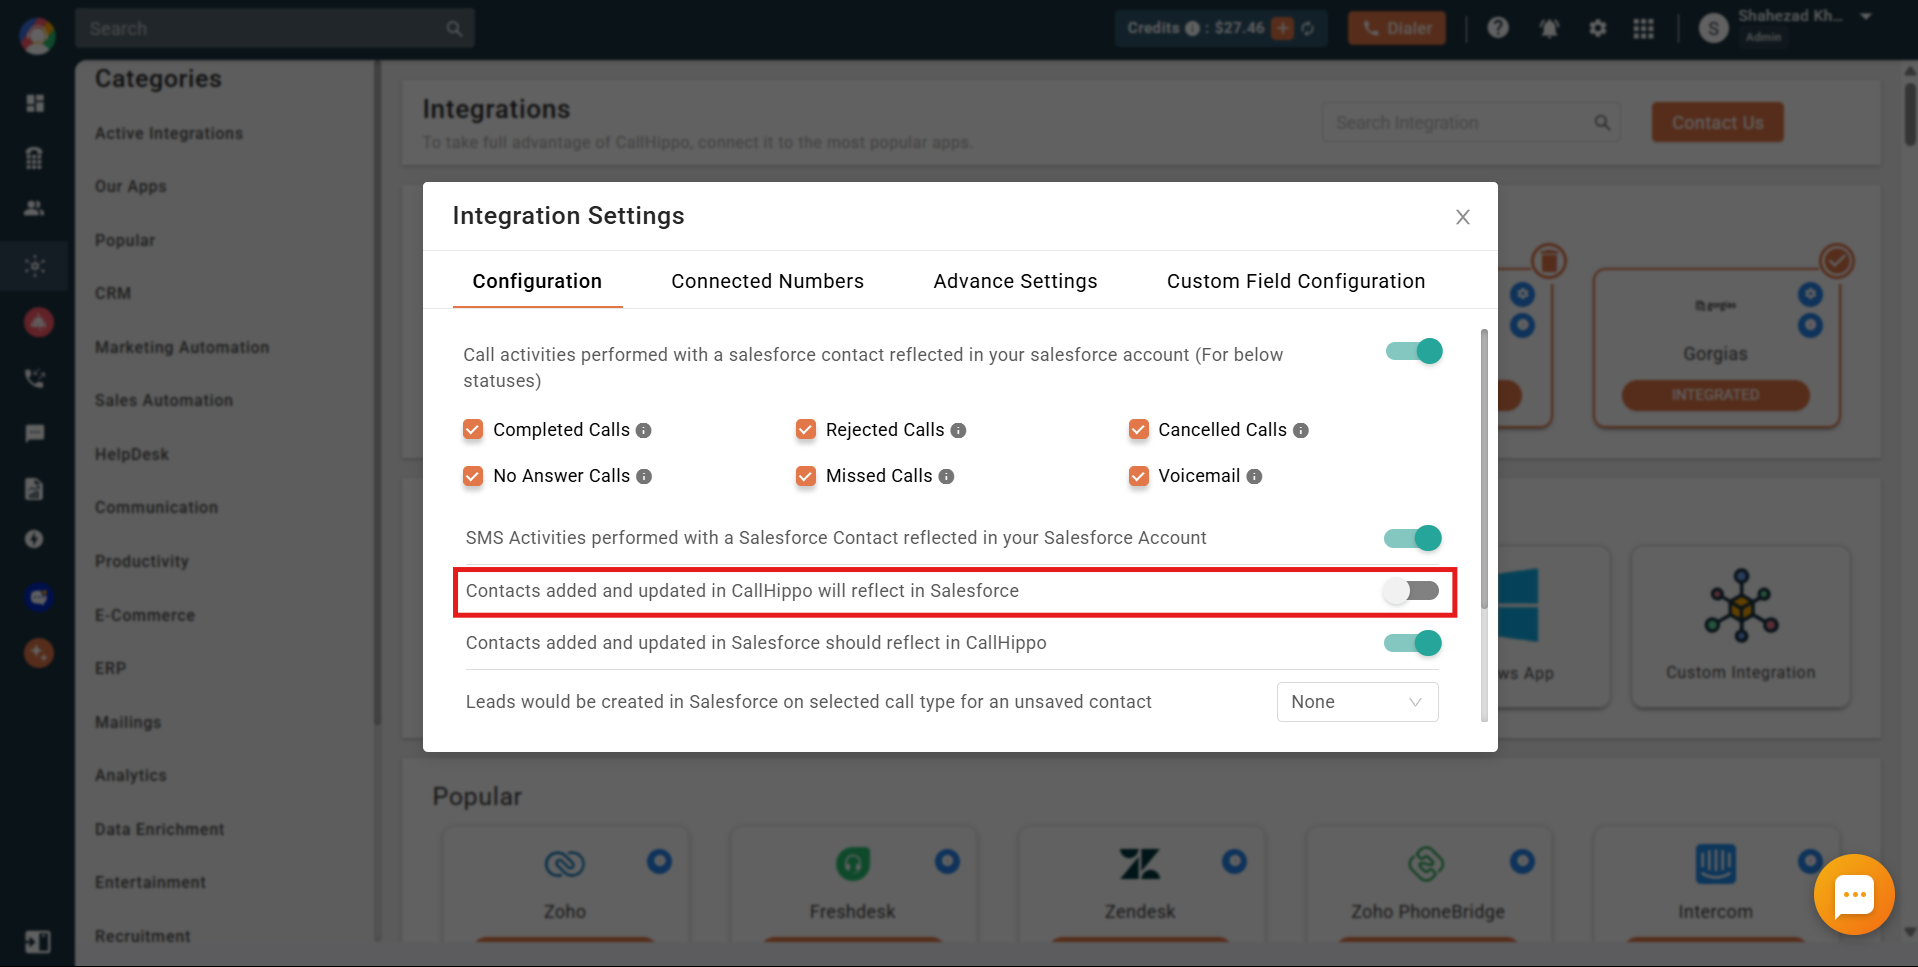
- Contacts added and updated in CallHippo reflect in Salesforce: when enabled, new CallHippo contacts appear in Salesforce. Note that contacts created before the integration will not sync — only newly created ones.
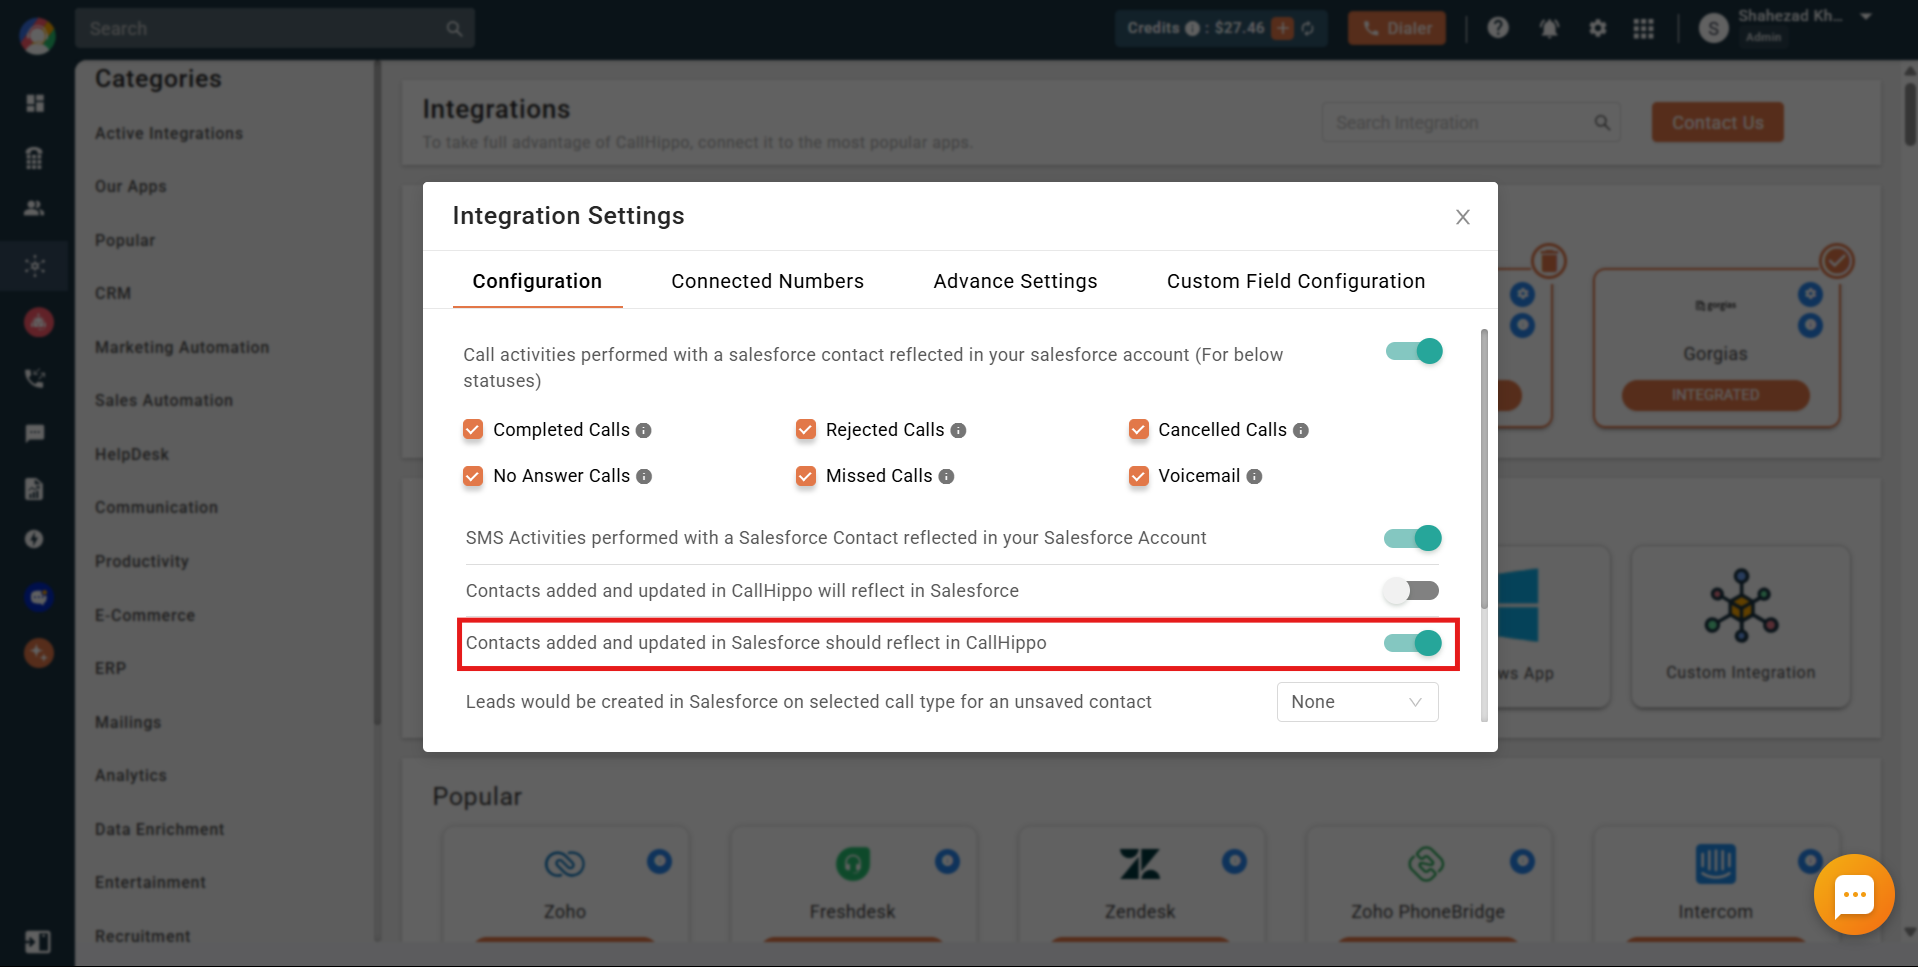
- Contacts added and updated in Salesforce reflect in CallHippo: when enabled, contacts added in Salesforce appear in CallHippo.
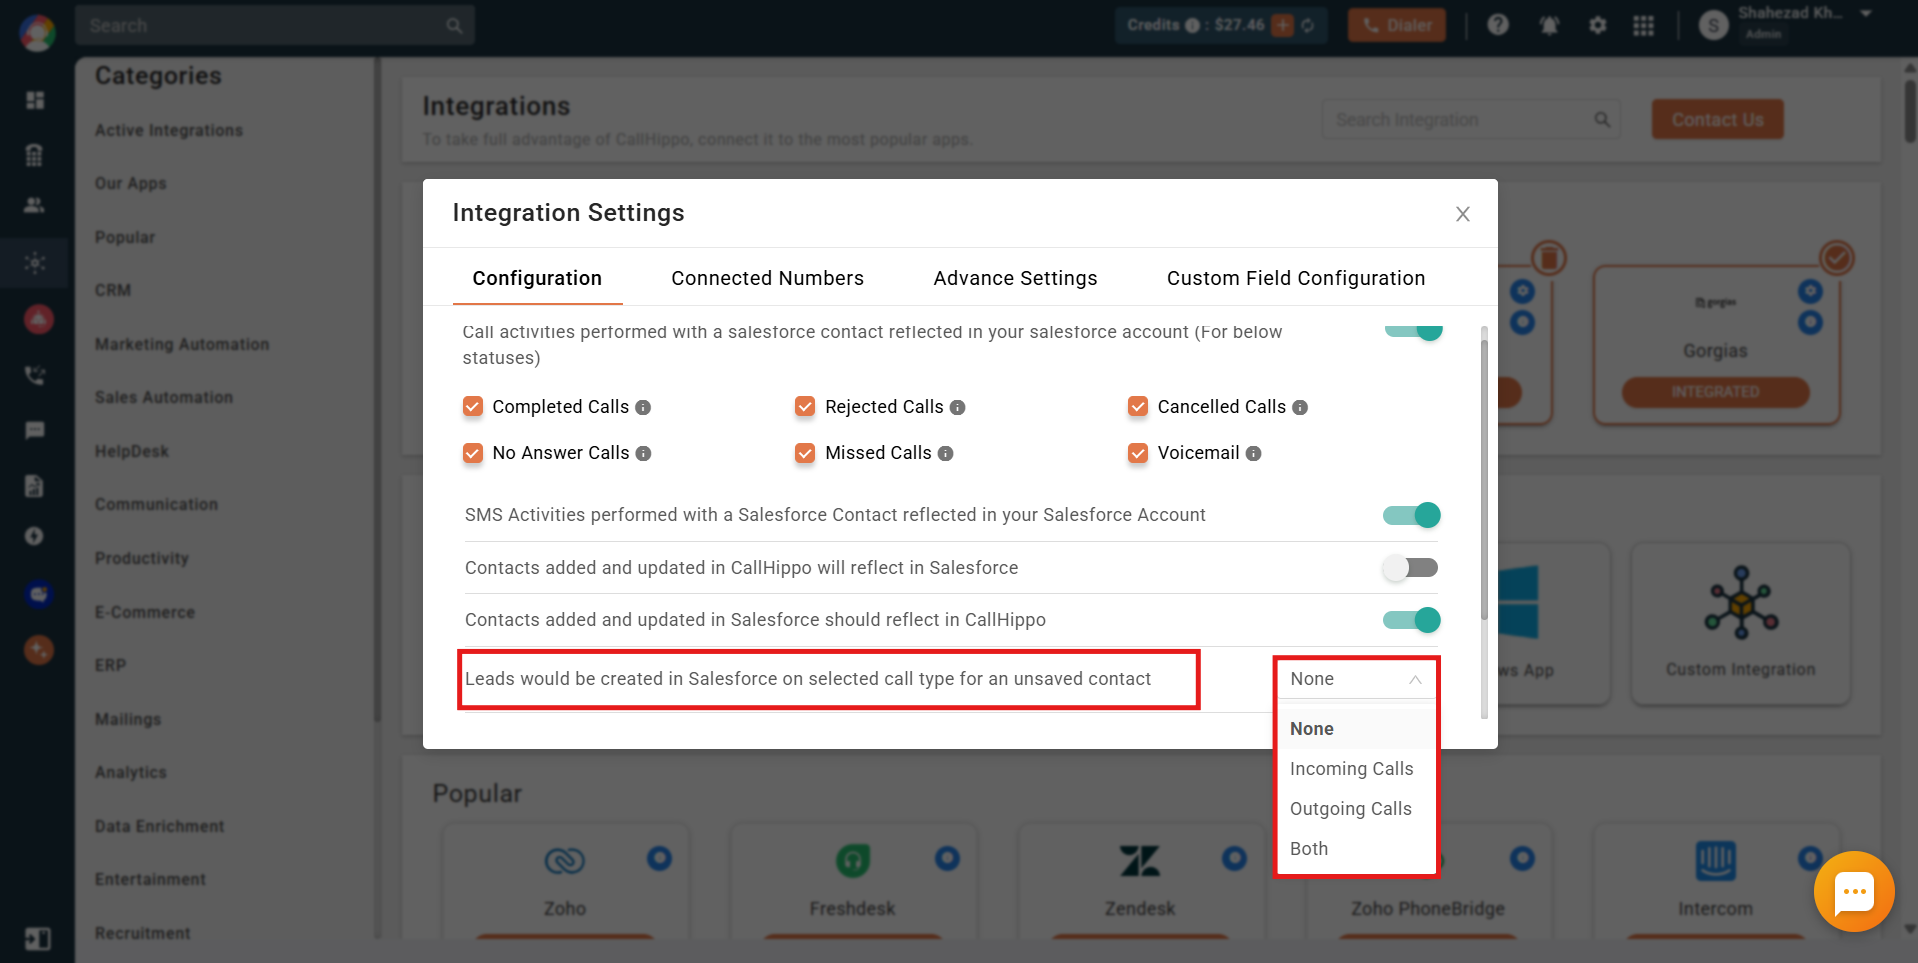
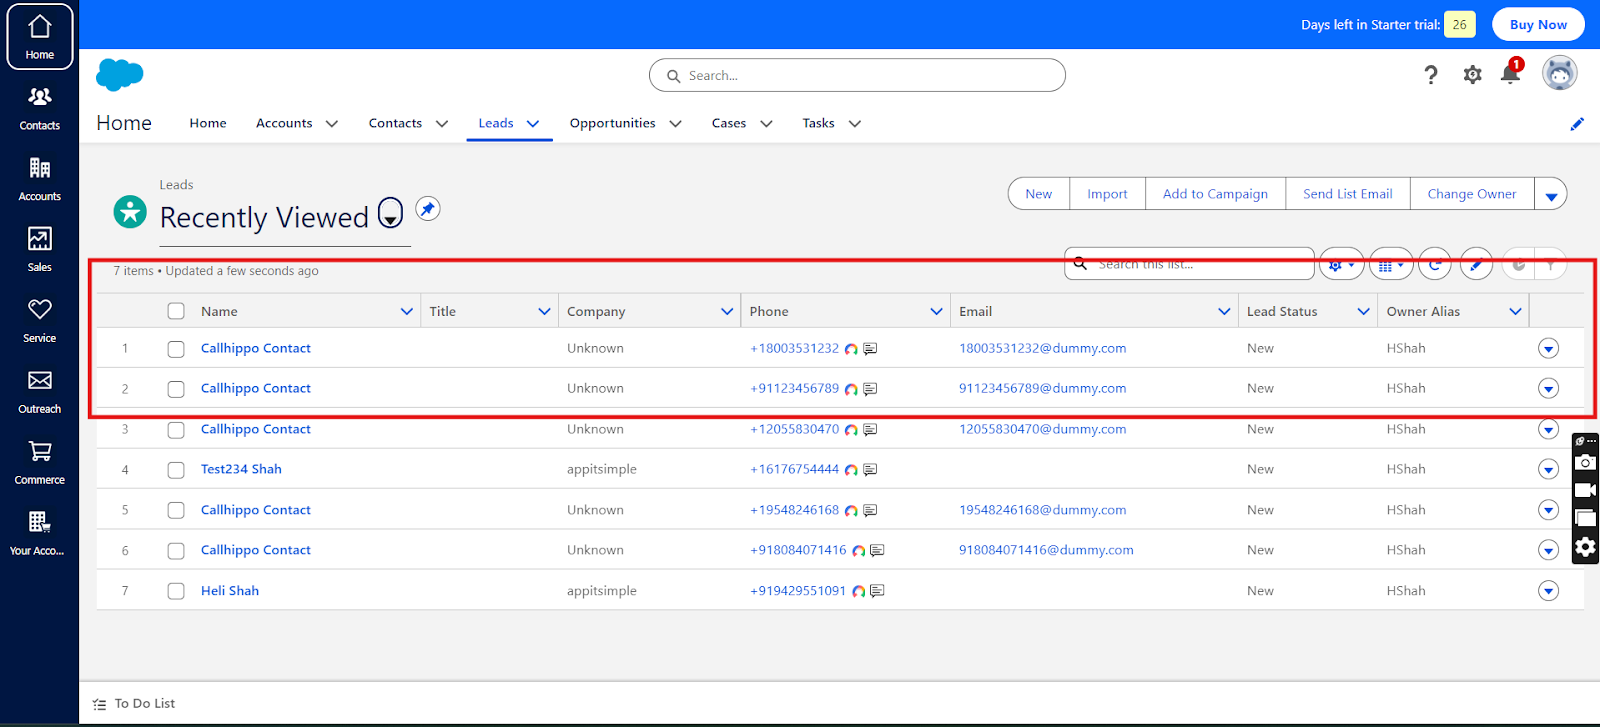
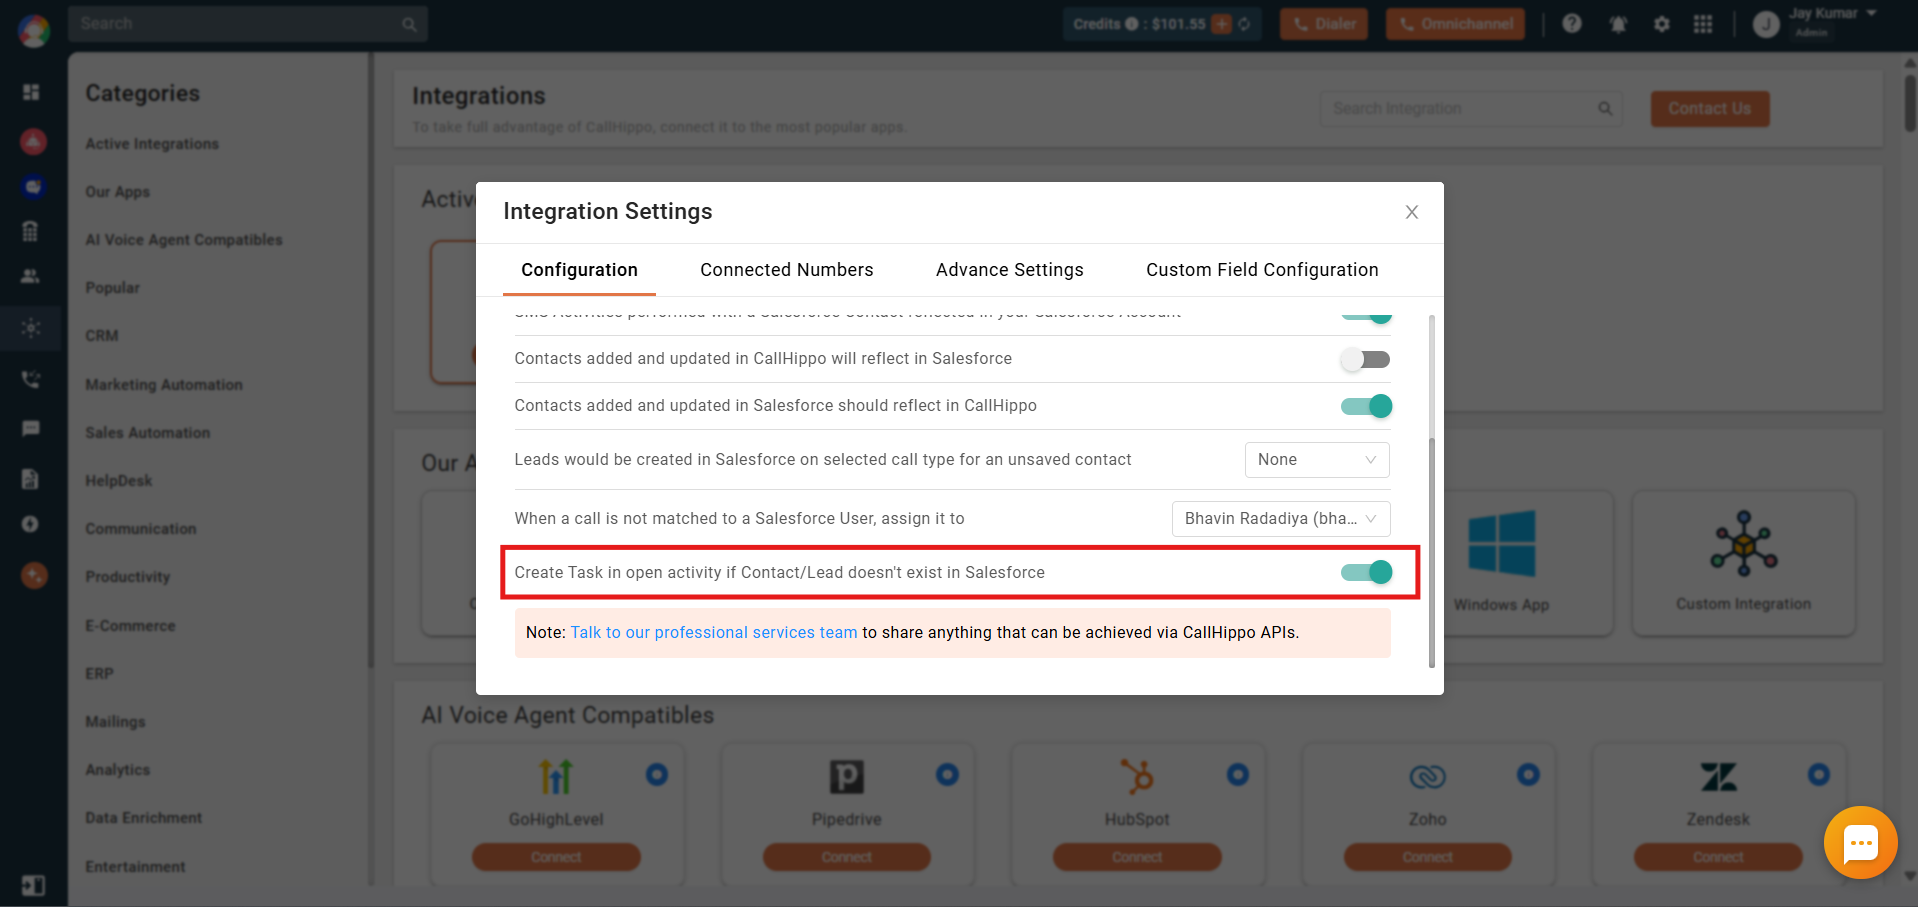
- Leads created in Salesforce on a selected call type: choose which call types (Incoming, Outgoing, or Both) create a lead in Salesforce for an unsaved contact.
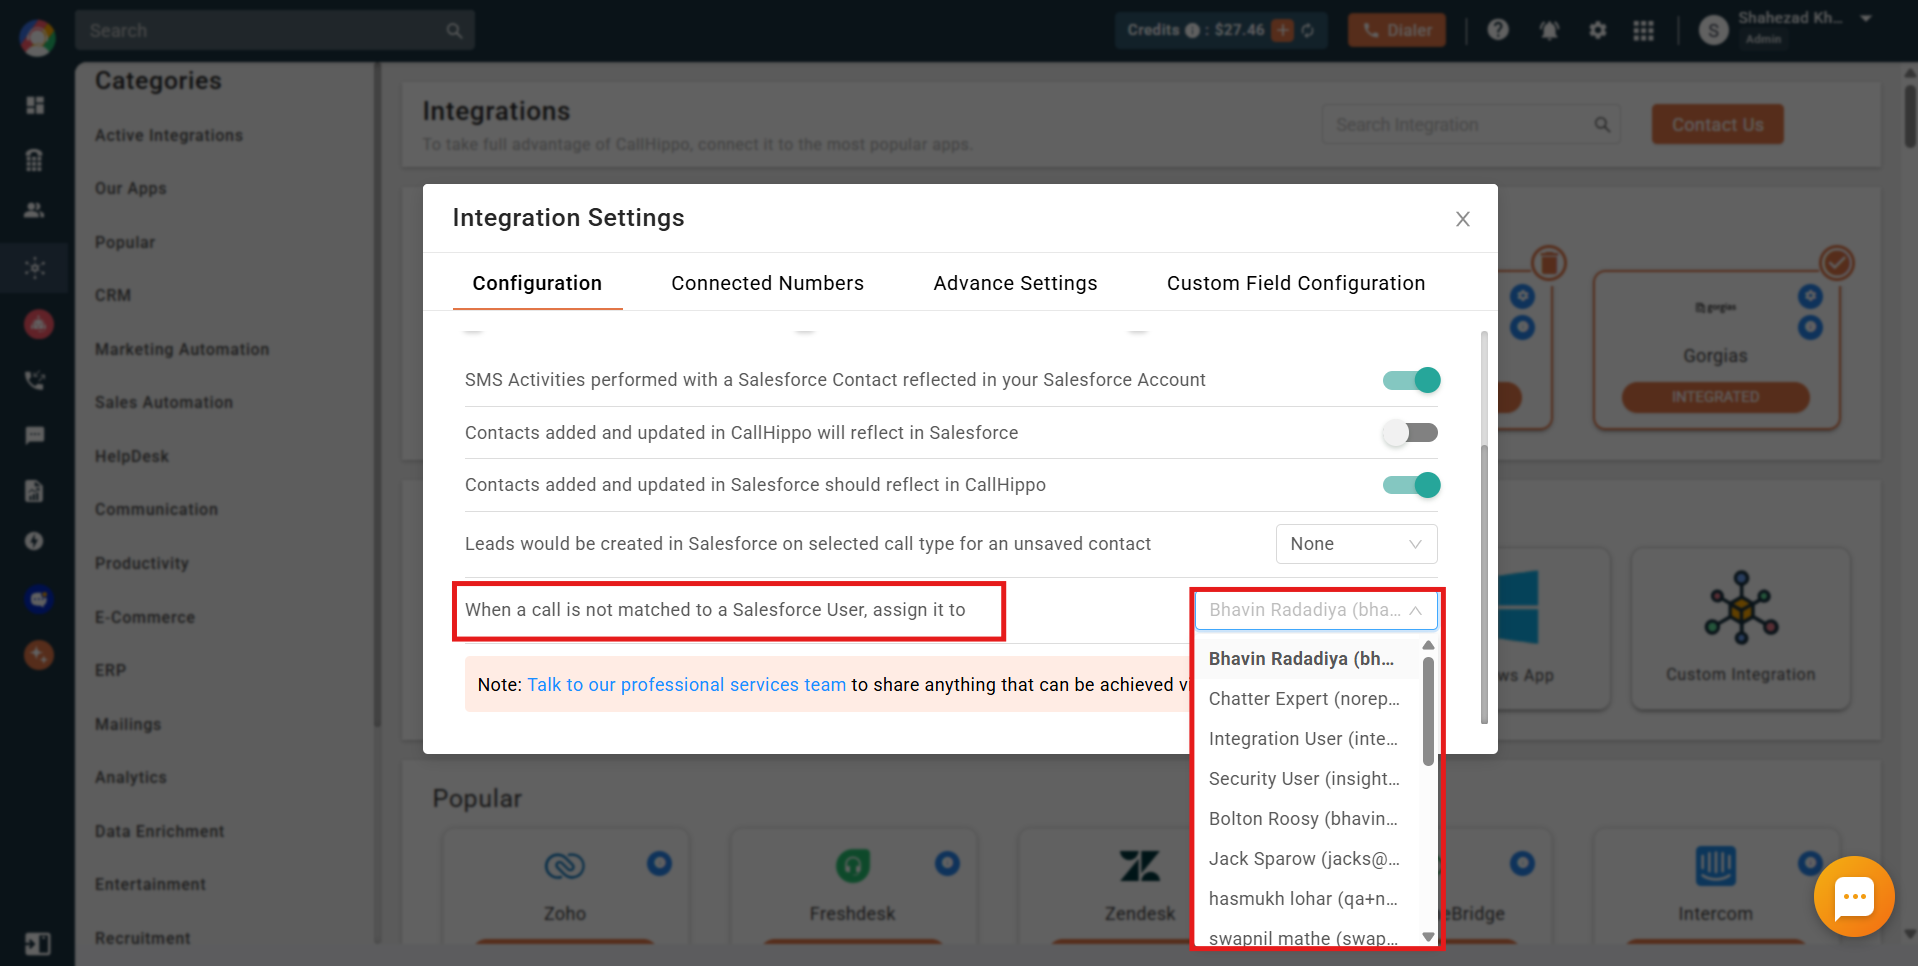
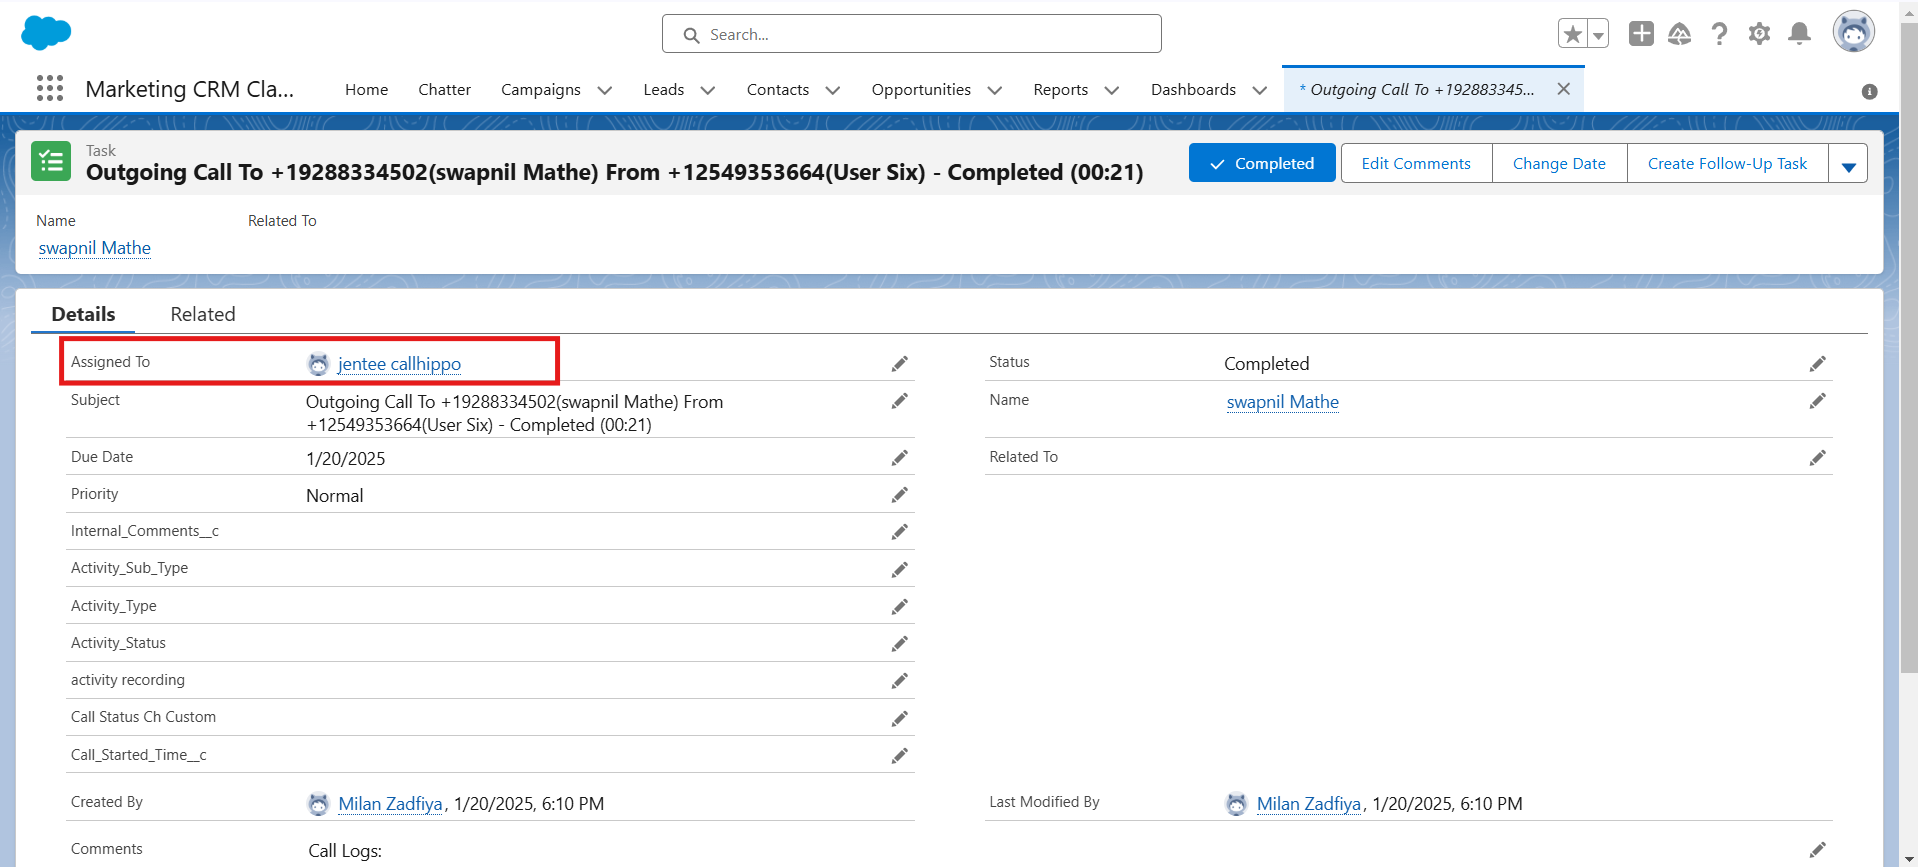
- Assign unmatched calls to a default user: if a CallHippo user isn’t found in Salesforce, the call activity is assigned to the default user you select here. The dropdown lists all Salesforce sub-users (name and email); the system administrator is pre-selected by default.
- Create task if contact/lead doesn’t exist: when enabled, a task (open activity) is created in Salesforce if a call is made or received on a number with no matching contact or lead. This is enabled by default.
Connected Numbers tab
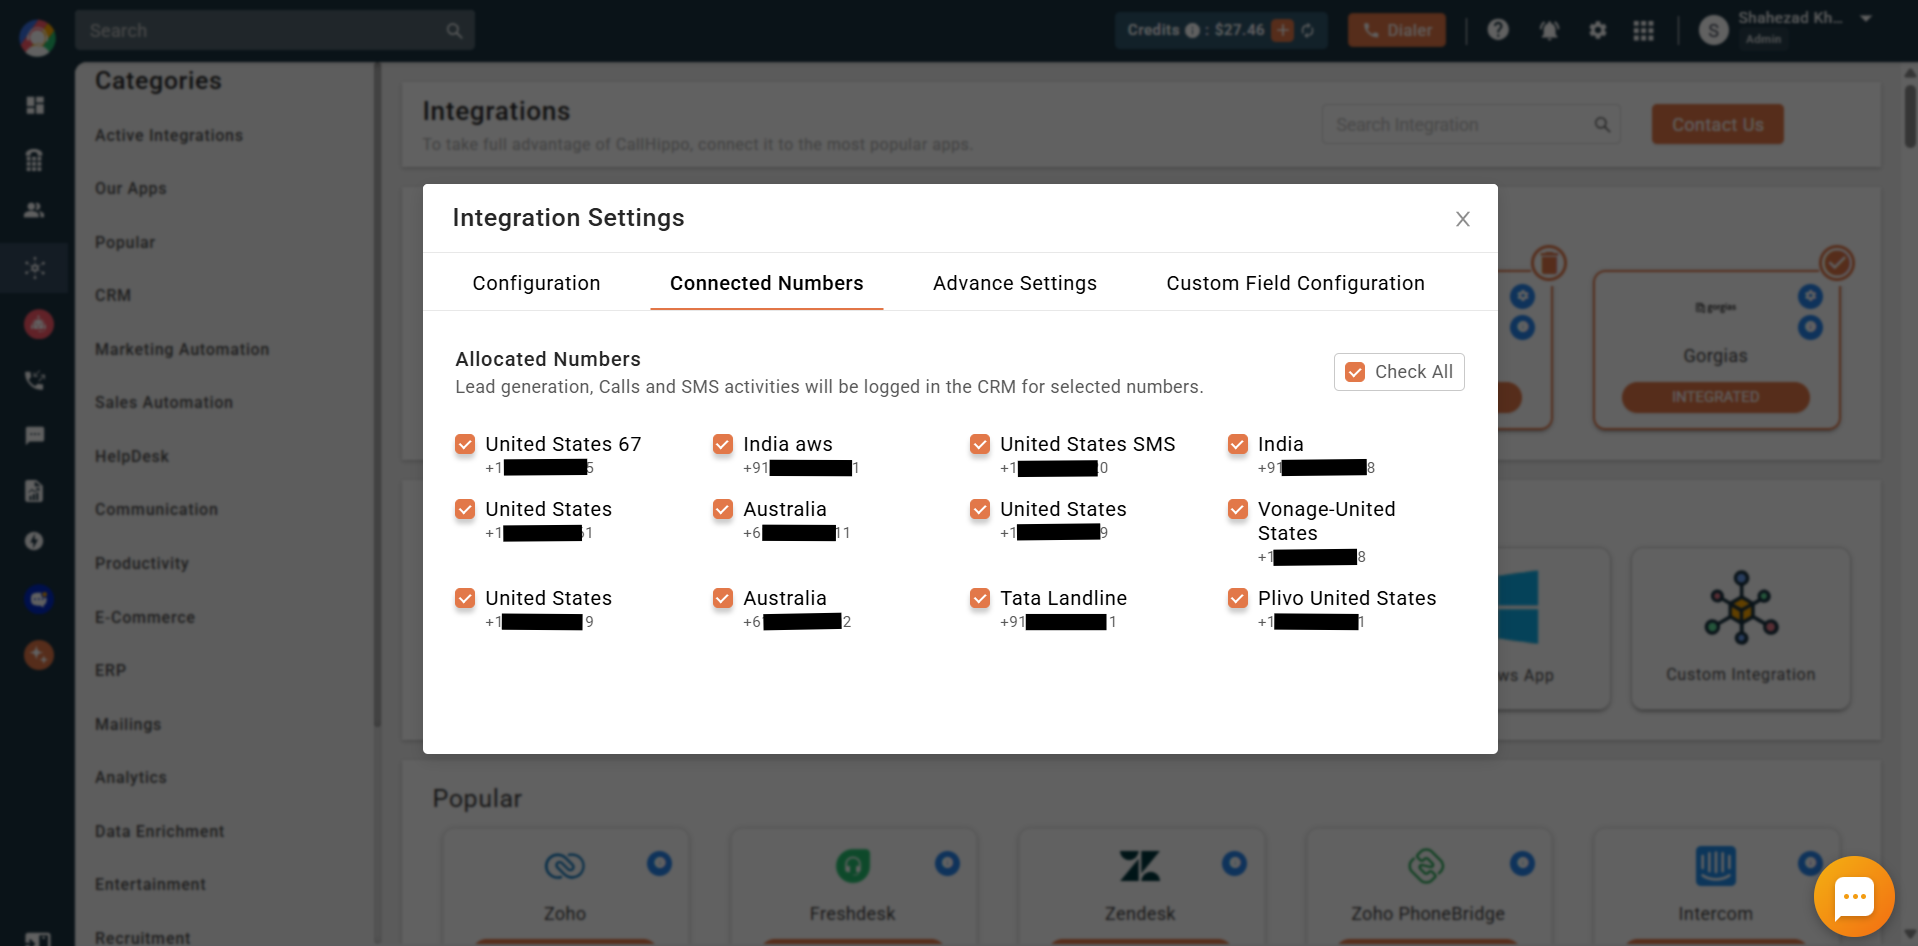
Select or deselect the numbers whose activity you want to sync with Salesforce. All numbers on your account appear here and are selected by default; deselecting a number stops its activity from syncing.
Advance Settings tab
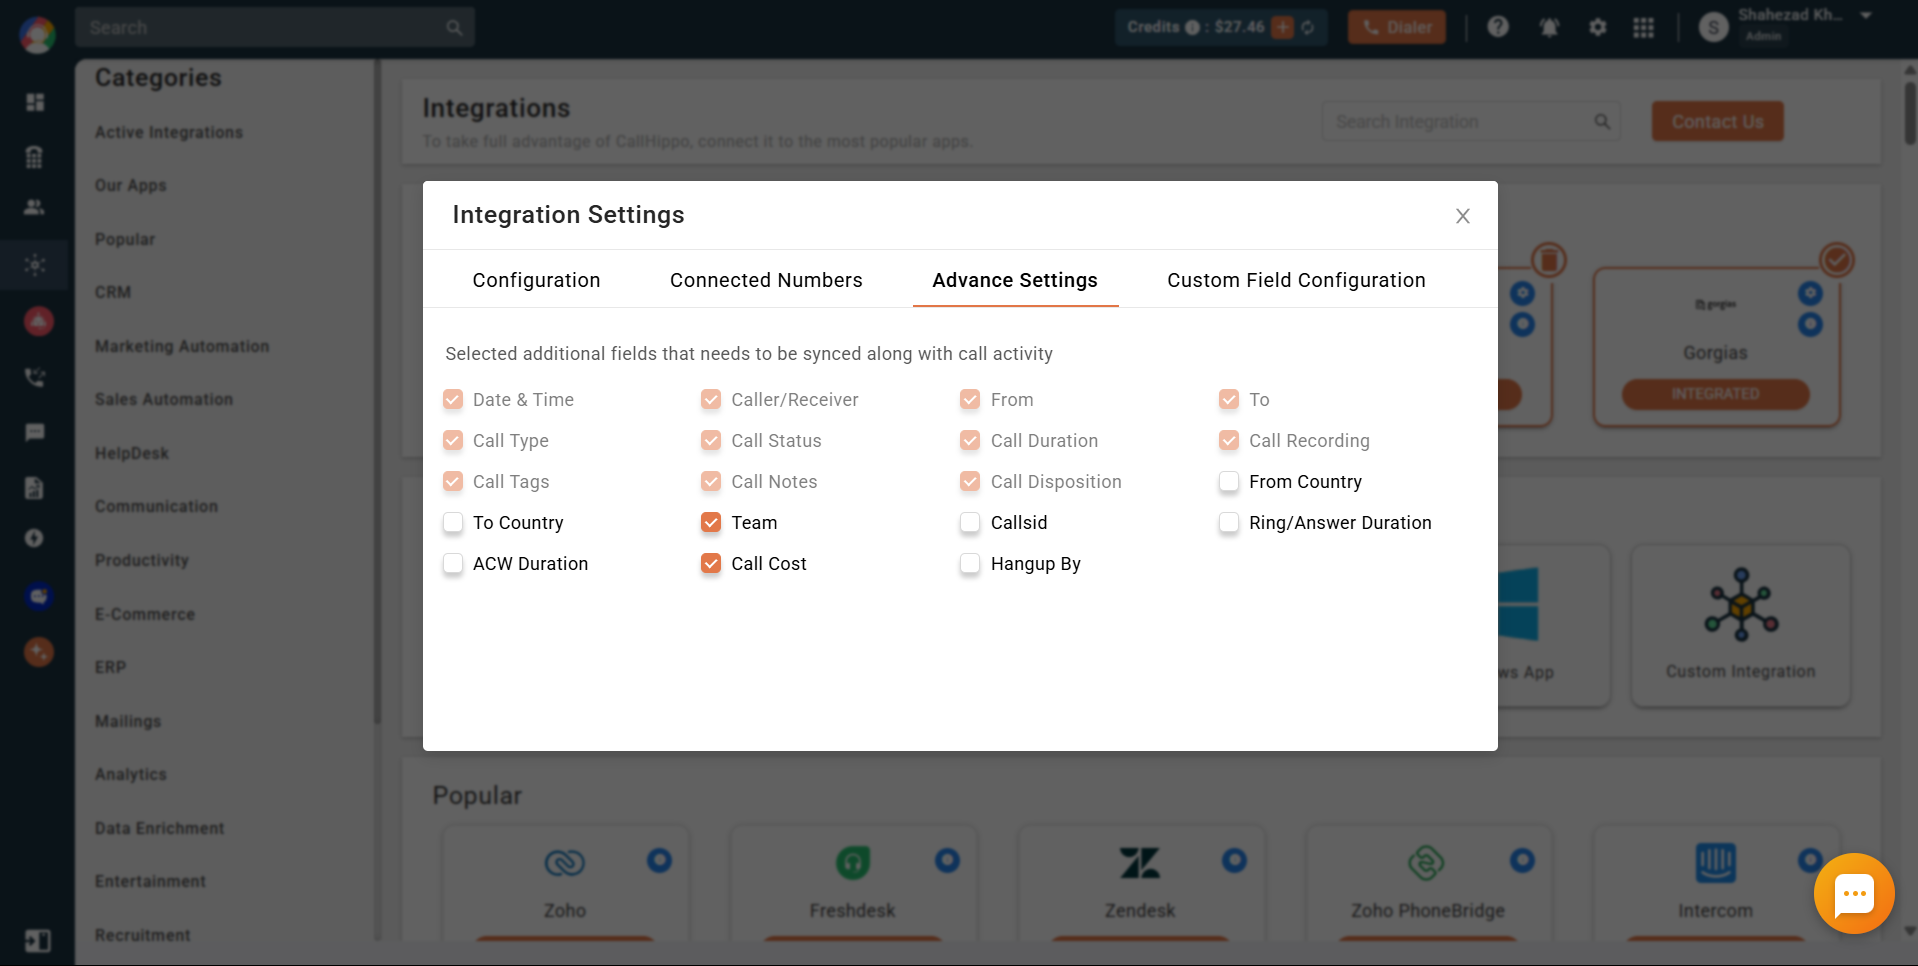
Choose the additional fields you want to sync alongside each call activity in Salesforce.
Custom Field Configuration tab
Map CallHippo activity fields to your own Salesforce custom fields so call data lands exactly where you want it.
- Enable the toggle to activate custom field mapping.
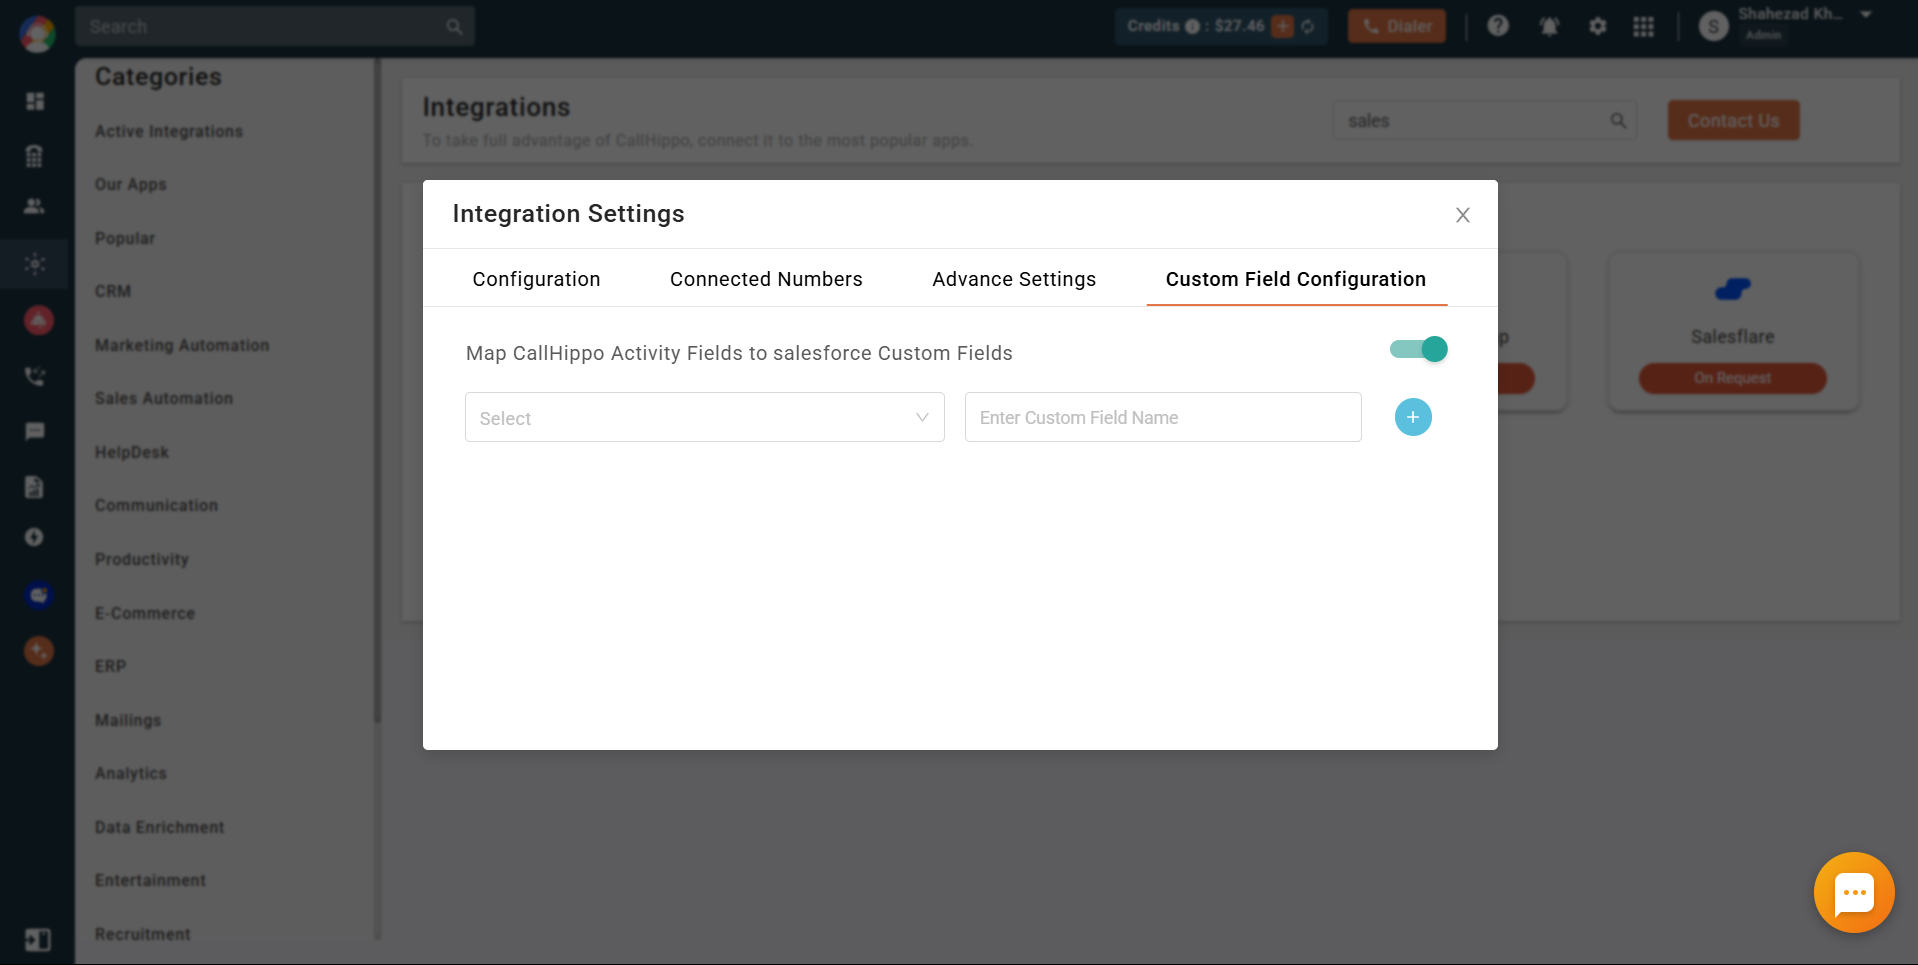
- From the first dropdown, pick the CallHippo activity field to sync. Only the fields selected in the Advance Settings tab appear here.
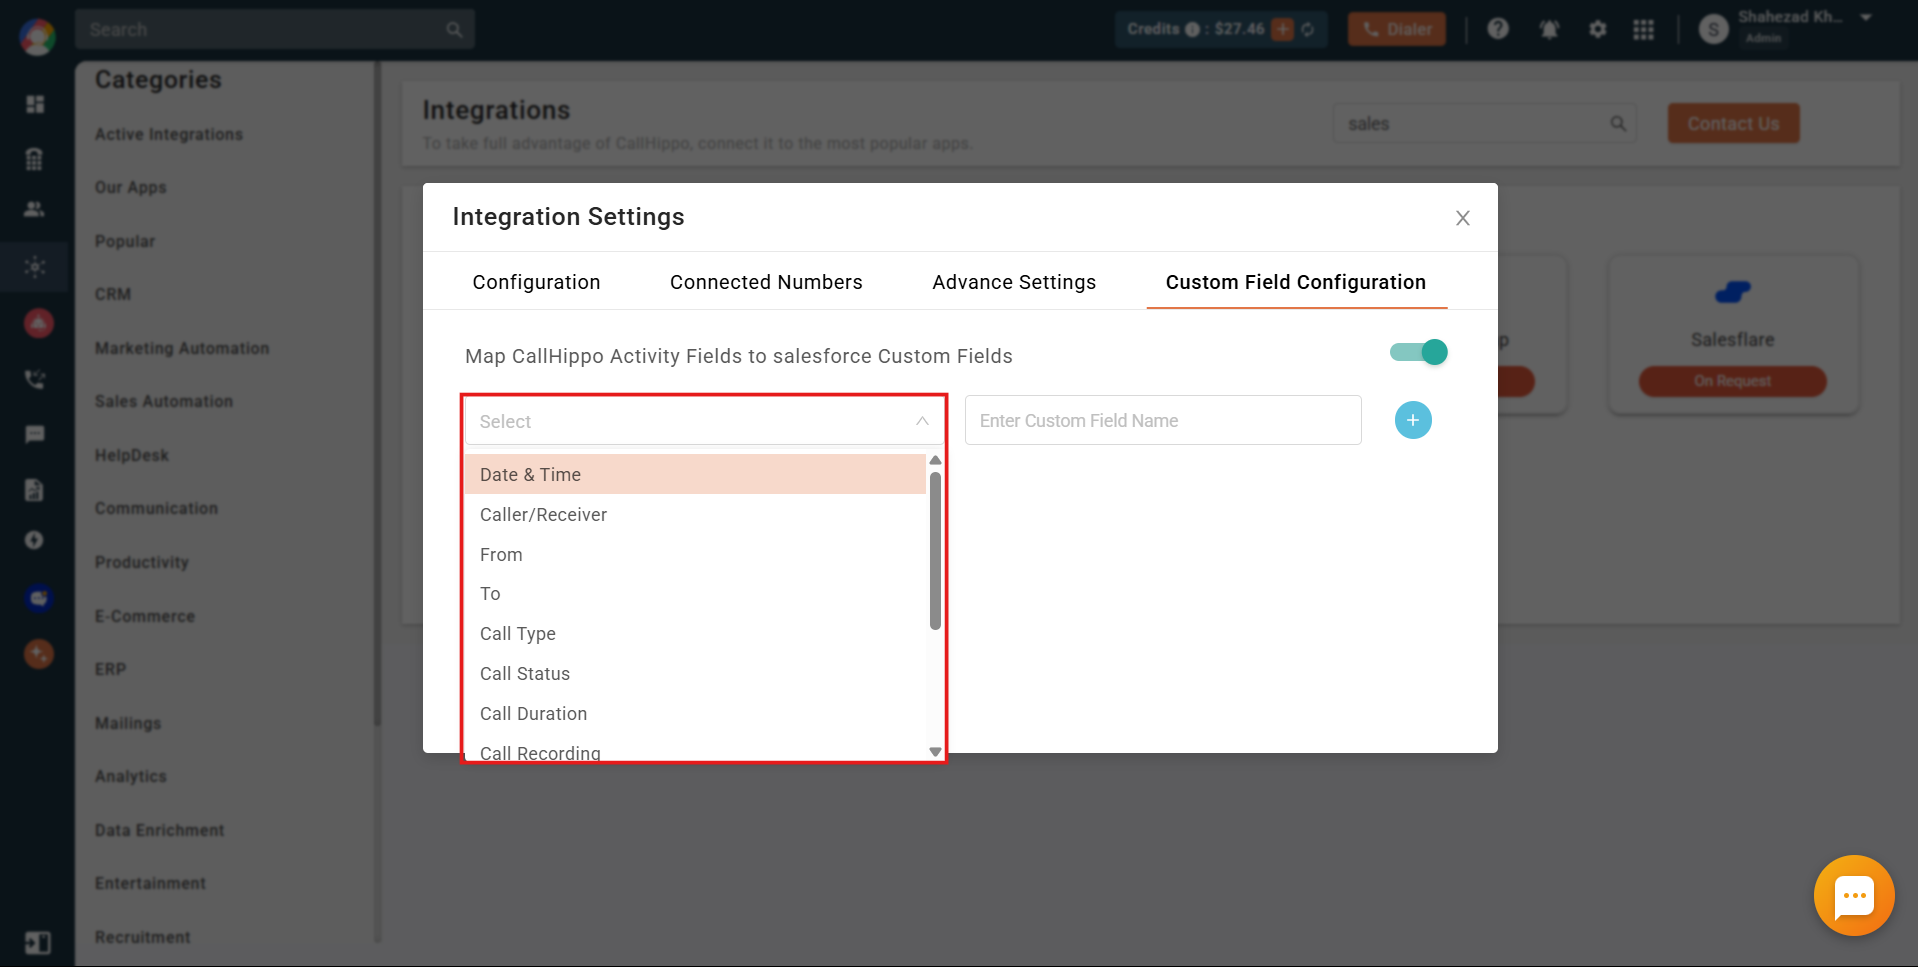
- In the second field, enter the API name of the Salesforce custom field, then click Add.
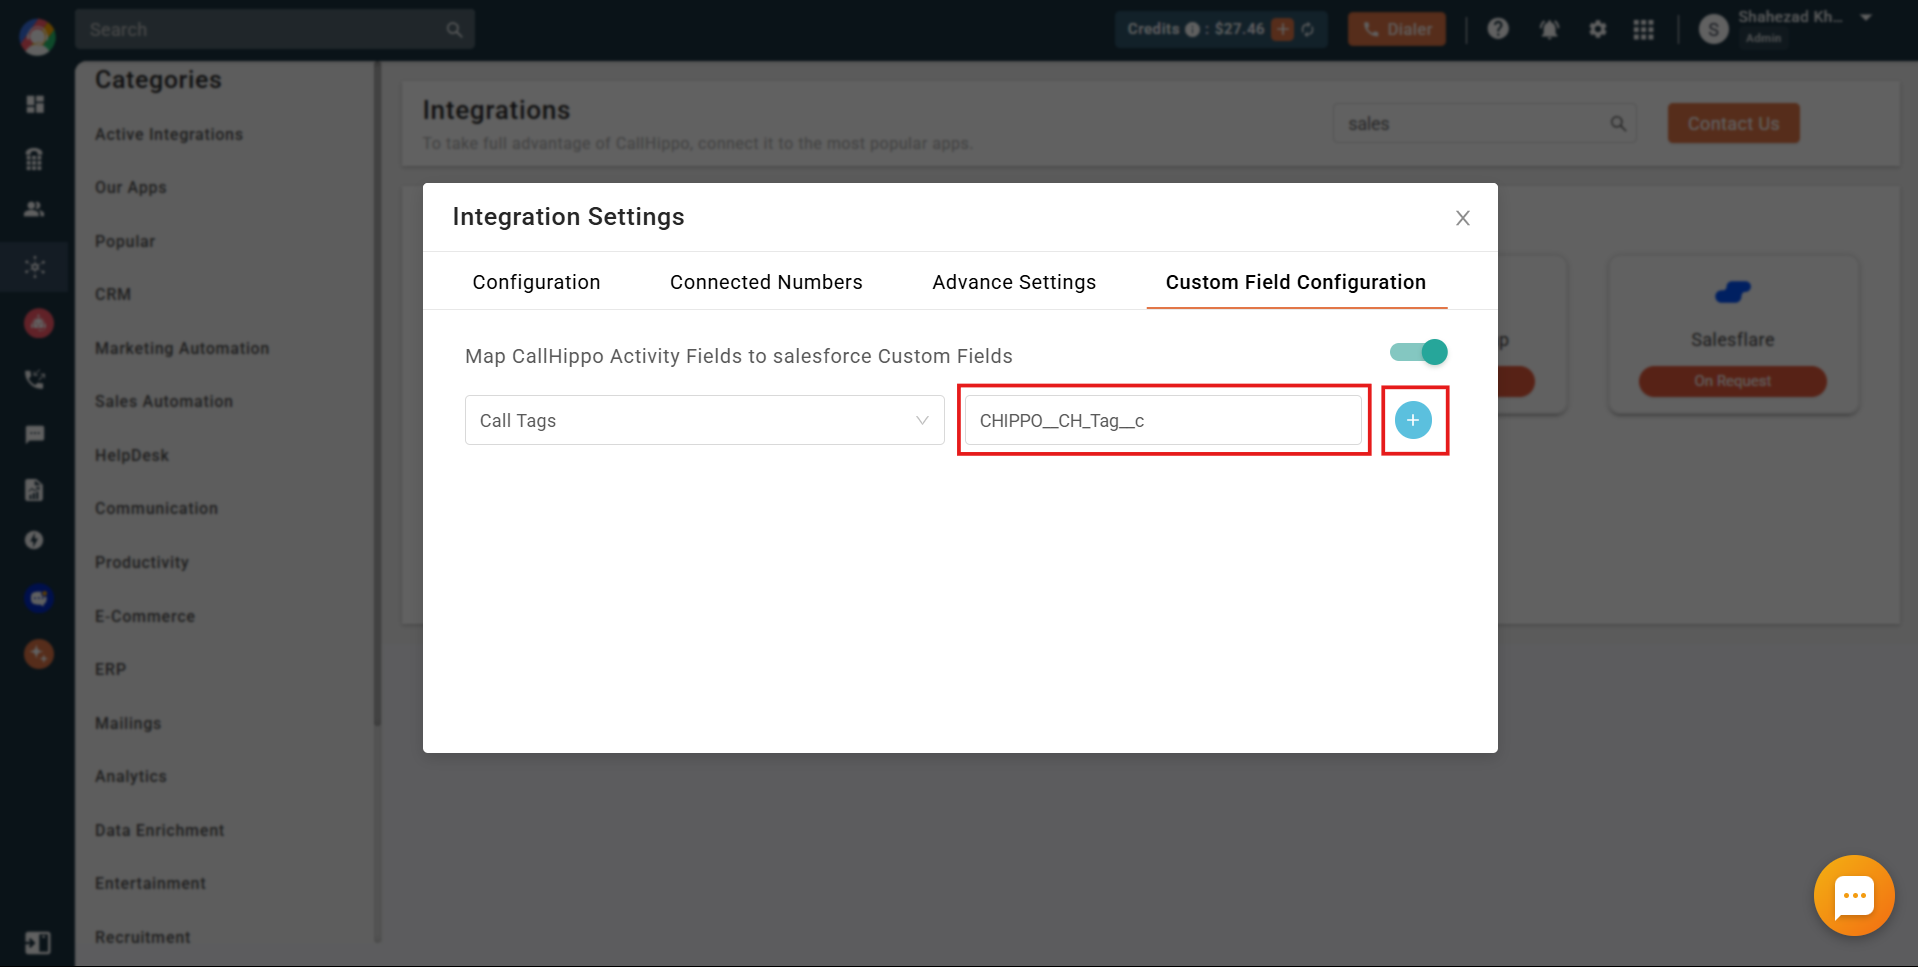
- The mapping is saved and listed below. Remove a mapping any time with the Delete button, and repeat the steps for each field you want to map.
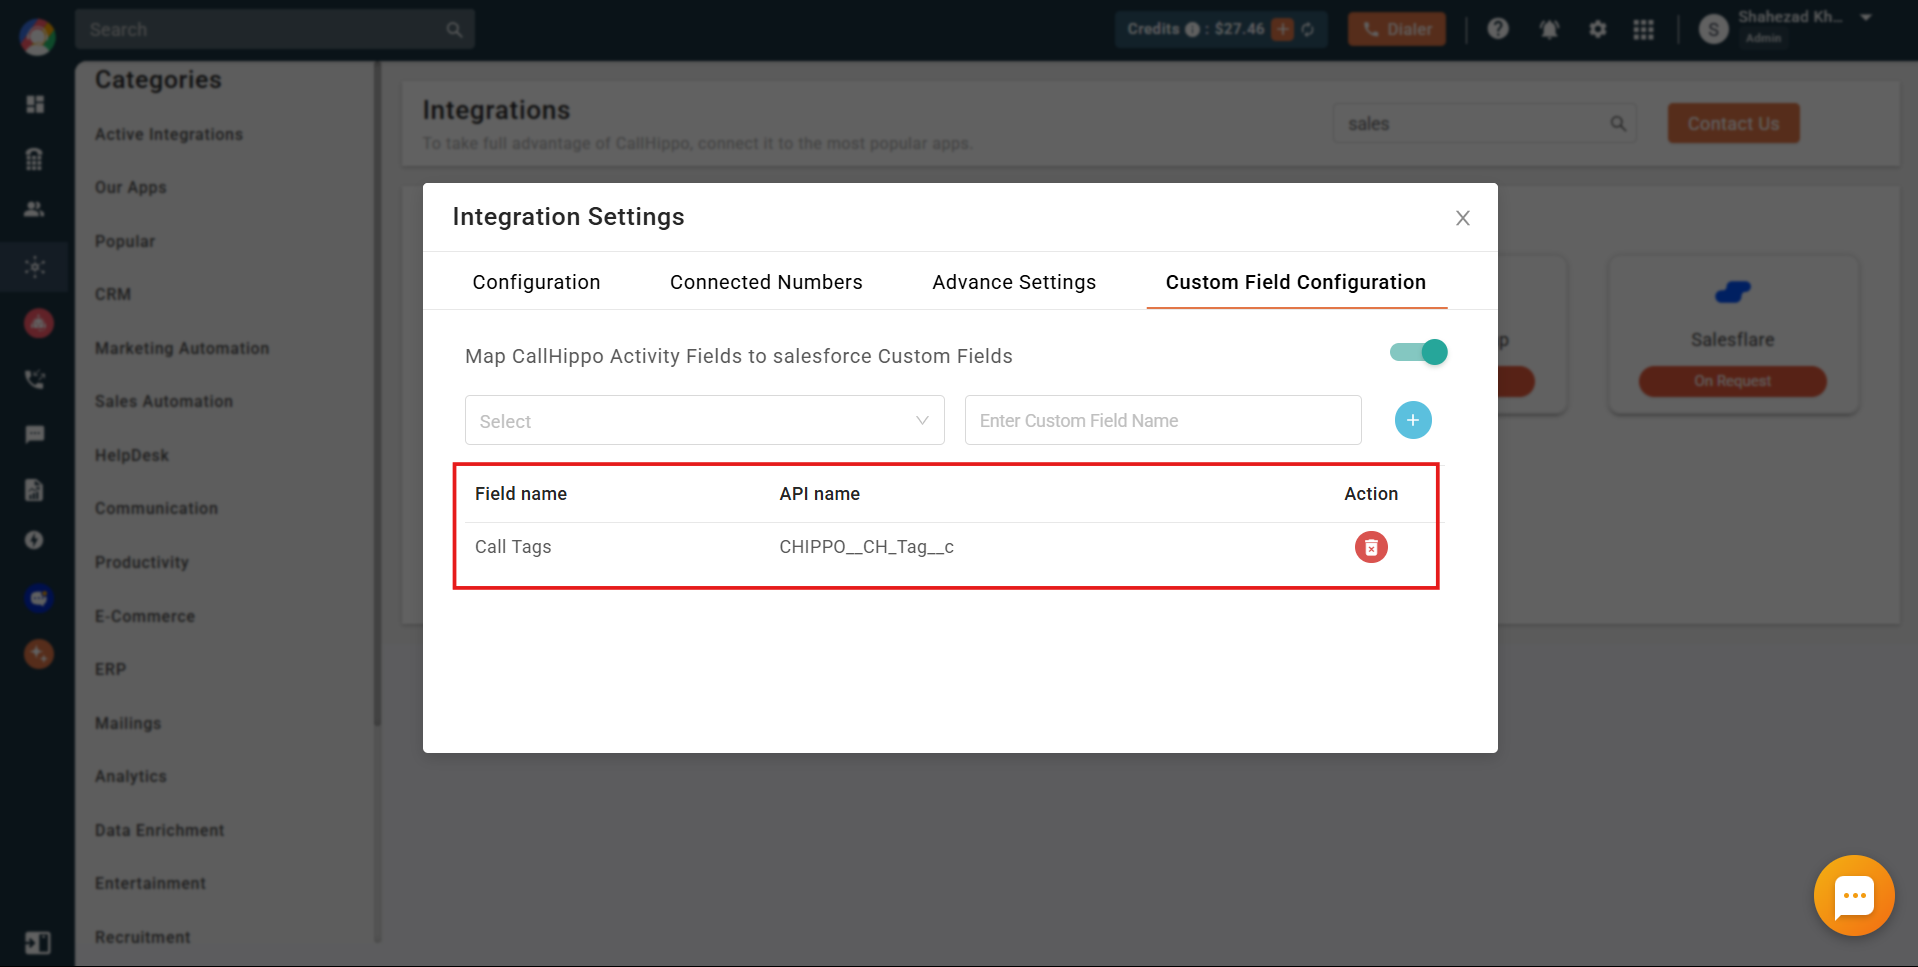
Note when creating a picklist custom field in Salesforce: do not use a global picklist value set, leave “Restrict picklist to the values defined in the value set” unchecked, and leave “Always require a value in this field to save a record” unchecked. For any data type, keep the “Always require a value” checkbox unchecked.
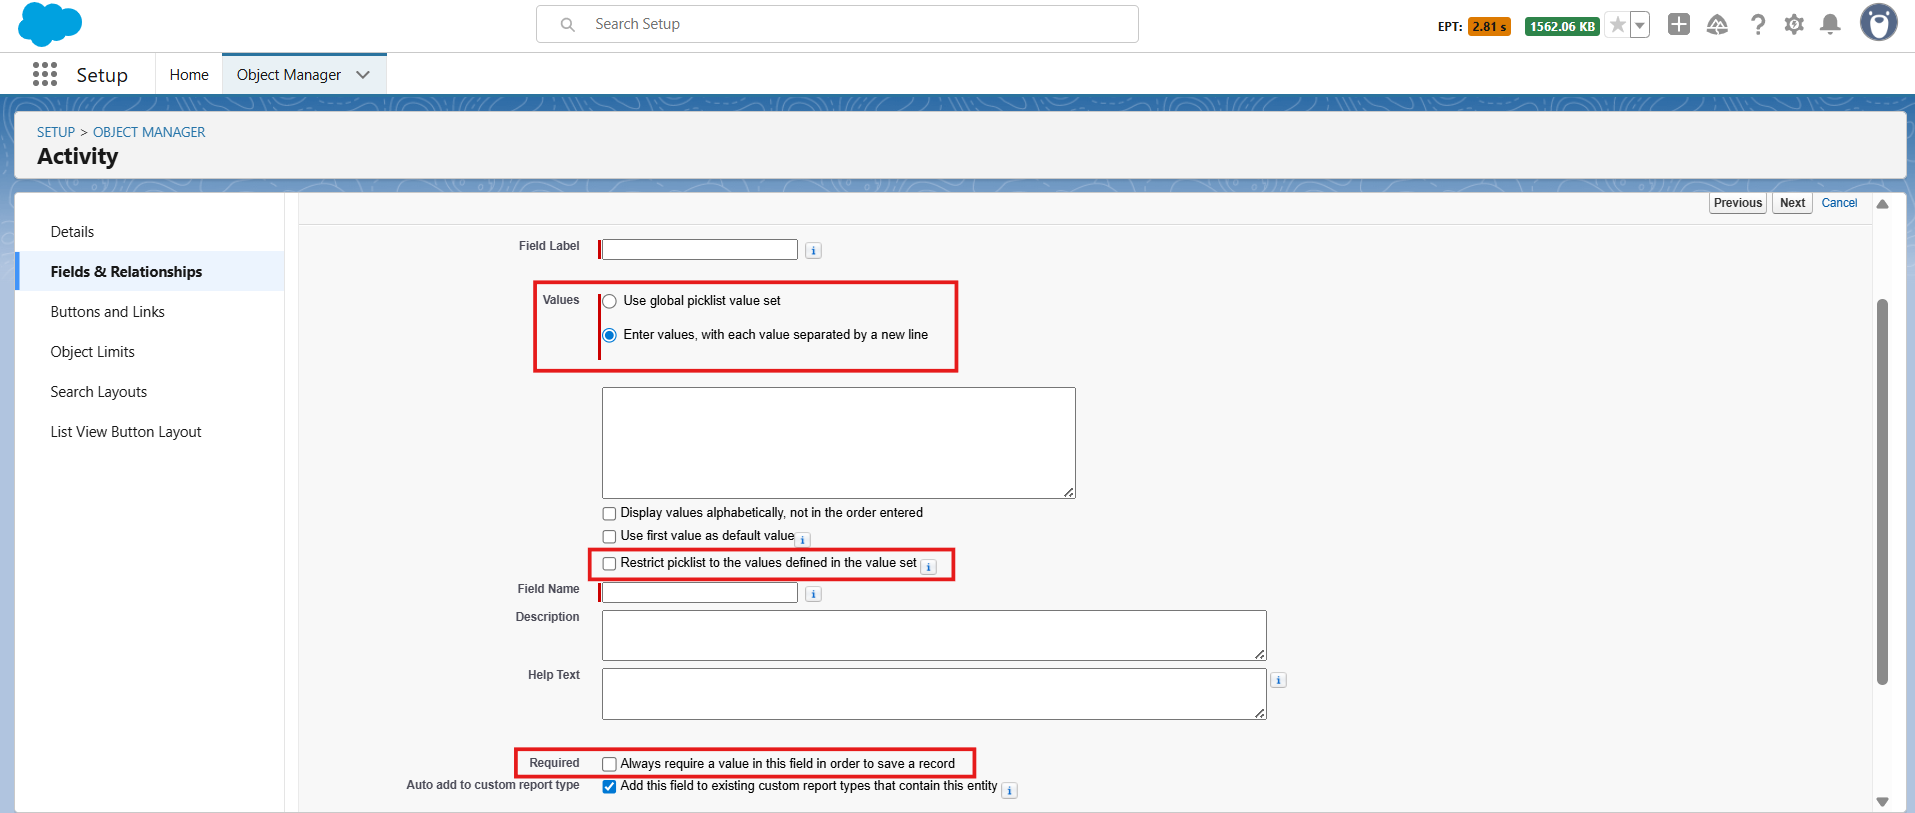
After Call Work activity in Salesforce
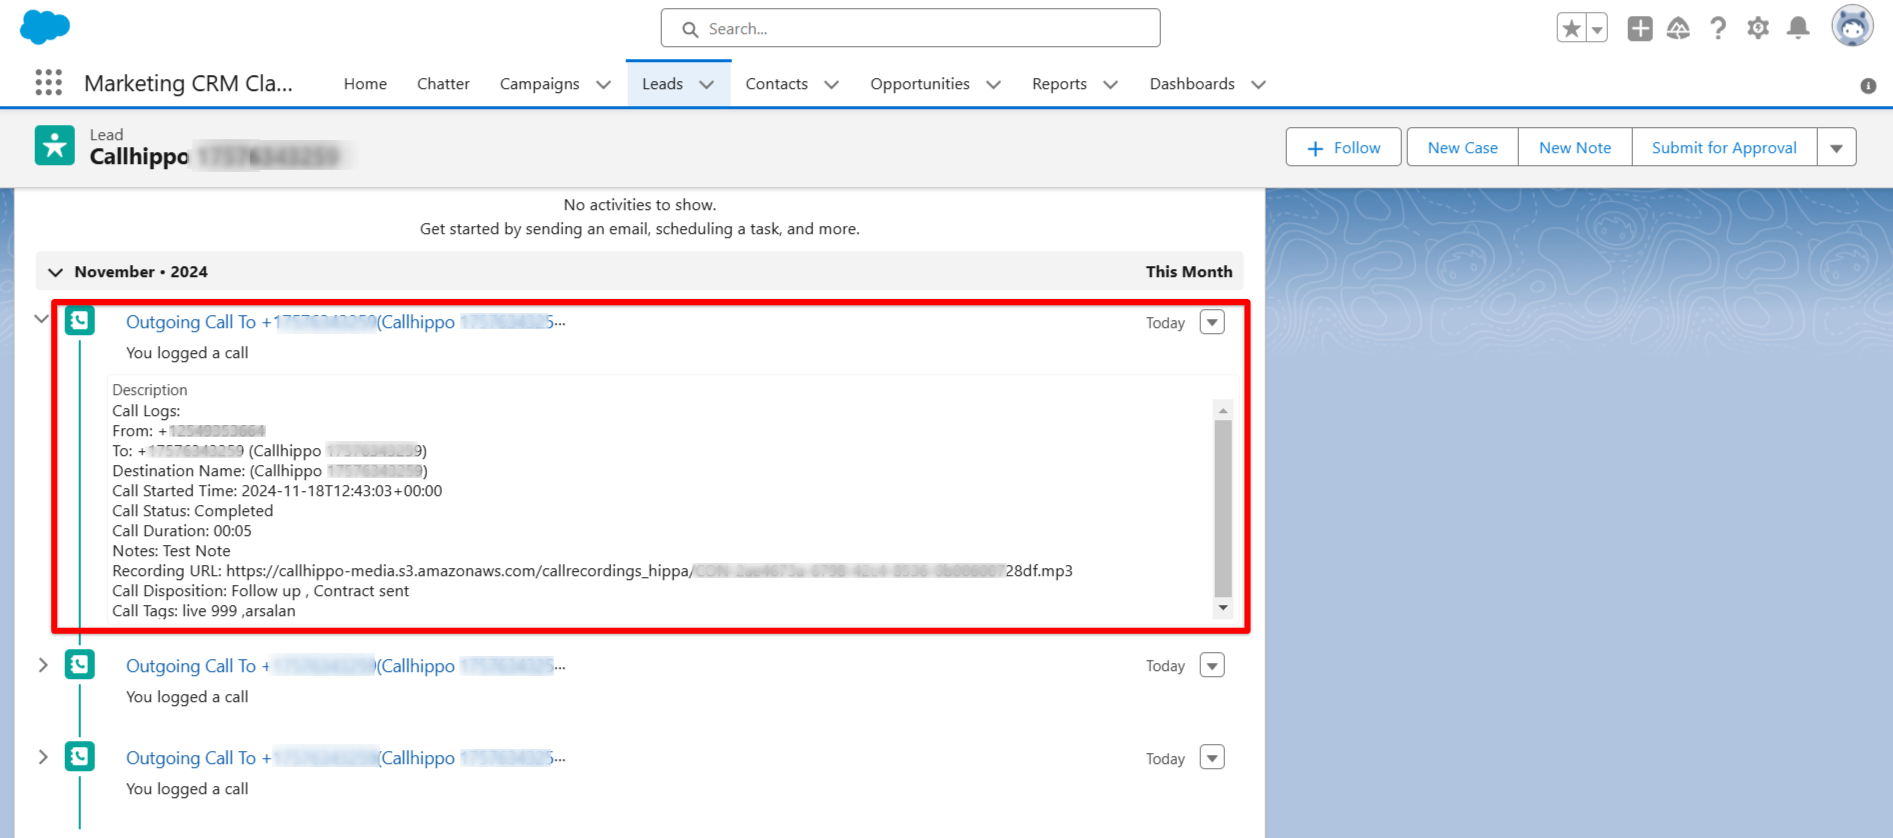
If your plan includes CallHippo’s call tags and disposition feature and it is enabled, the tags and disposition you add on the After Call Work (ACW) screen are pushed to Salesforce along with the call.
Note: this data only syncs when it is entered on the ACW screen. If it is added later from the call logs, it will not sync to Salesforce.
Enable click-to-call
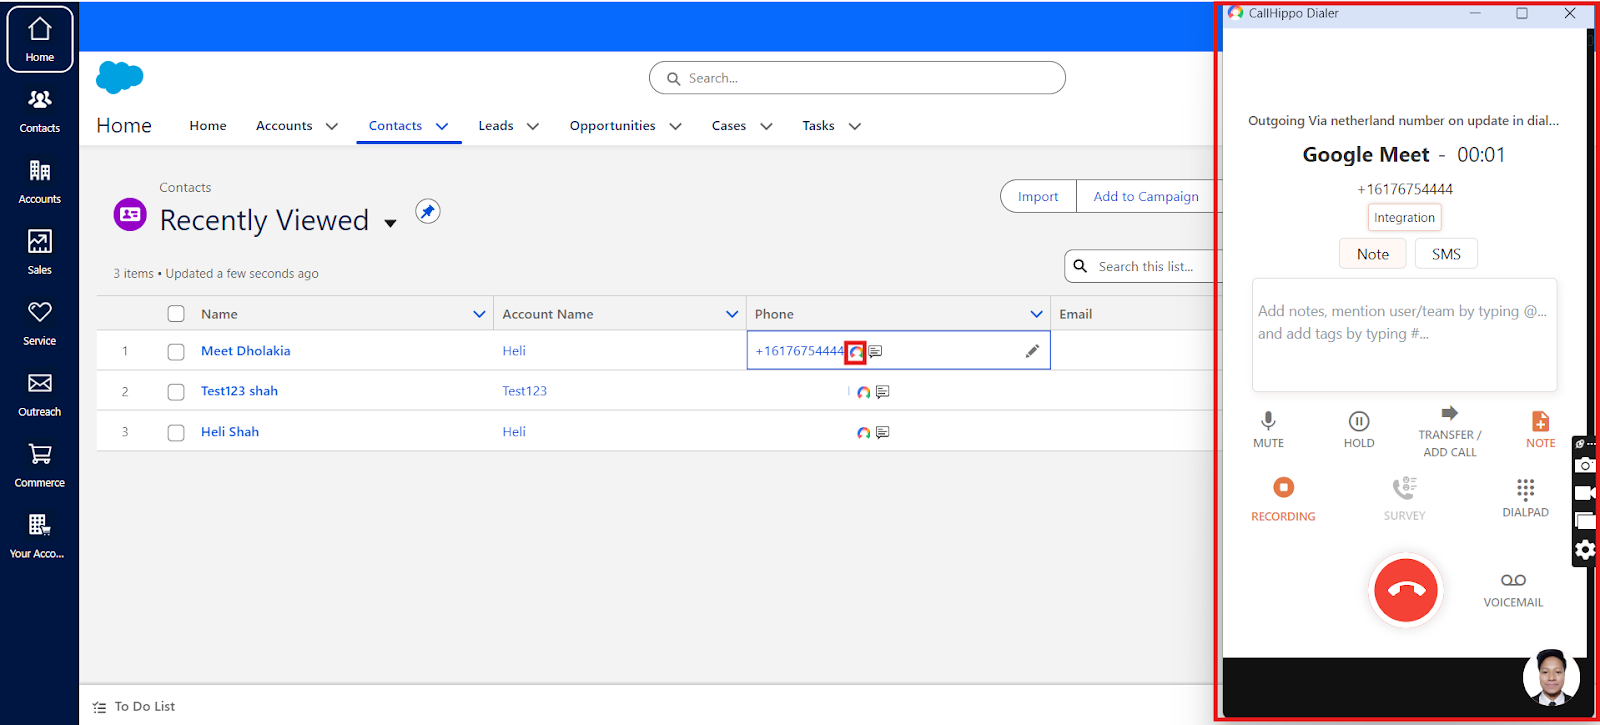
Install the CallHippo Click-to-Call Chrome extension. Once installed, a CallHippo icon appears beside every number in Salesforce — click it and the call connects instantly.
Speed to Dial
You can build Speed to Dial campaigns from your Salesforce contacts, triggered on contact creation or updates. Refer to the Speed to Dial guide for full details.
Why aren’t my older CallHippo contacts showing in Salesforce?
Only contacts created after the integration is connected sync to Salesforce. Contacts that existed in CallHippo beforehand are not pushed over.
Why didn’t my call tags sync to Salesforce?
Tags and disposition sync only when entered on the After Call Work screen. Anything added afterward from the call logs will not be pushed to Salesforce.