
Connecting CallHippo to Zapier lets you automate workflows across 8,000+ apps—so every call can trigger an action in your CRM, spreadsheet, or helpdesk without a single line of code.
In this guide we walk through linking CallHippo to Zapier and building your first Zap. For demonstration we connect CallHippo with Pipedrive, but you can pick any app from Zapier’s directory and follow the same flow.
Connect CallHippo to Zapier
- Log in to your CallHippo account.
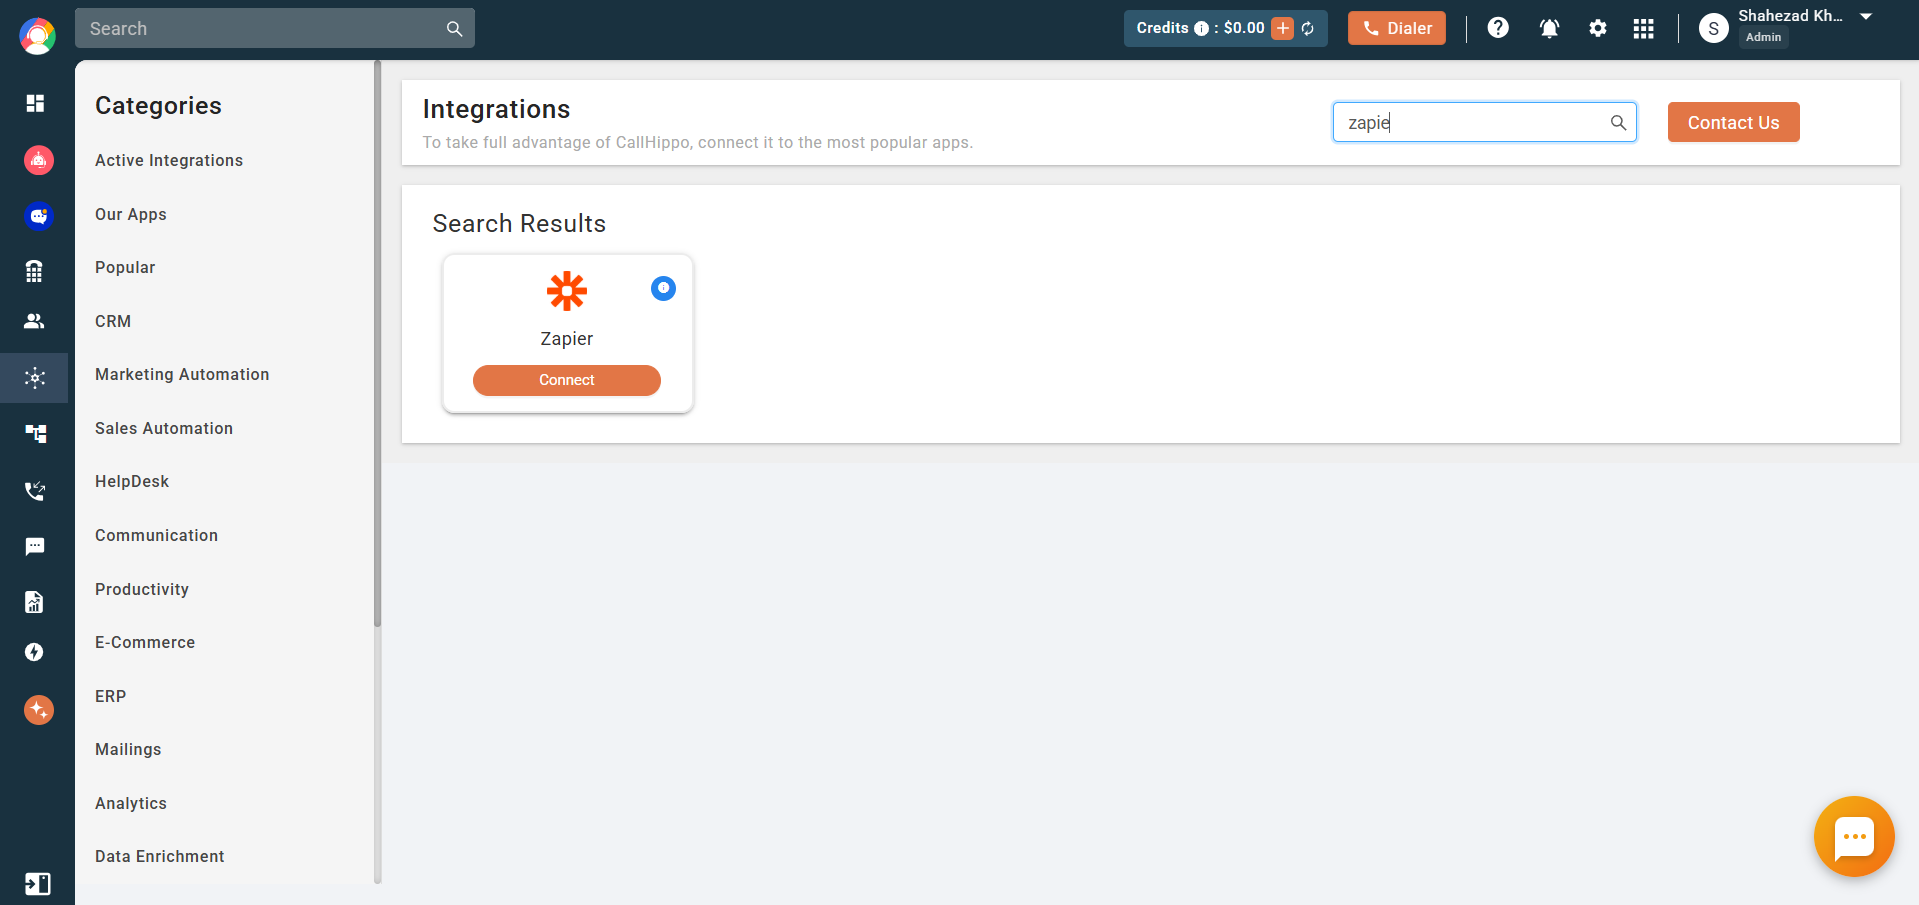
- From the left sidebar of your dashboard, click Integrations.
- Search for Zapier and click Connect.
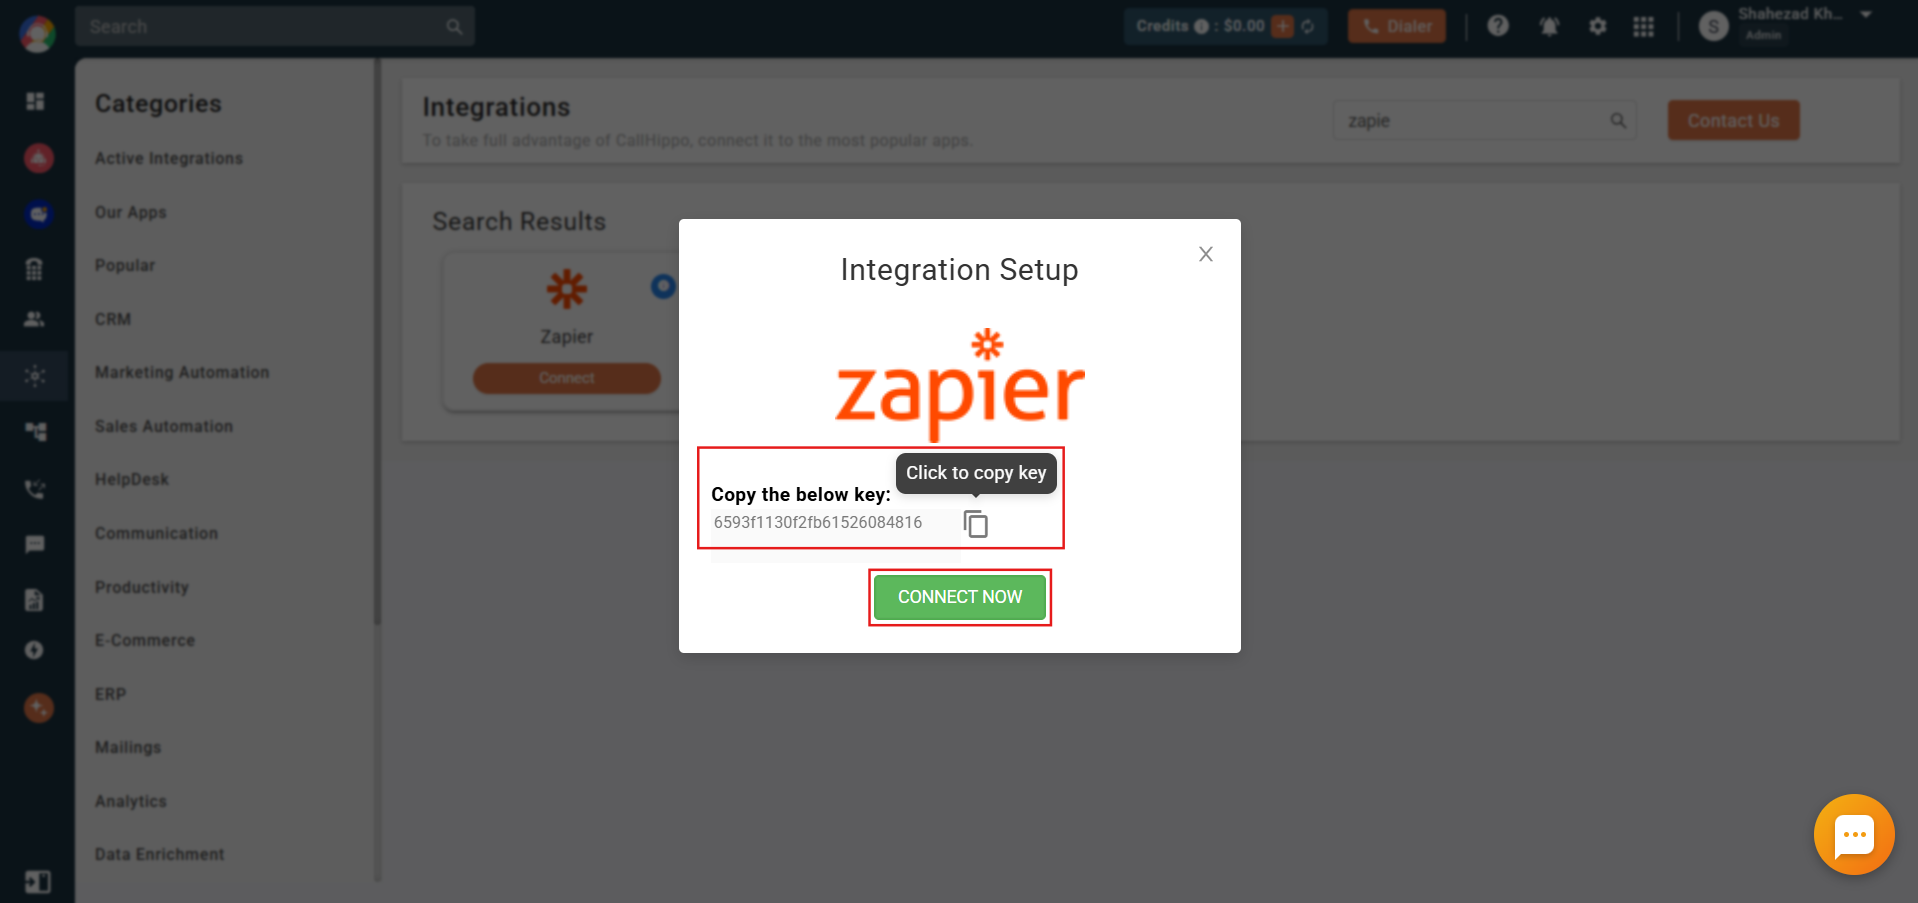
- Copy the key shown in the pop-up (you’ll need it shortly), then click Connect Now.
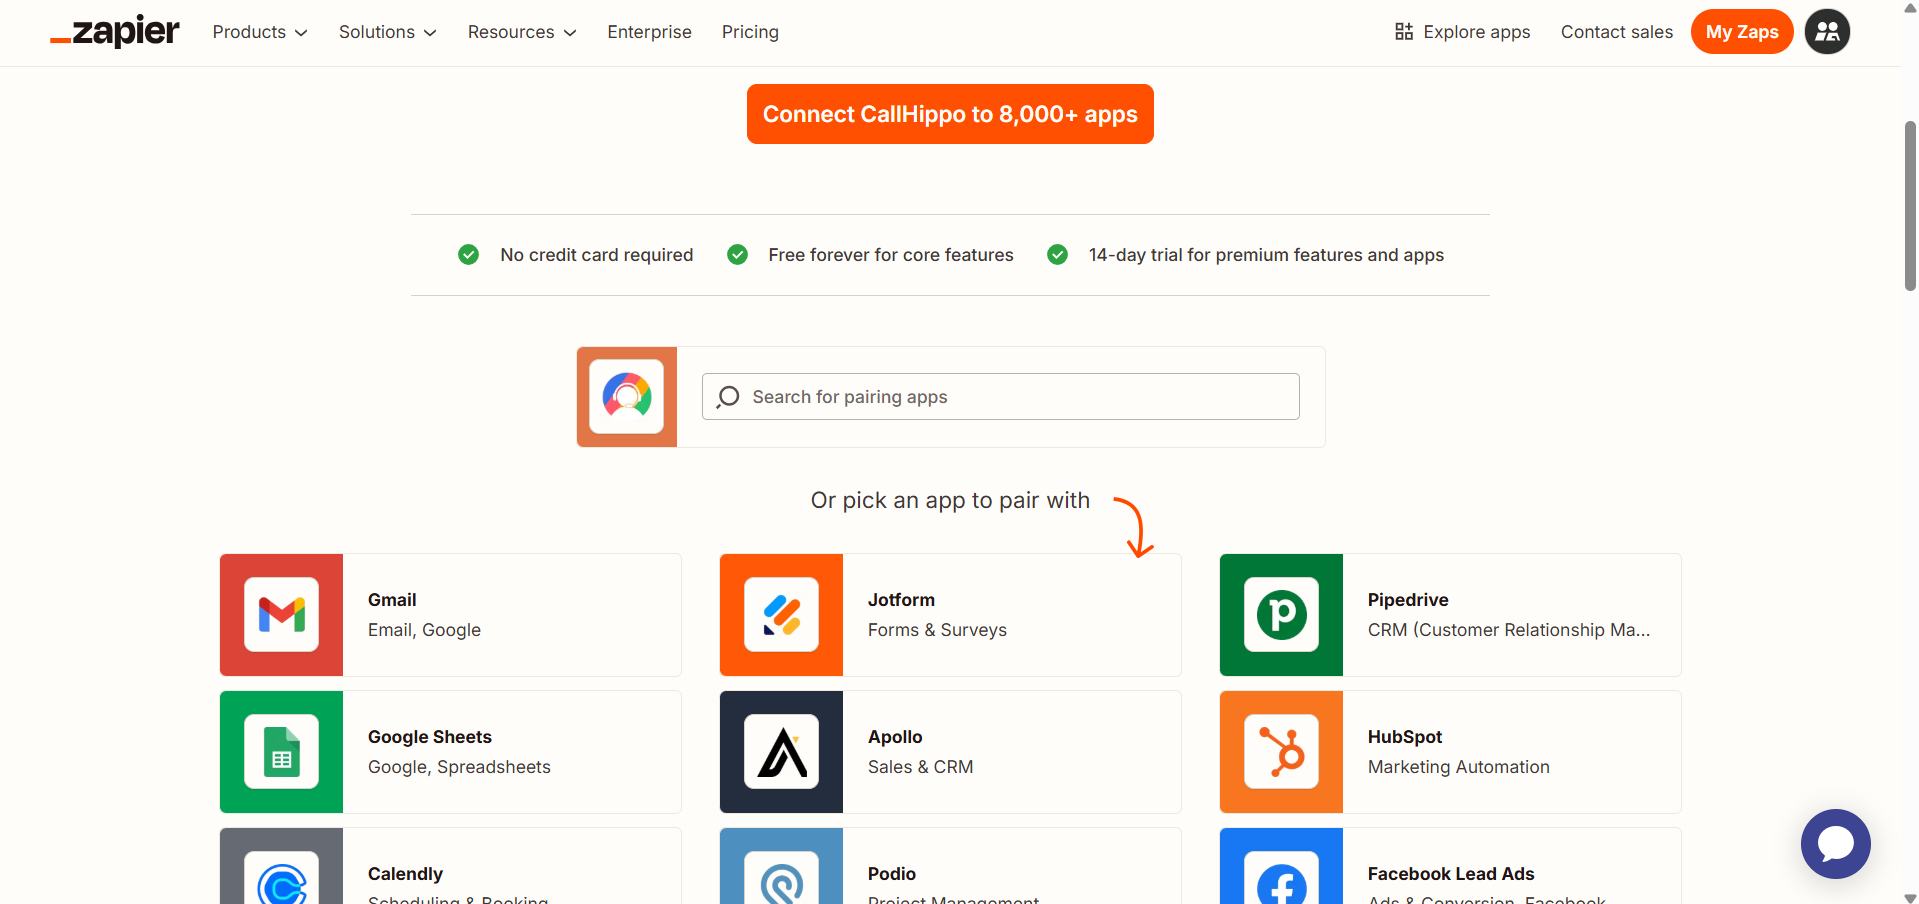
- You’ll be redirected to the Zapier marketplace.
- CallHippo works with over 8,000 apps via Zapier. Choose the app you want to pair with CallHippo from the list.
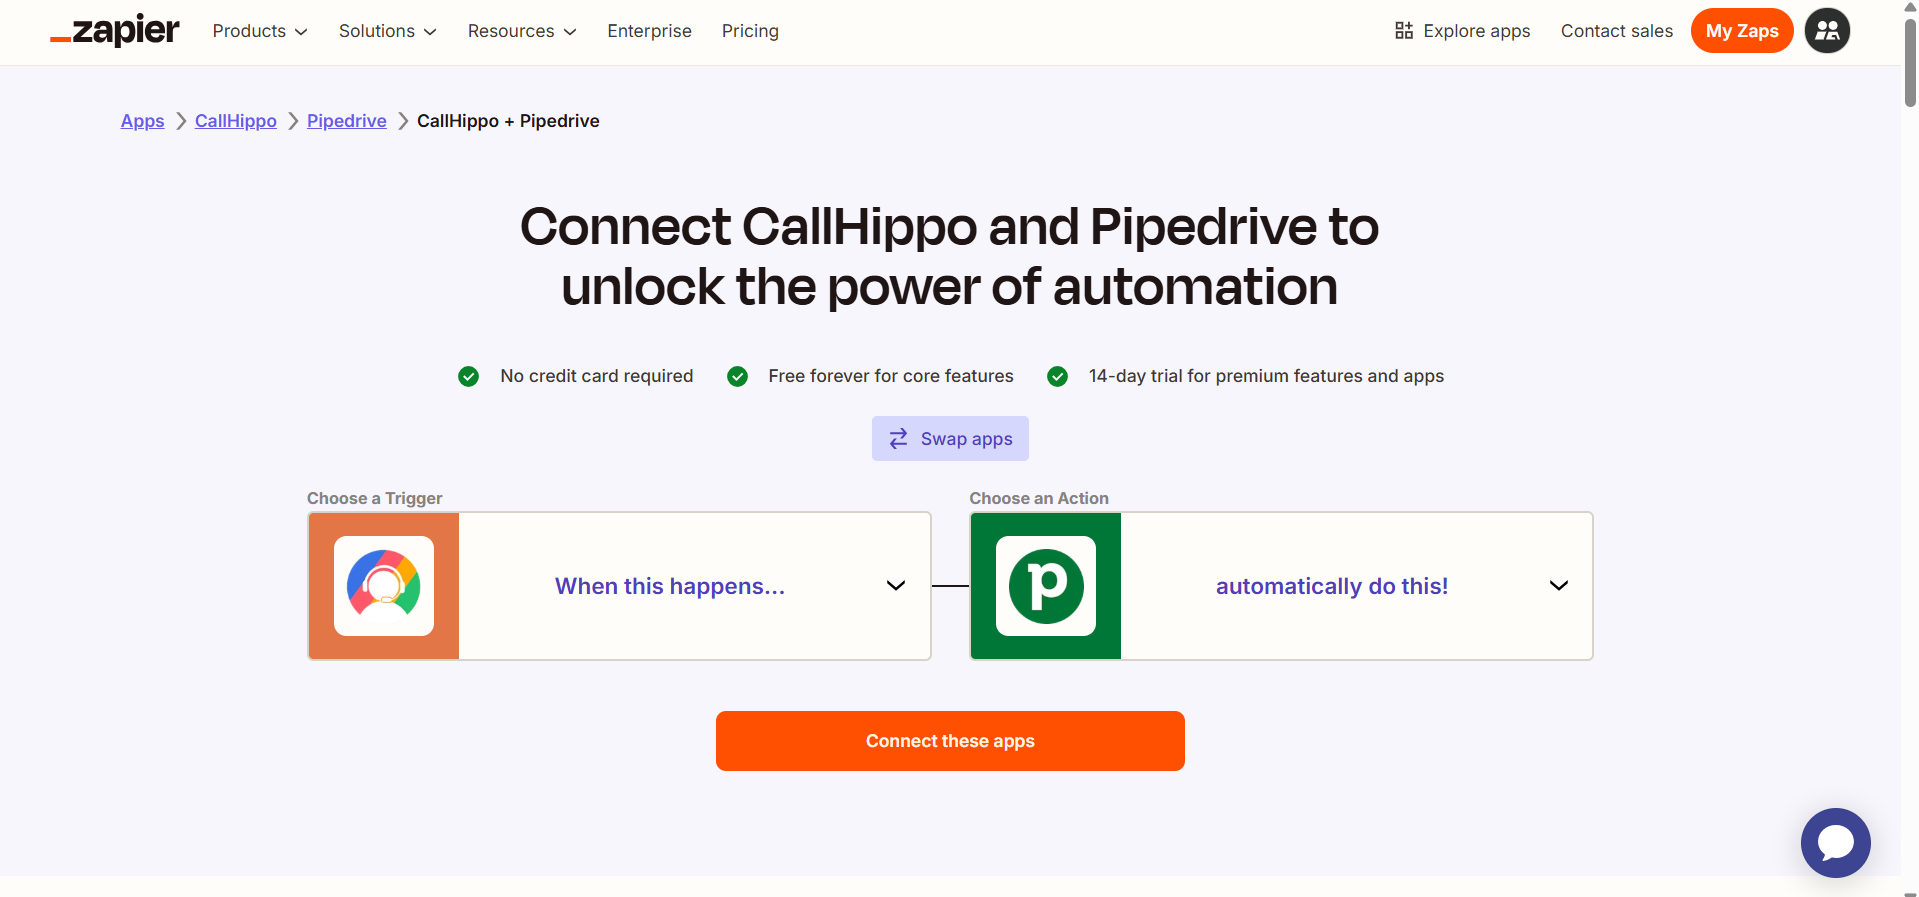
- For this example, Pipedrive is selected. Pick whichever app suits your needs.
Build your Zap
- Select the trigger event for CallHippo from the dropdown, then choose the action event to run in Pipedrive (or your chosen app).
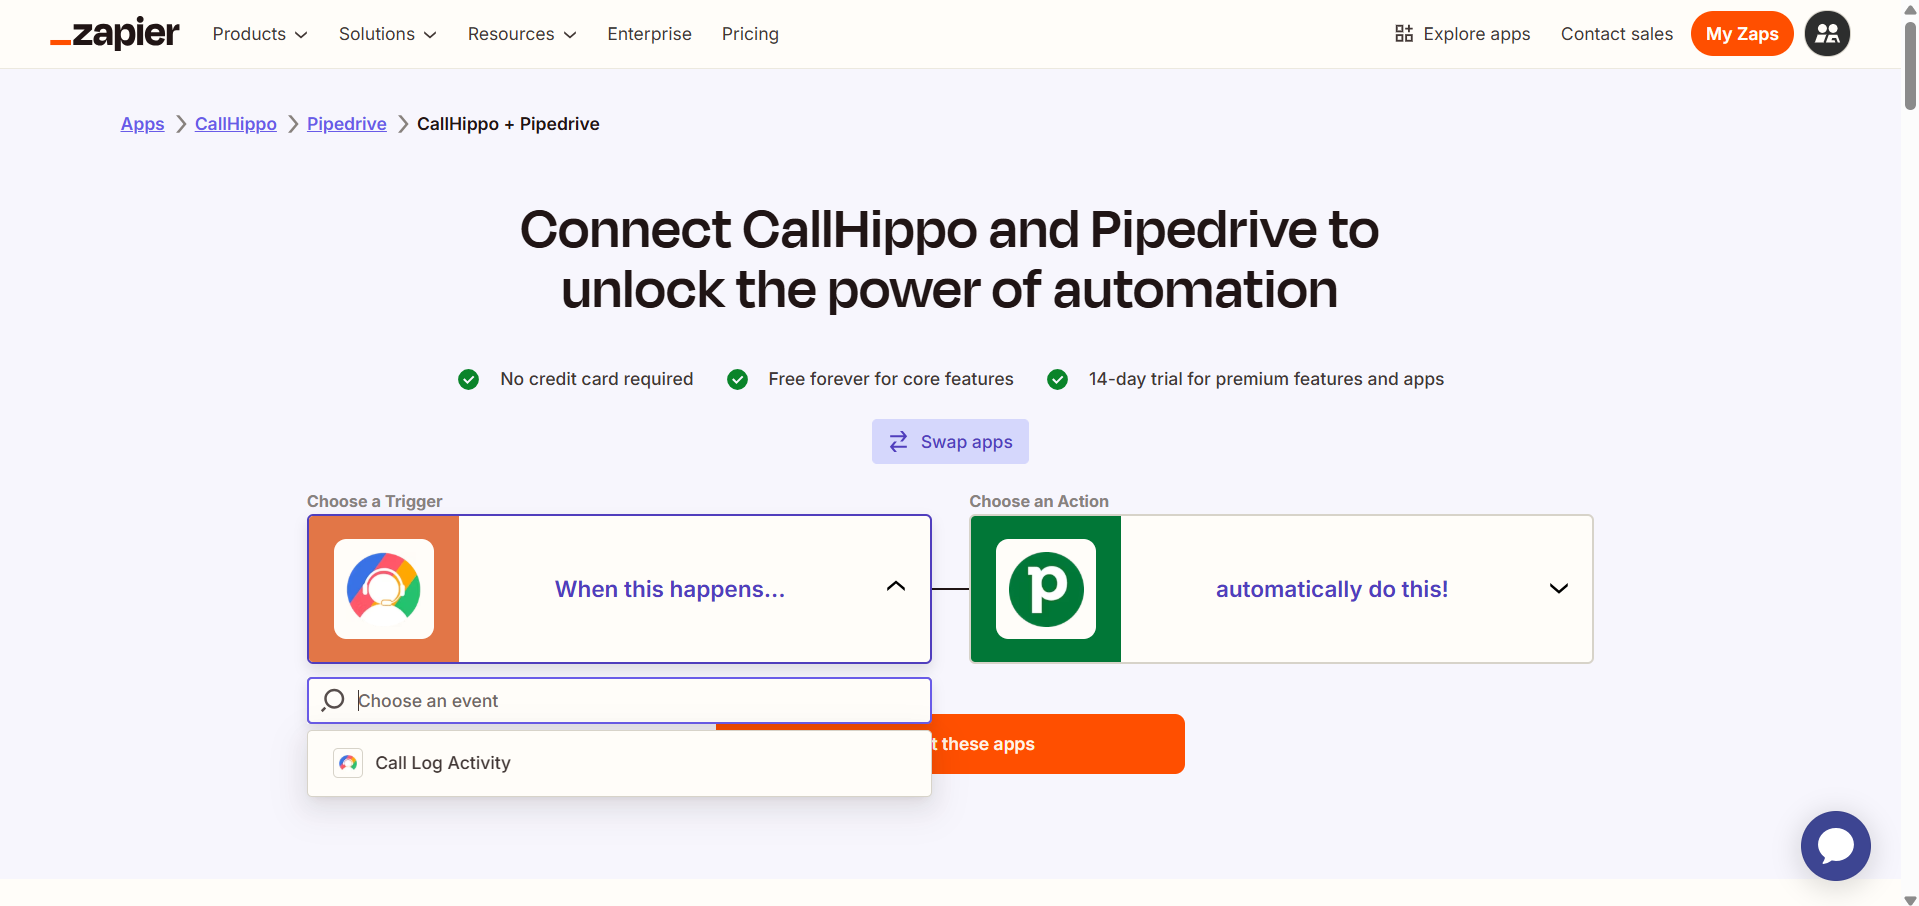
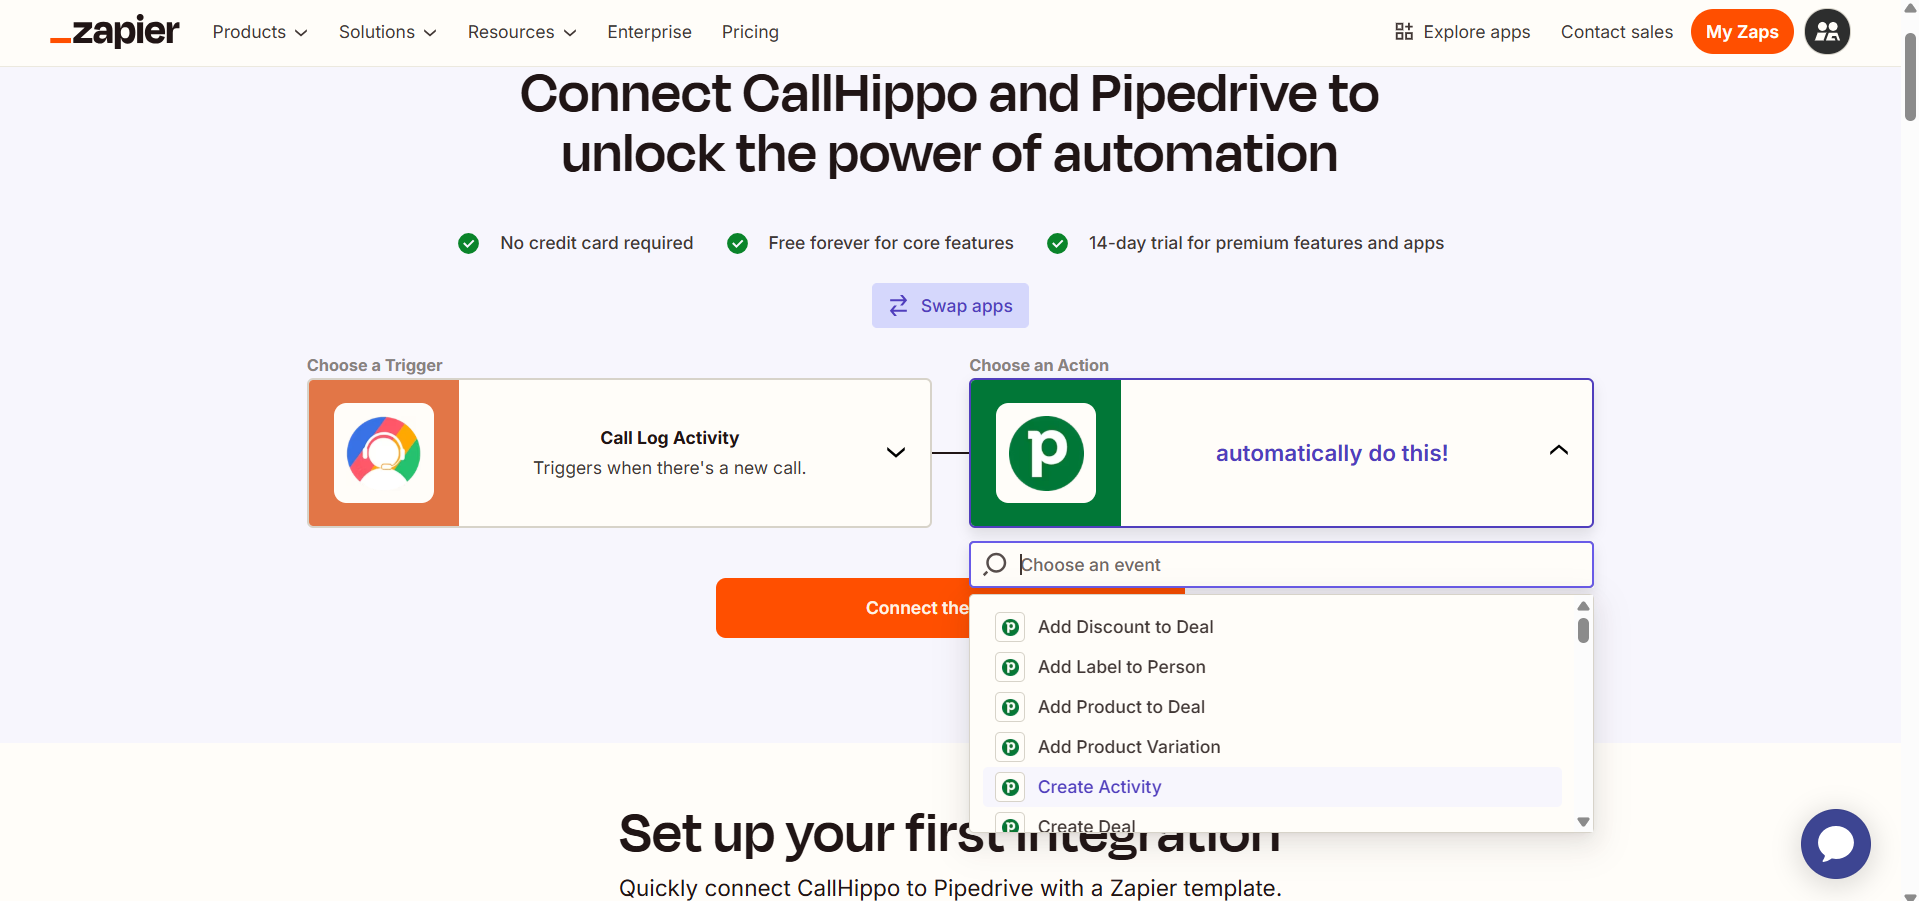
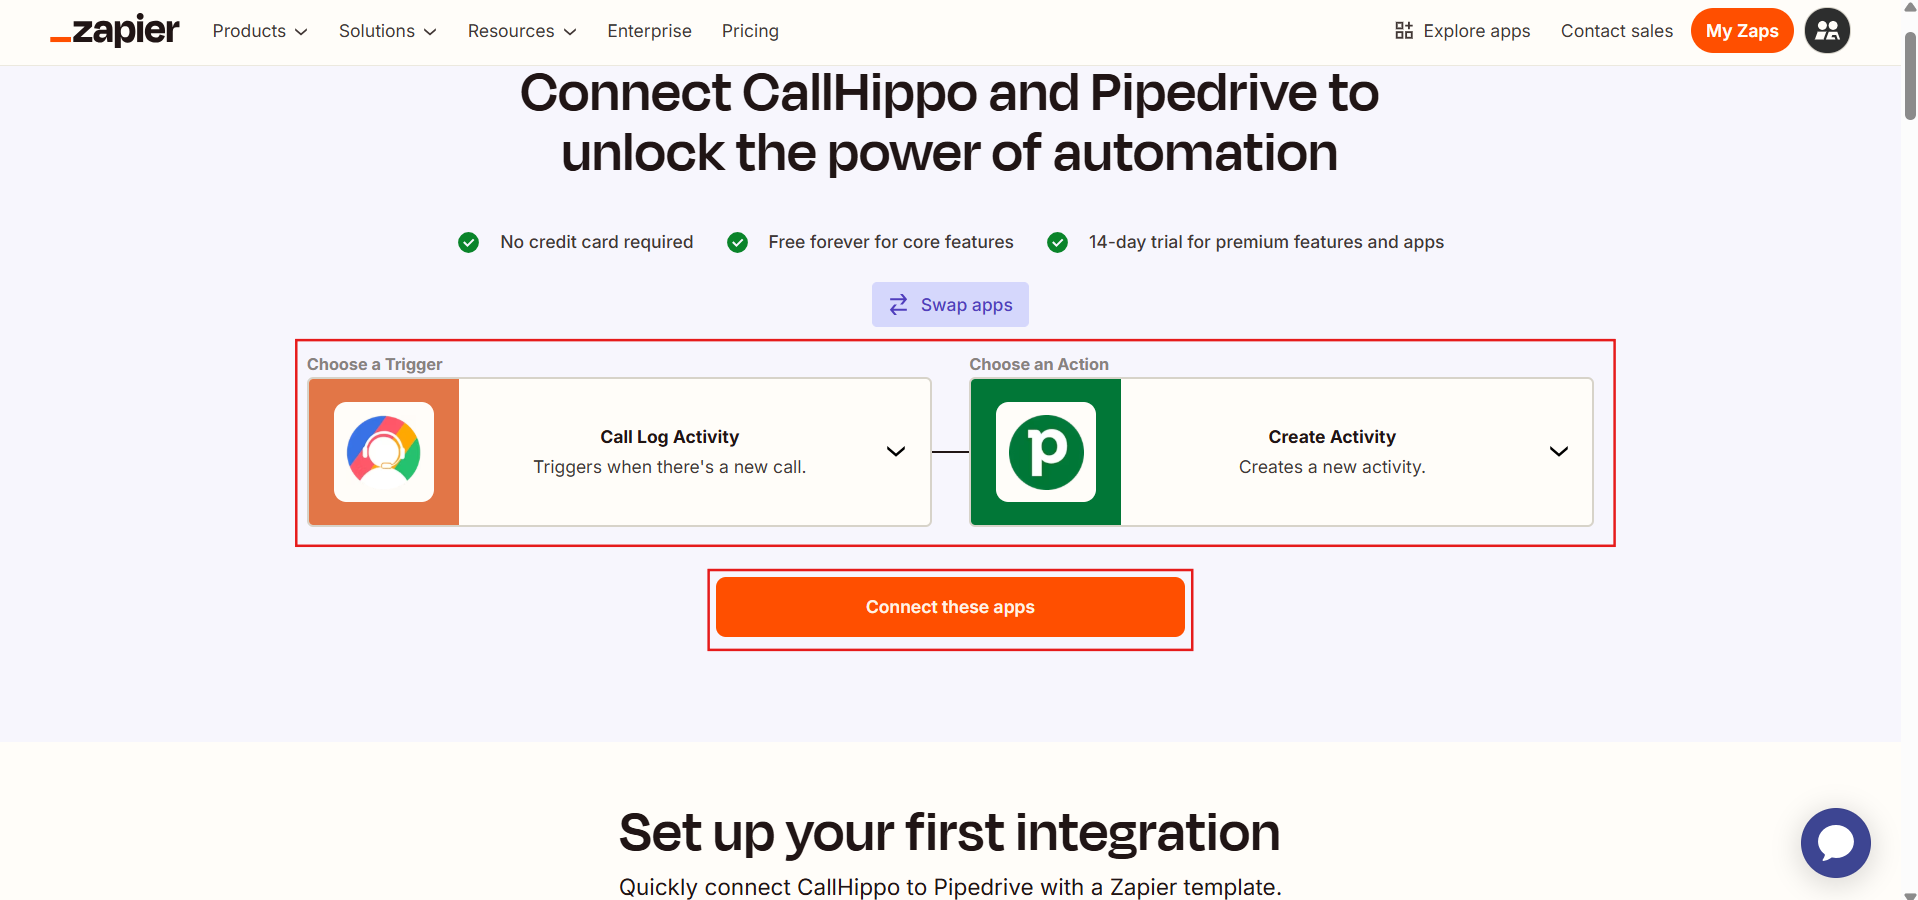
- Once the trigger and action are chosen, click Connect these Apps.
- The Zap Editor opens. Here you can rename your Zap, adjust the CallHippo trigger event, and sign in to CallHippo if you haven’t already. Note: an owner account is required to connect CallHippo with Zapier.
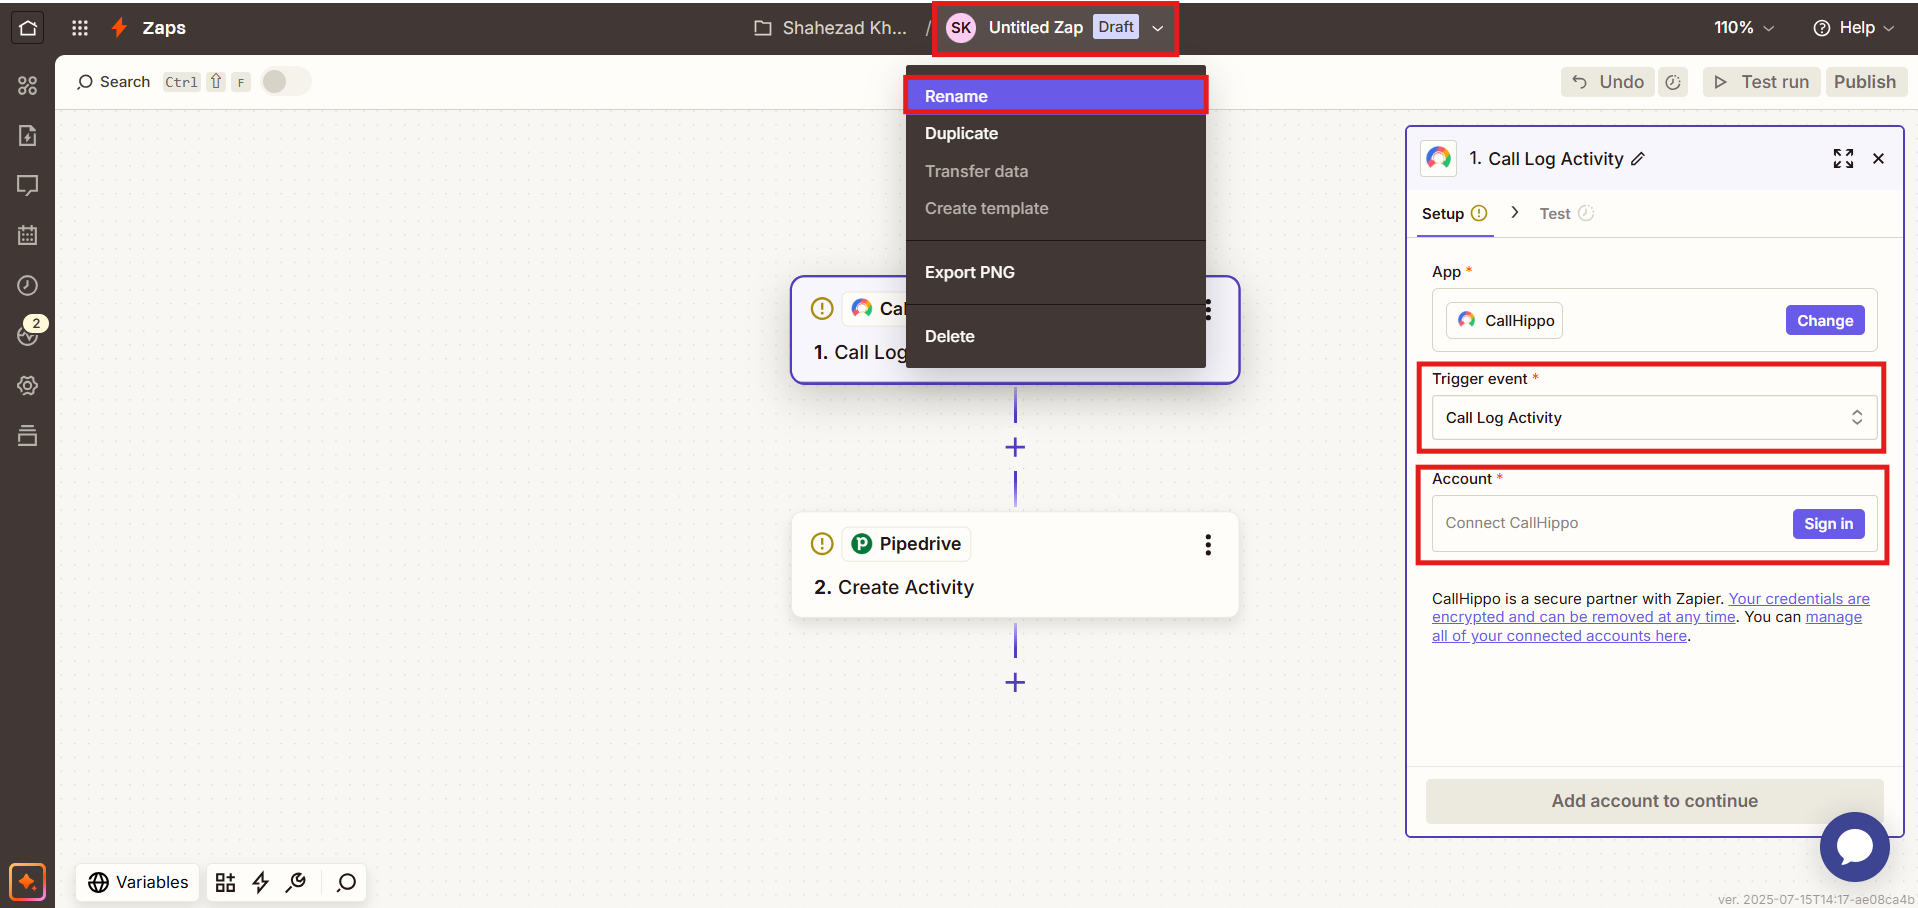
- After signing in, select your CallHippo account and trigger event, then click Continue.
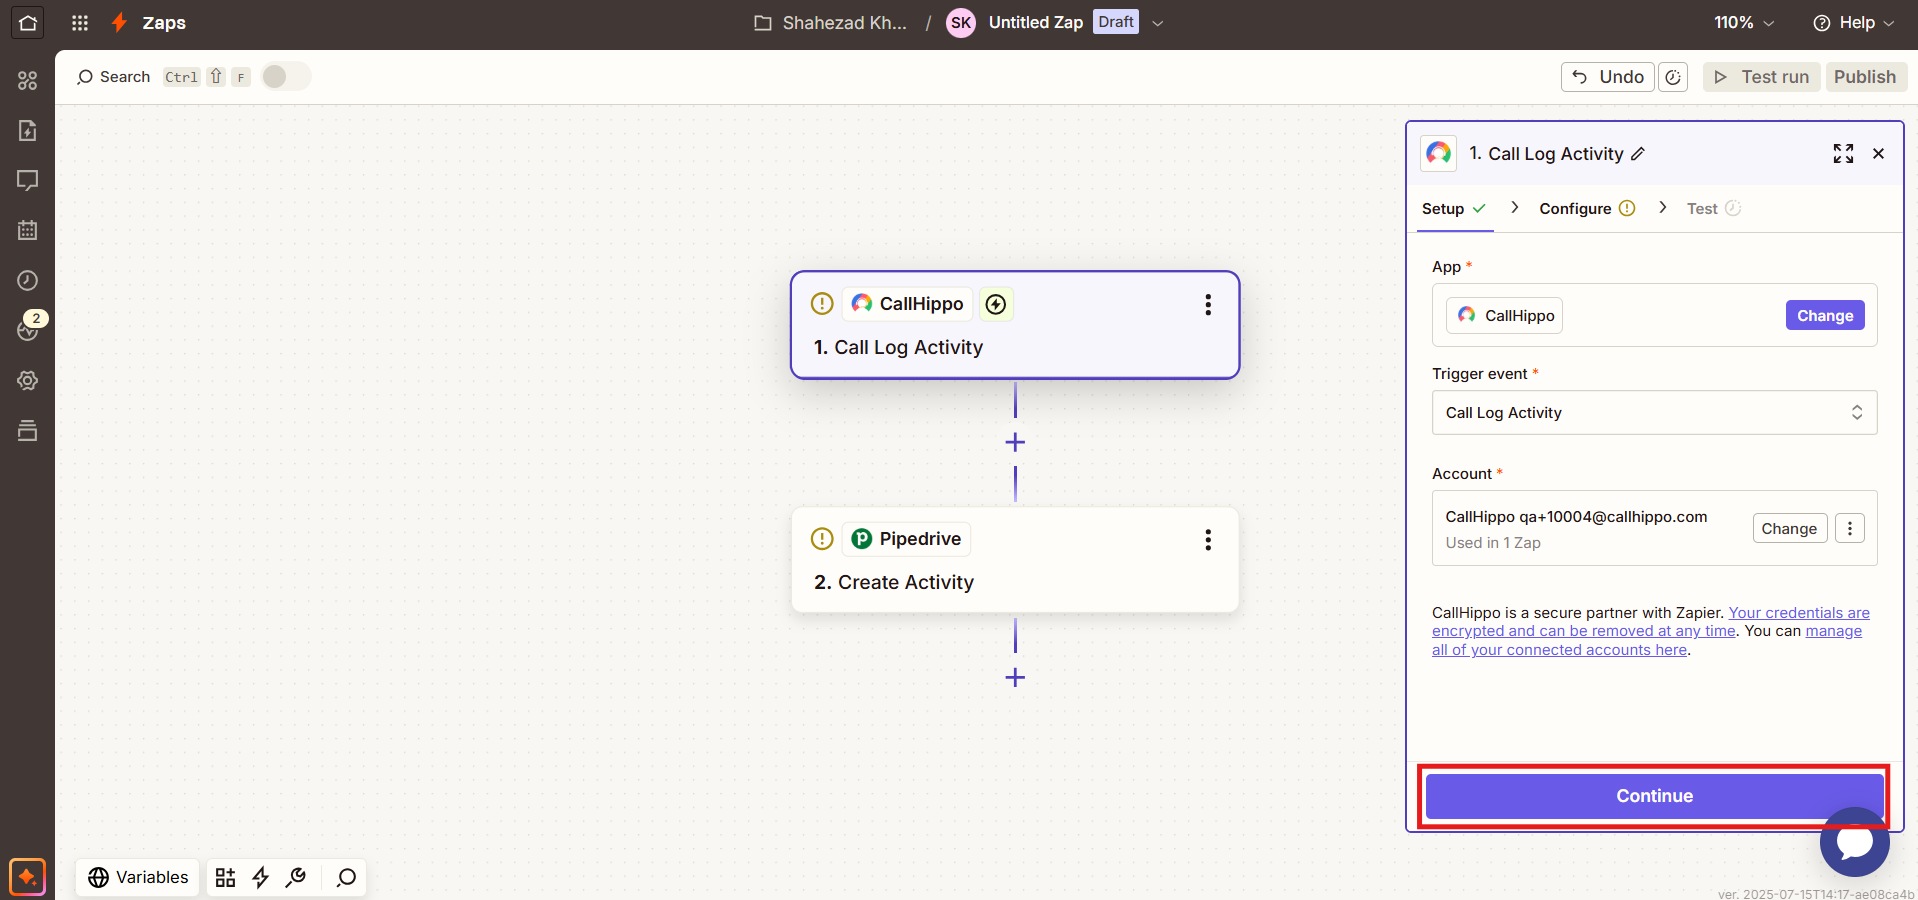
- Paste the User ID you copied earlier, then click Continue.
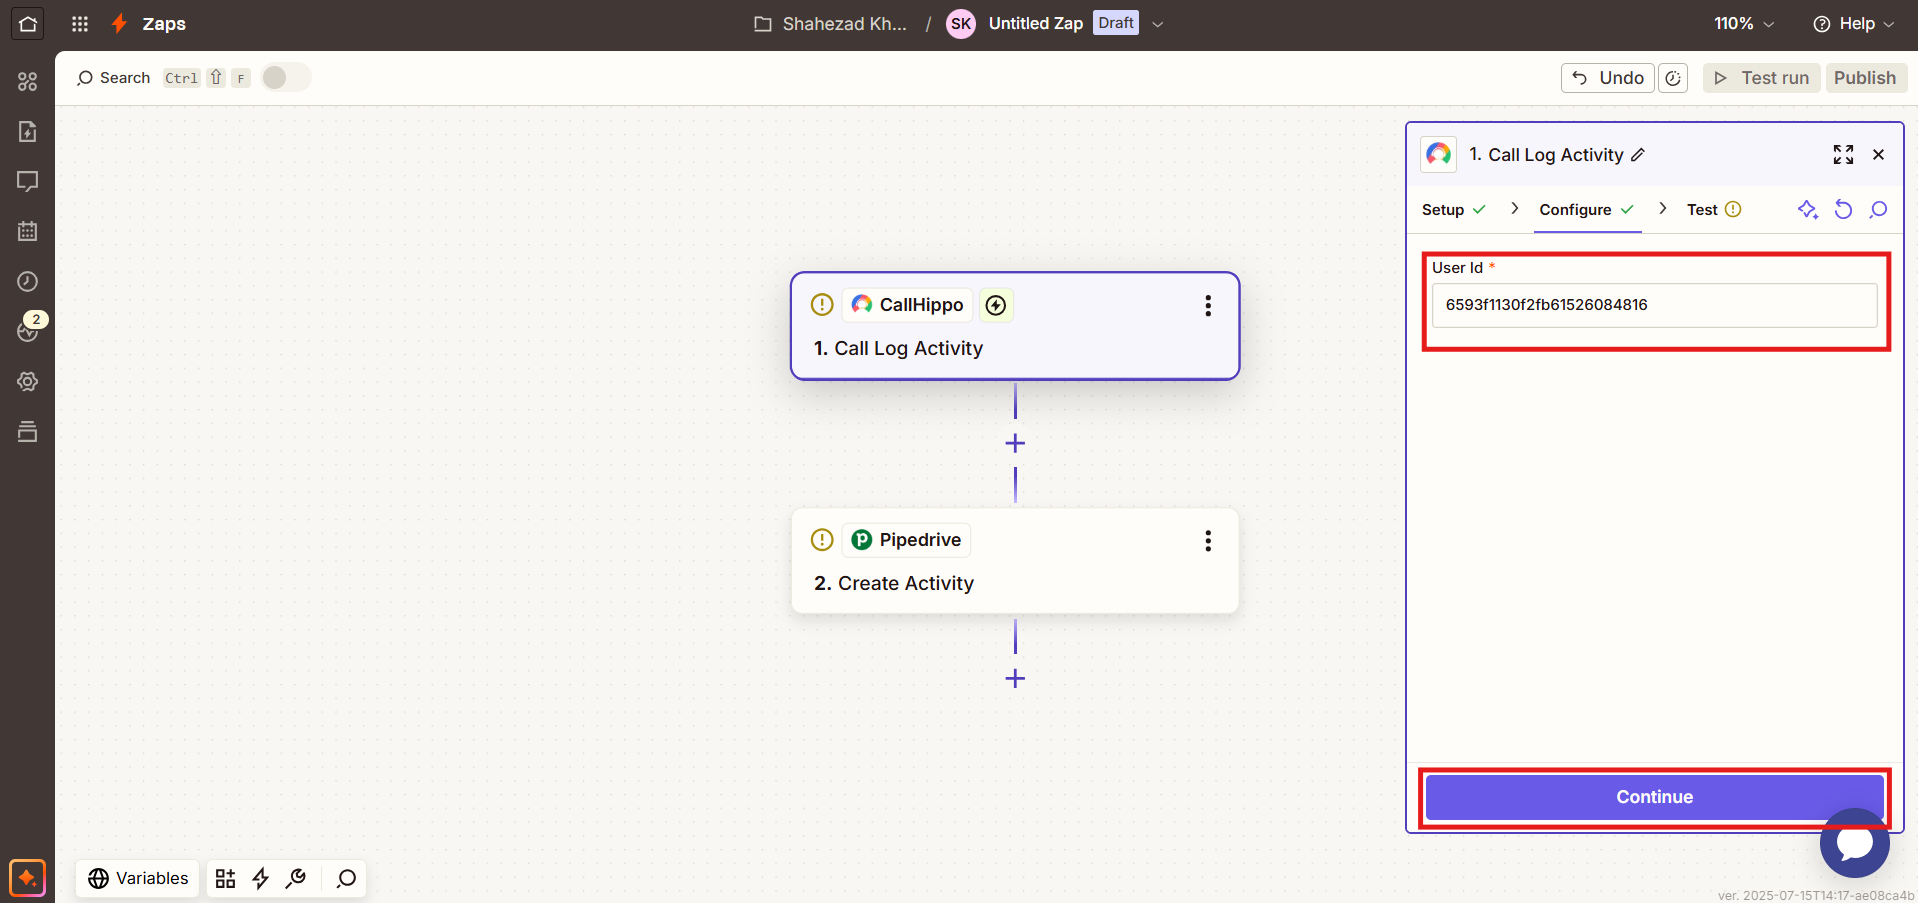
- Click Test Trigger to confirm CallHippo is set up correctly.
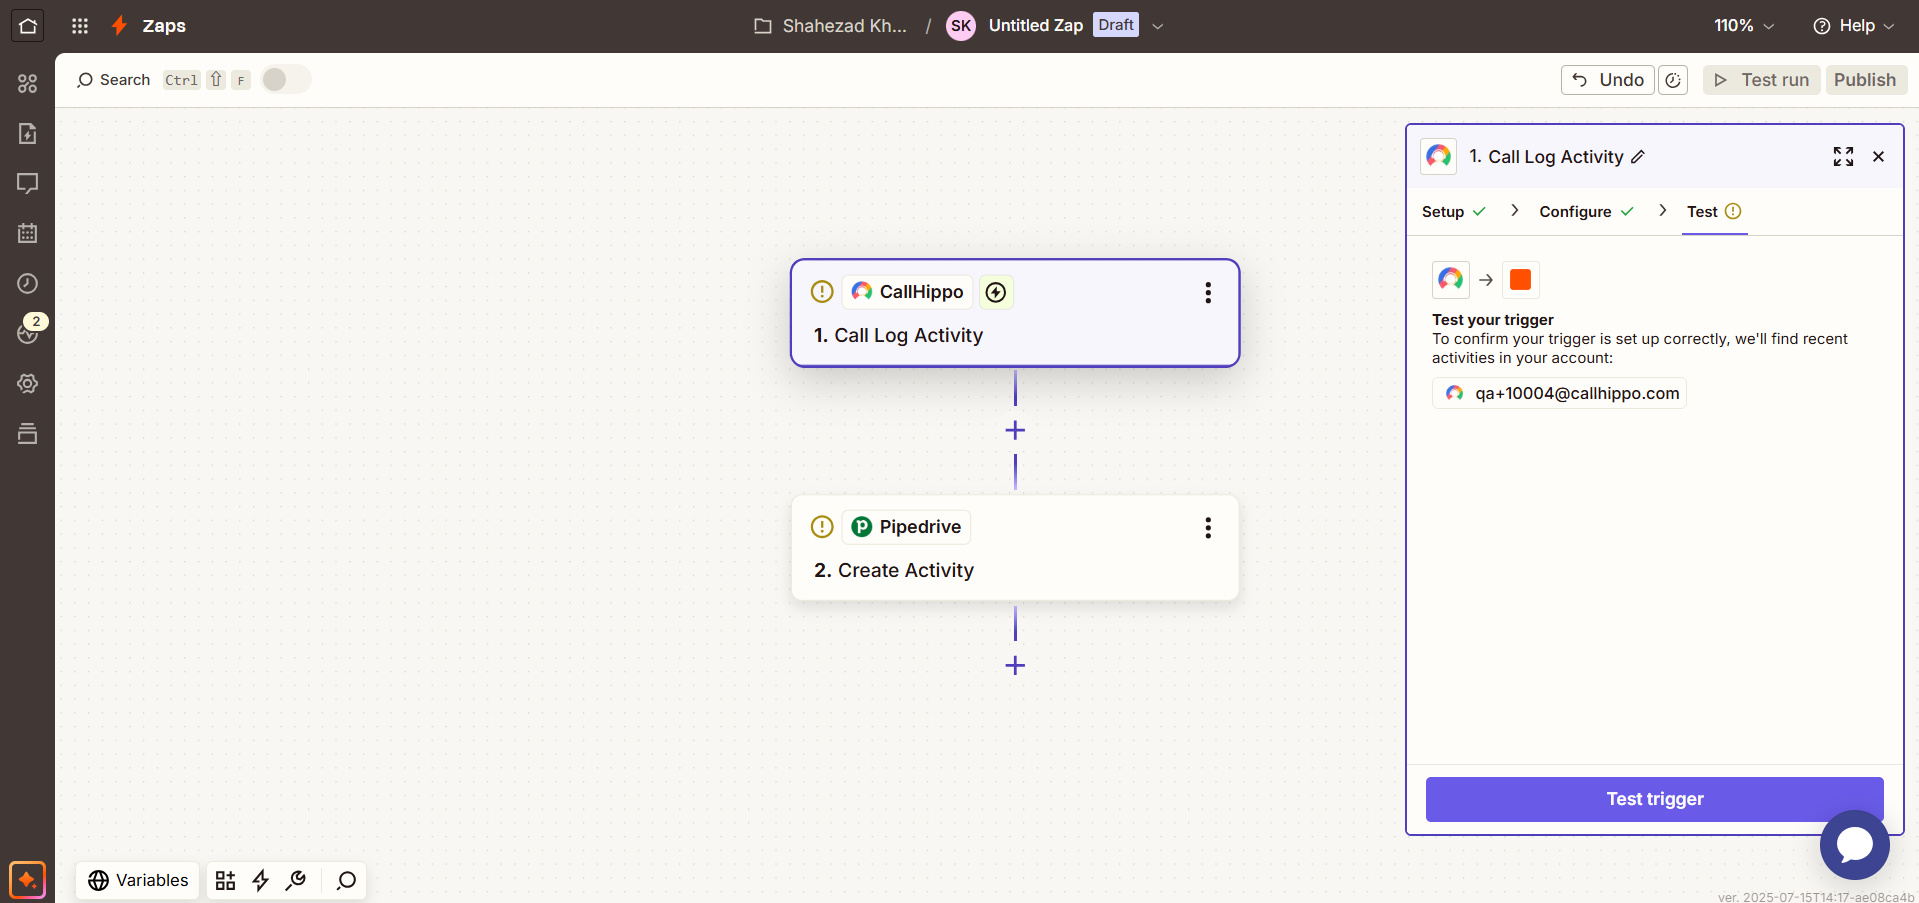
- Click Continue with selected record.
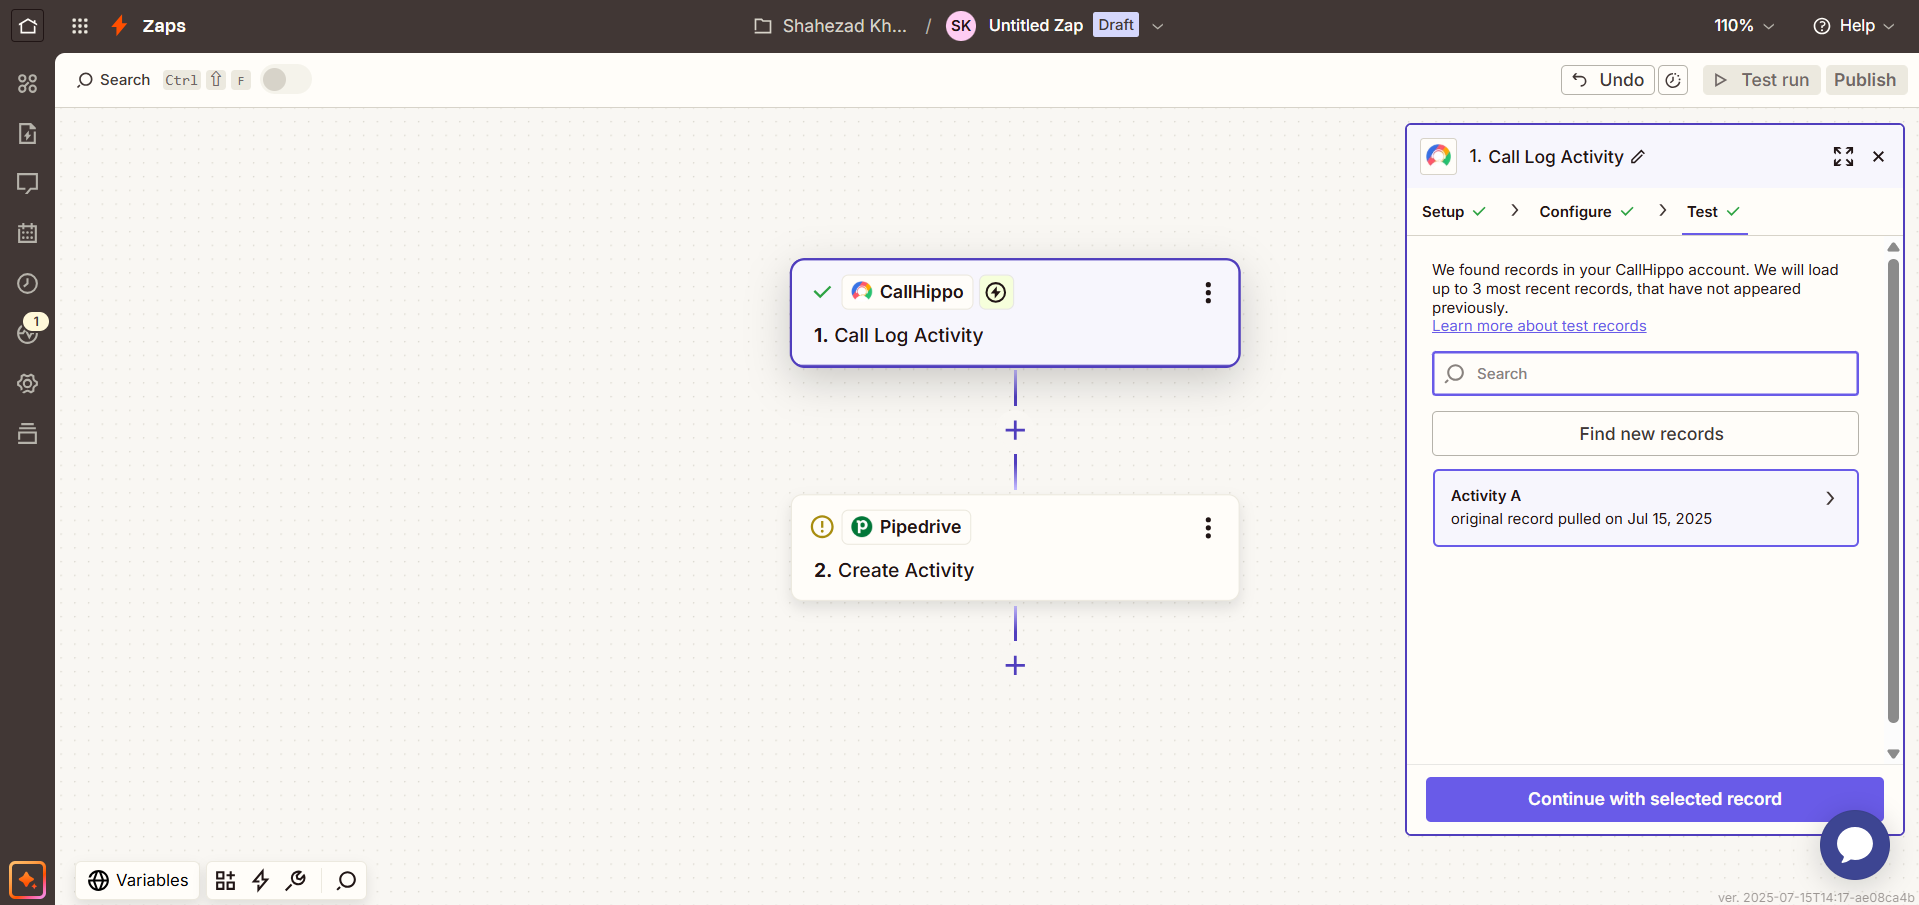
- Choose the action event to perform in Pipedrive (or your selected app) and connect the account by clicking Sign In.
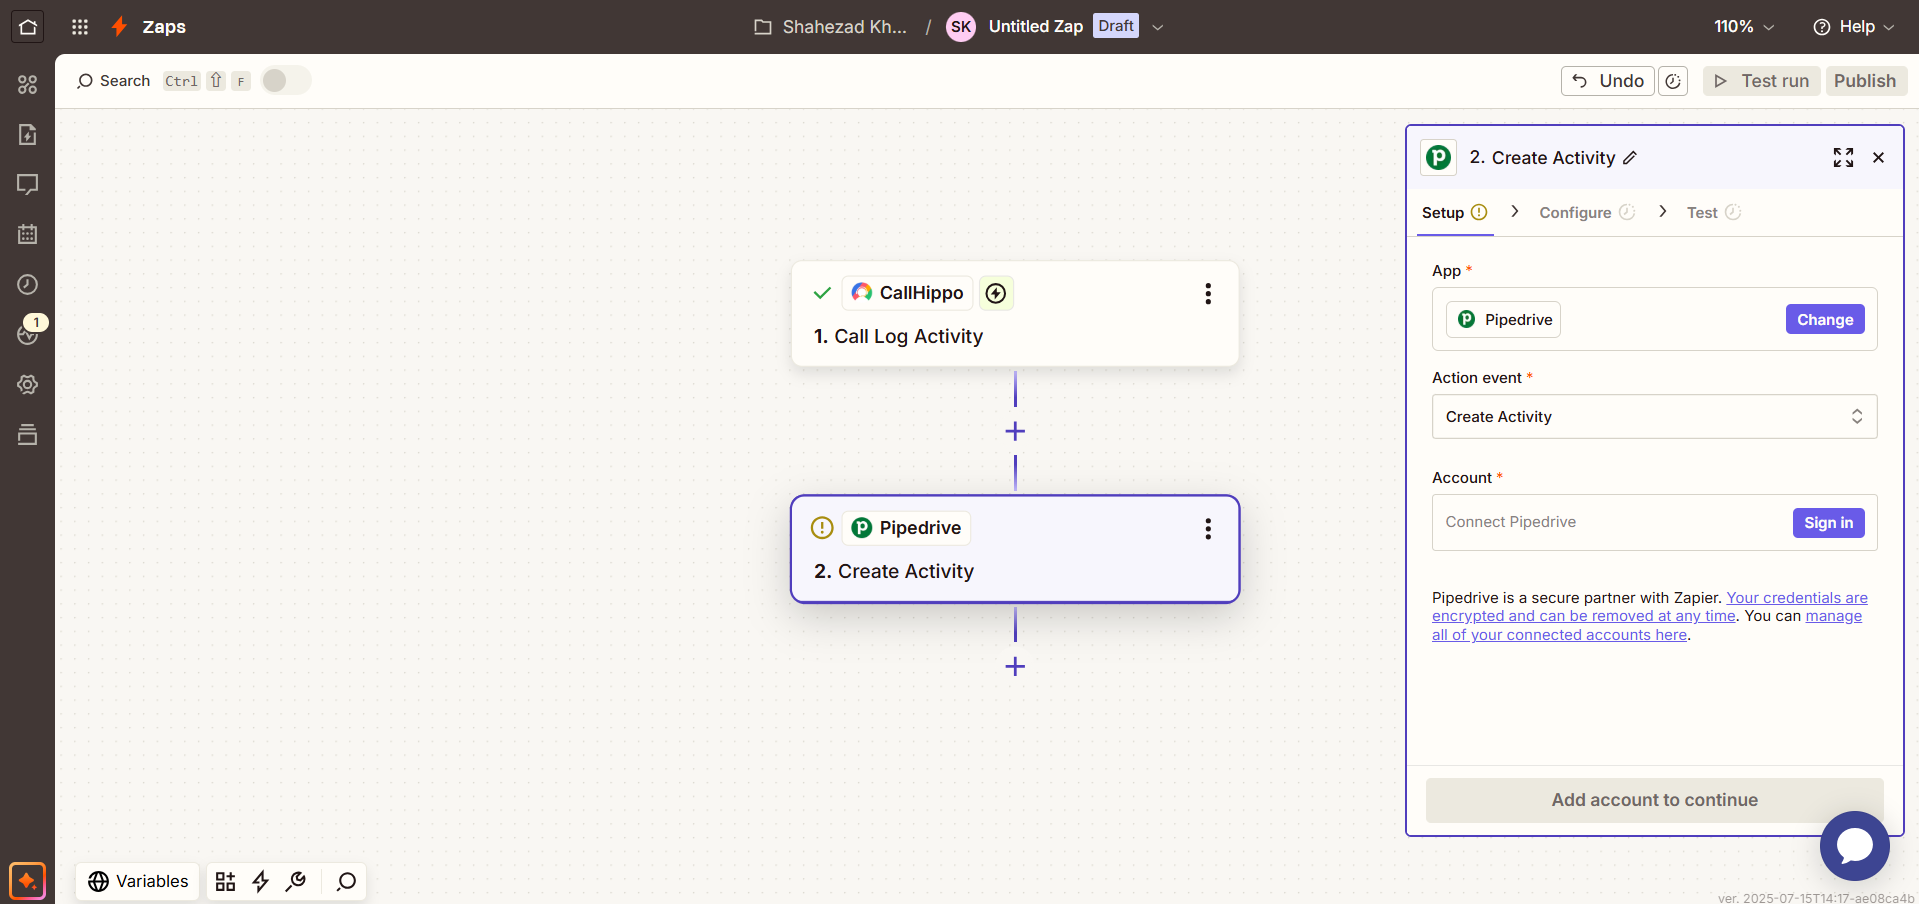
- Once signed in, select the account and action event, then click Continue.
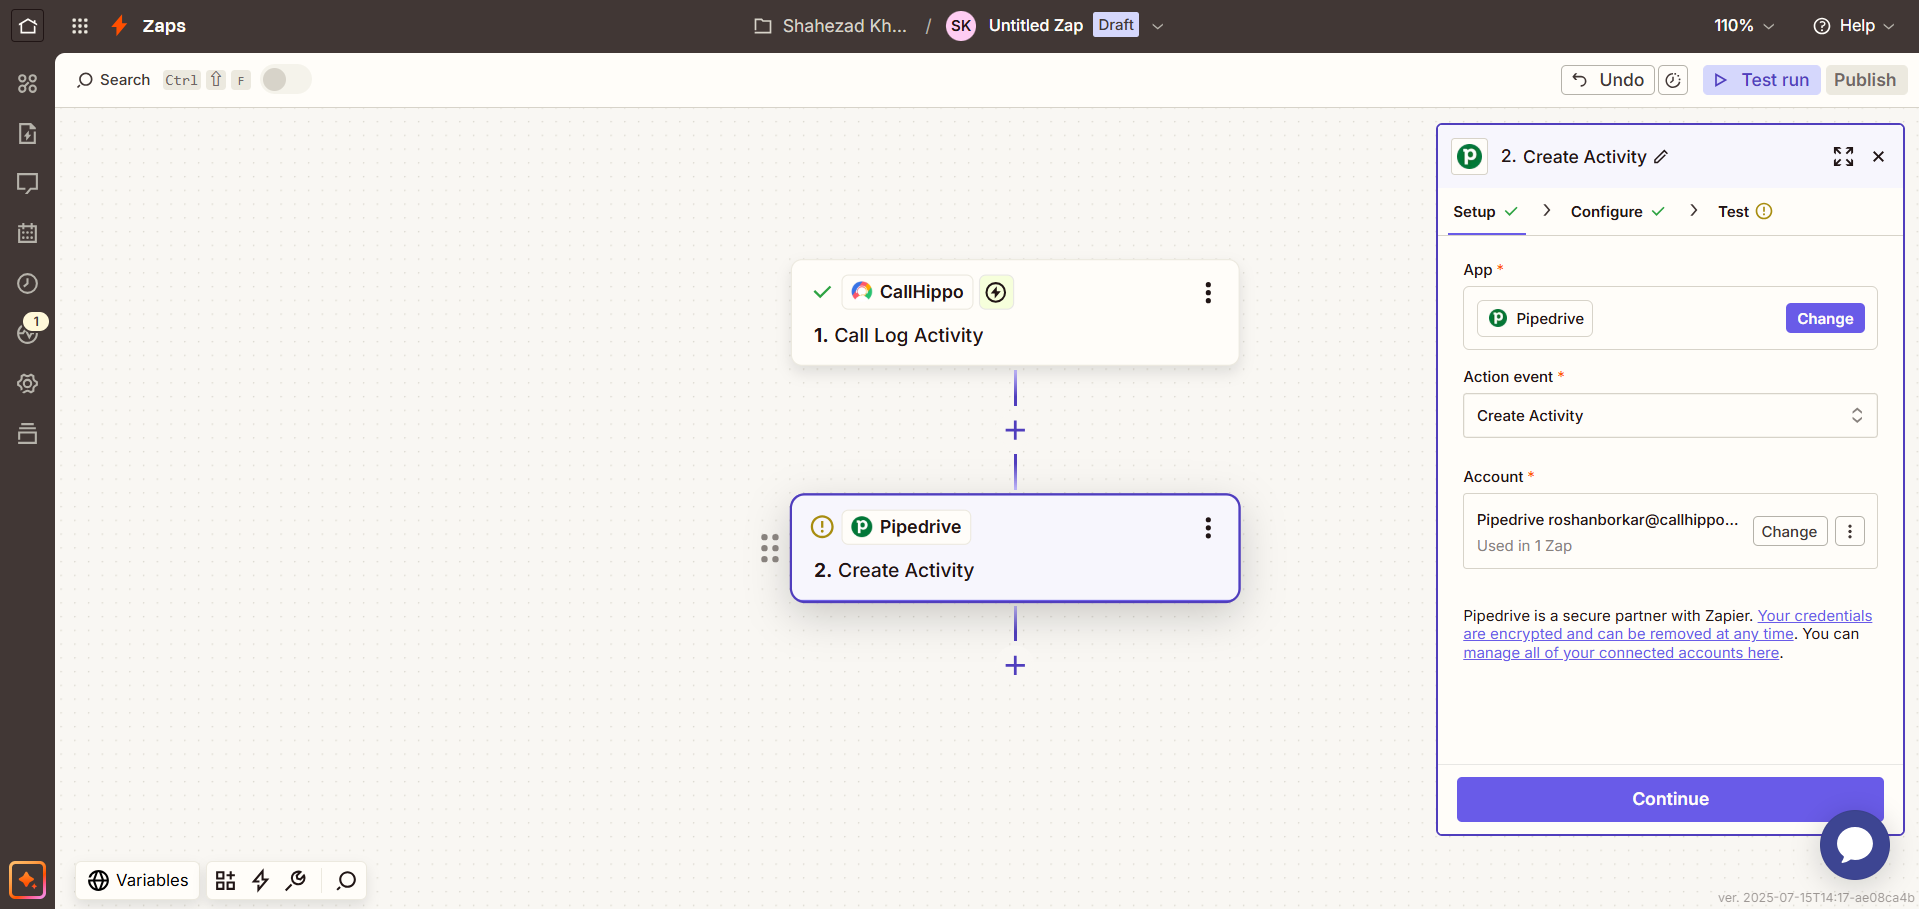
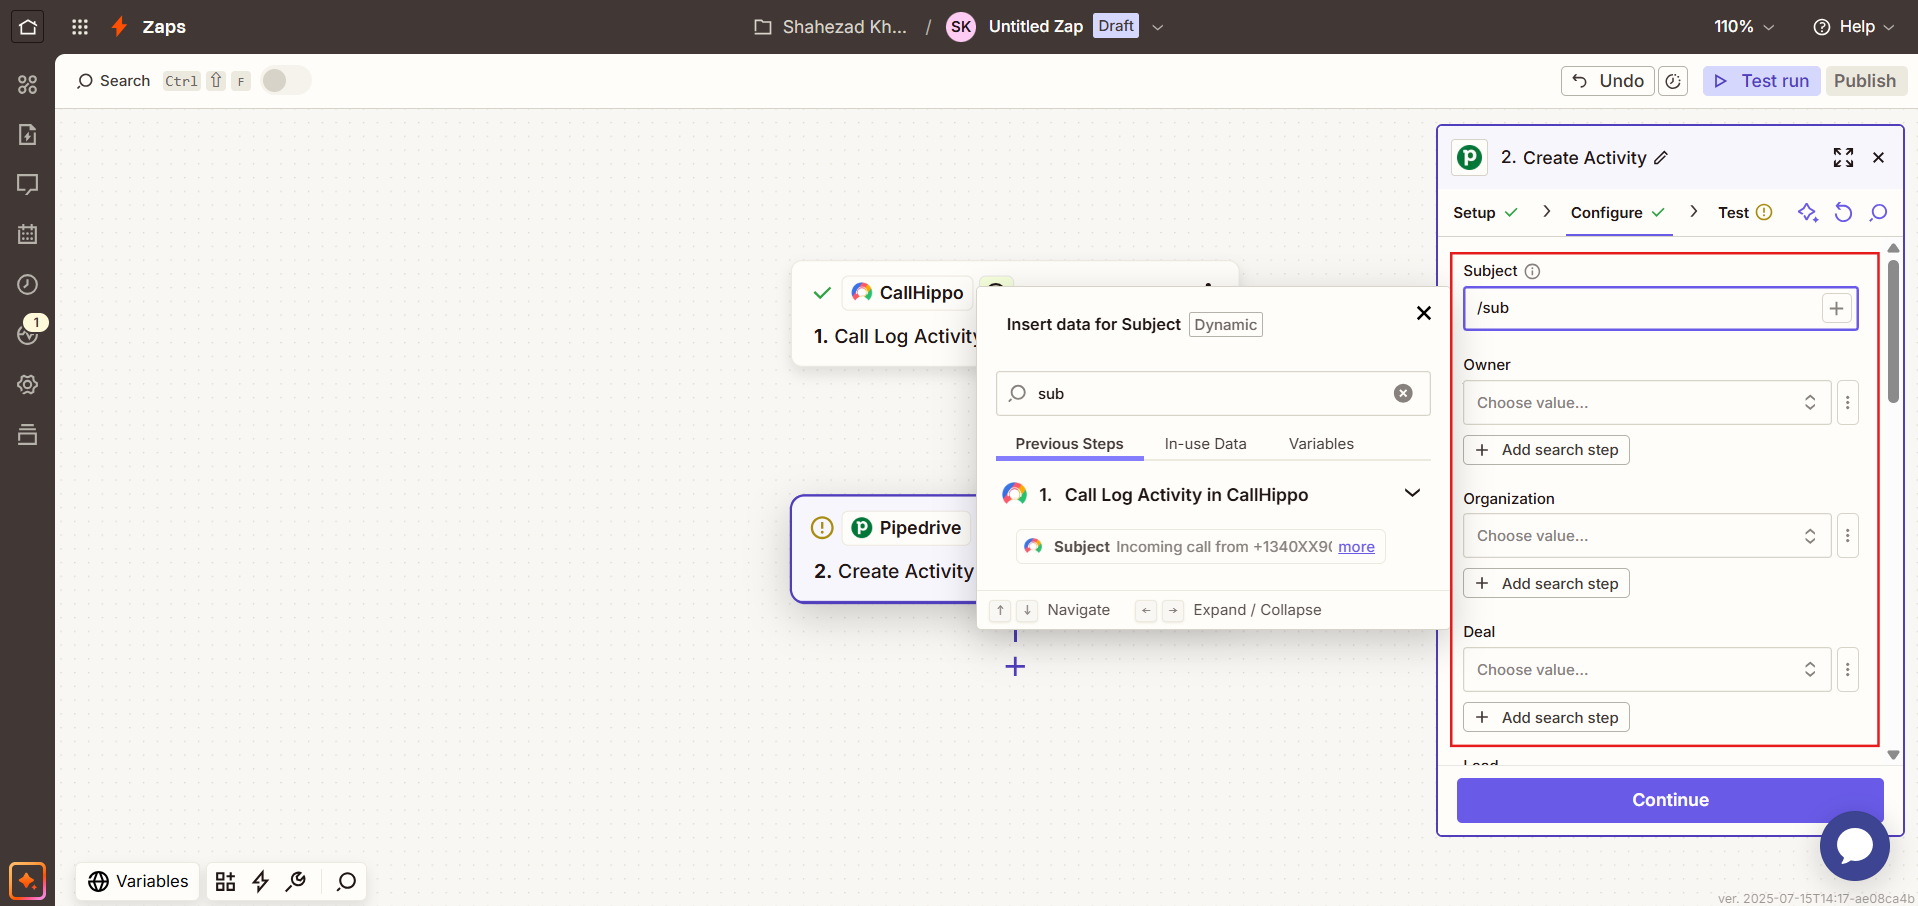
- Map your Pipedrive activity fields to CallHippo activity fields on the Configure tab, then click Continue. A common mapping looks like this:
- Subject: Subject
- Organization: Choose Organization (optional)
- Person: ContactId (optional)
- Assign To: Choose (optional)
- Deal: DealId (optional)
- Is Done?: 0/1
- Type: Call
- Due date: Call Started time (optional)
- Note: Notes (optional)
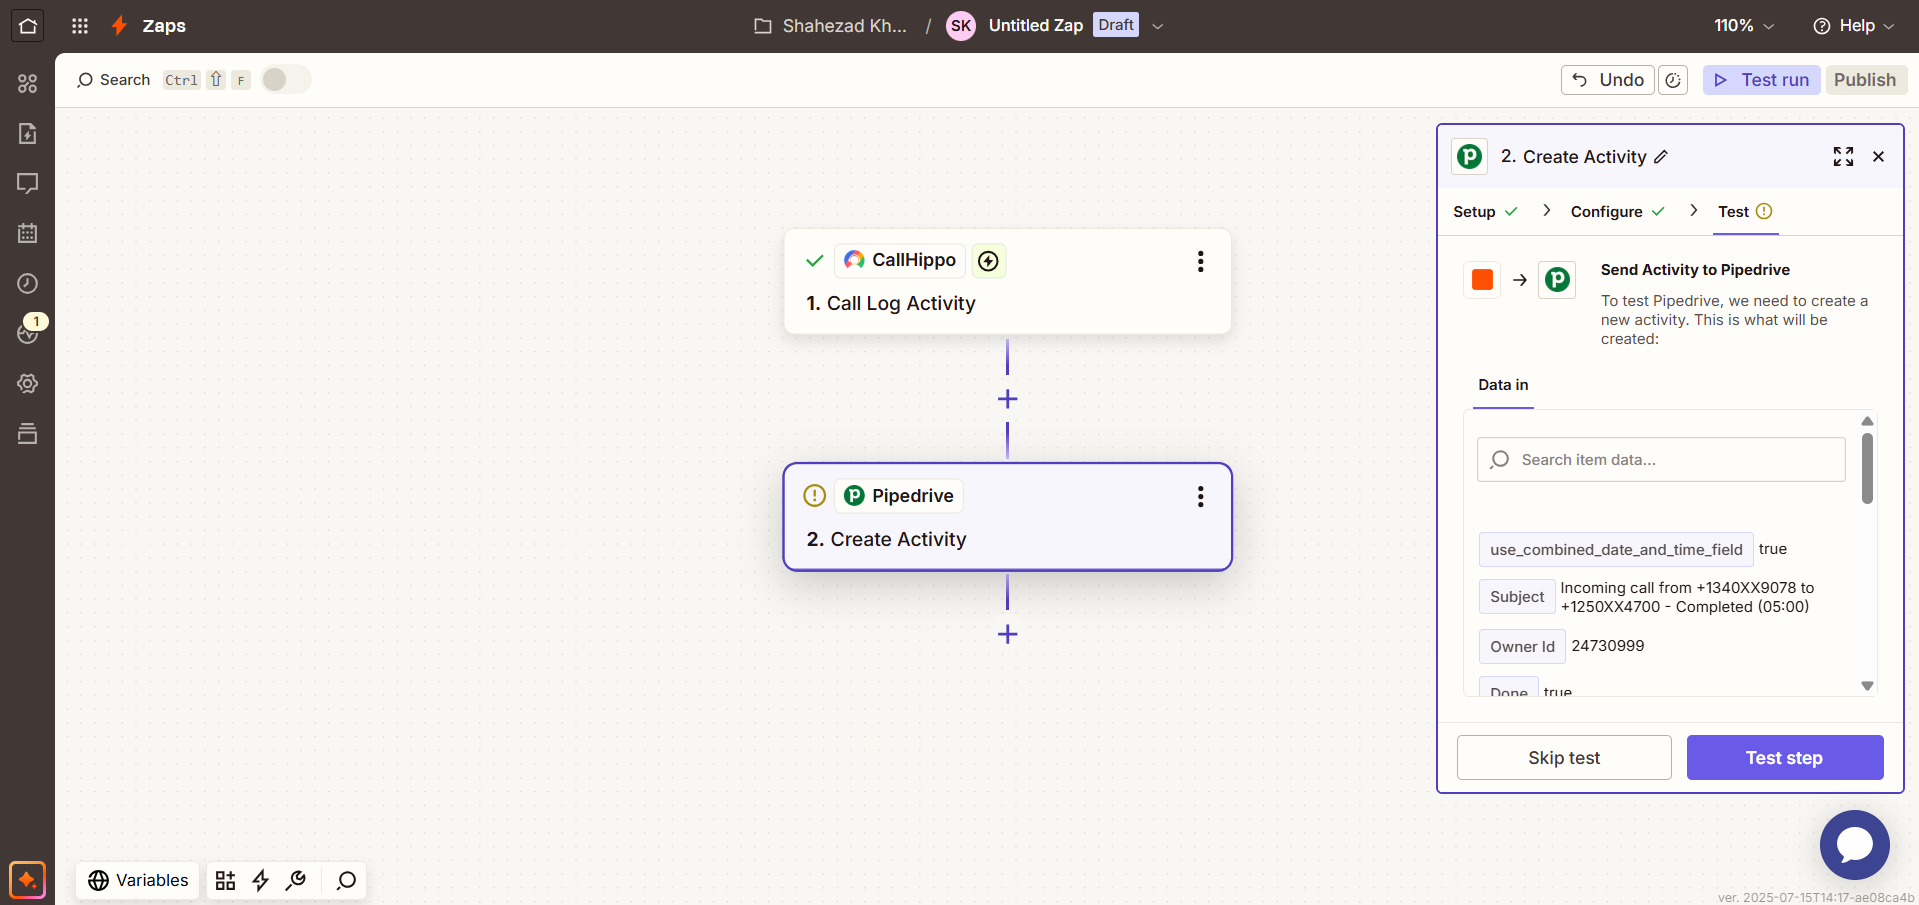
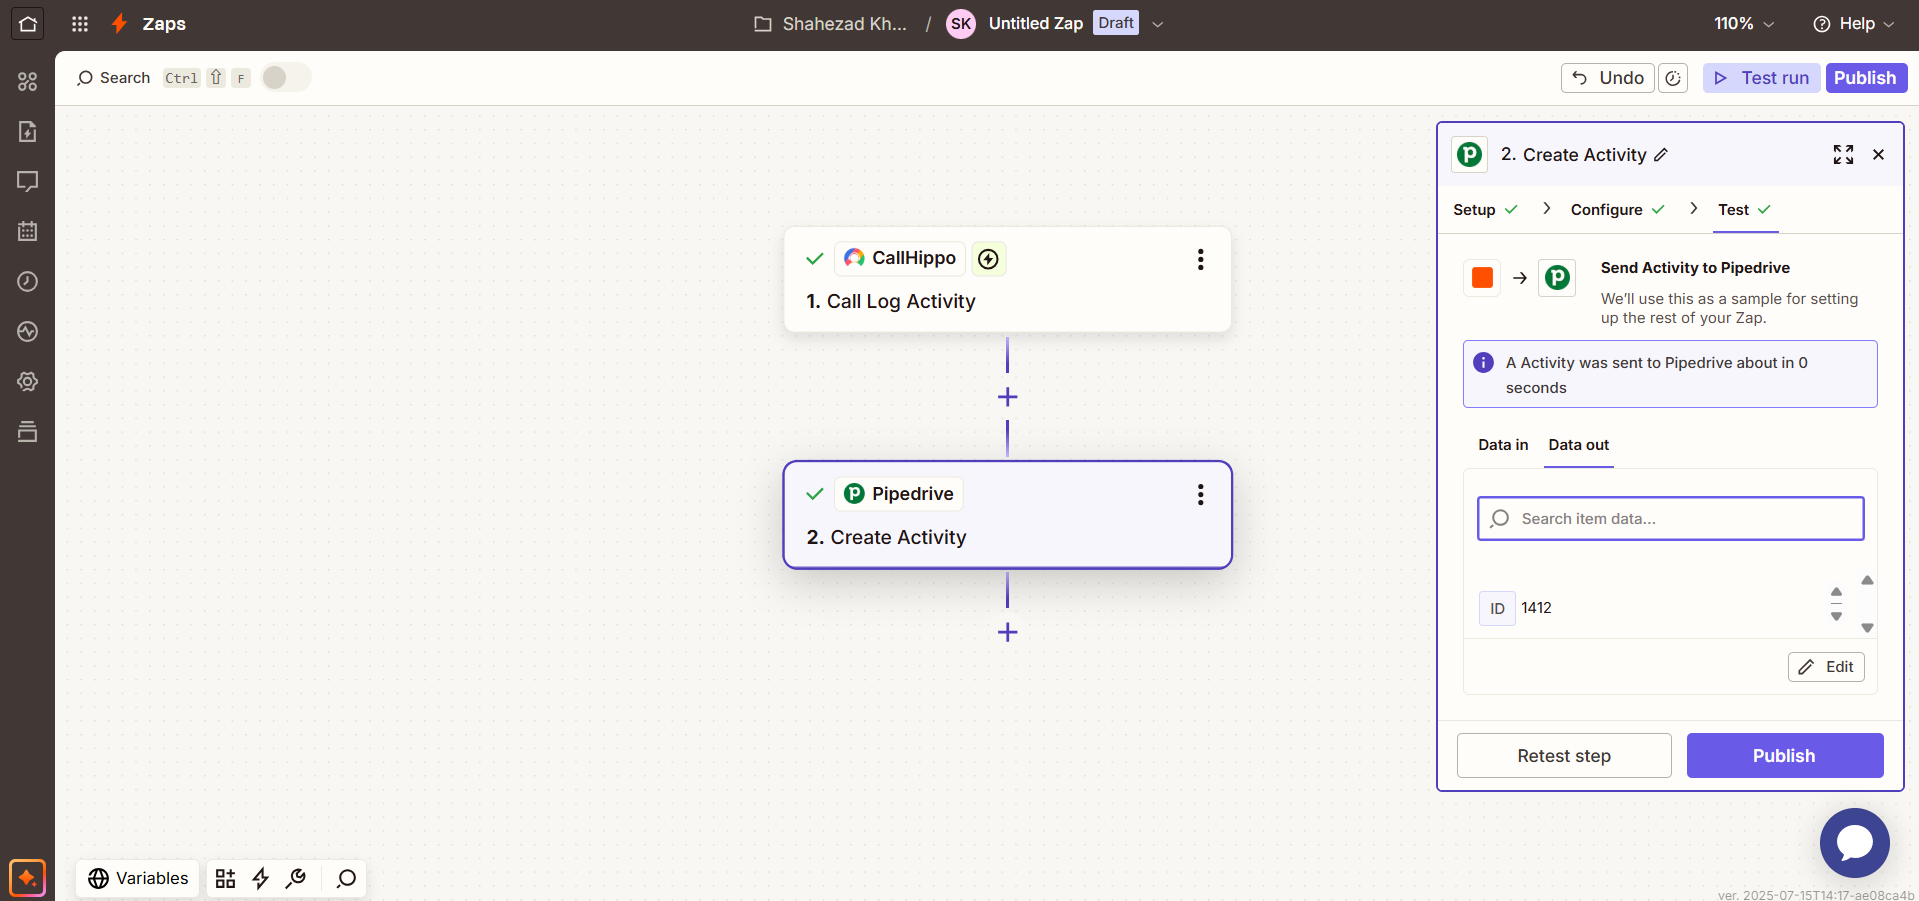
- Click Test step to send a sample activity to Pipedrive.
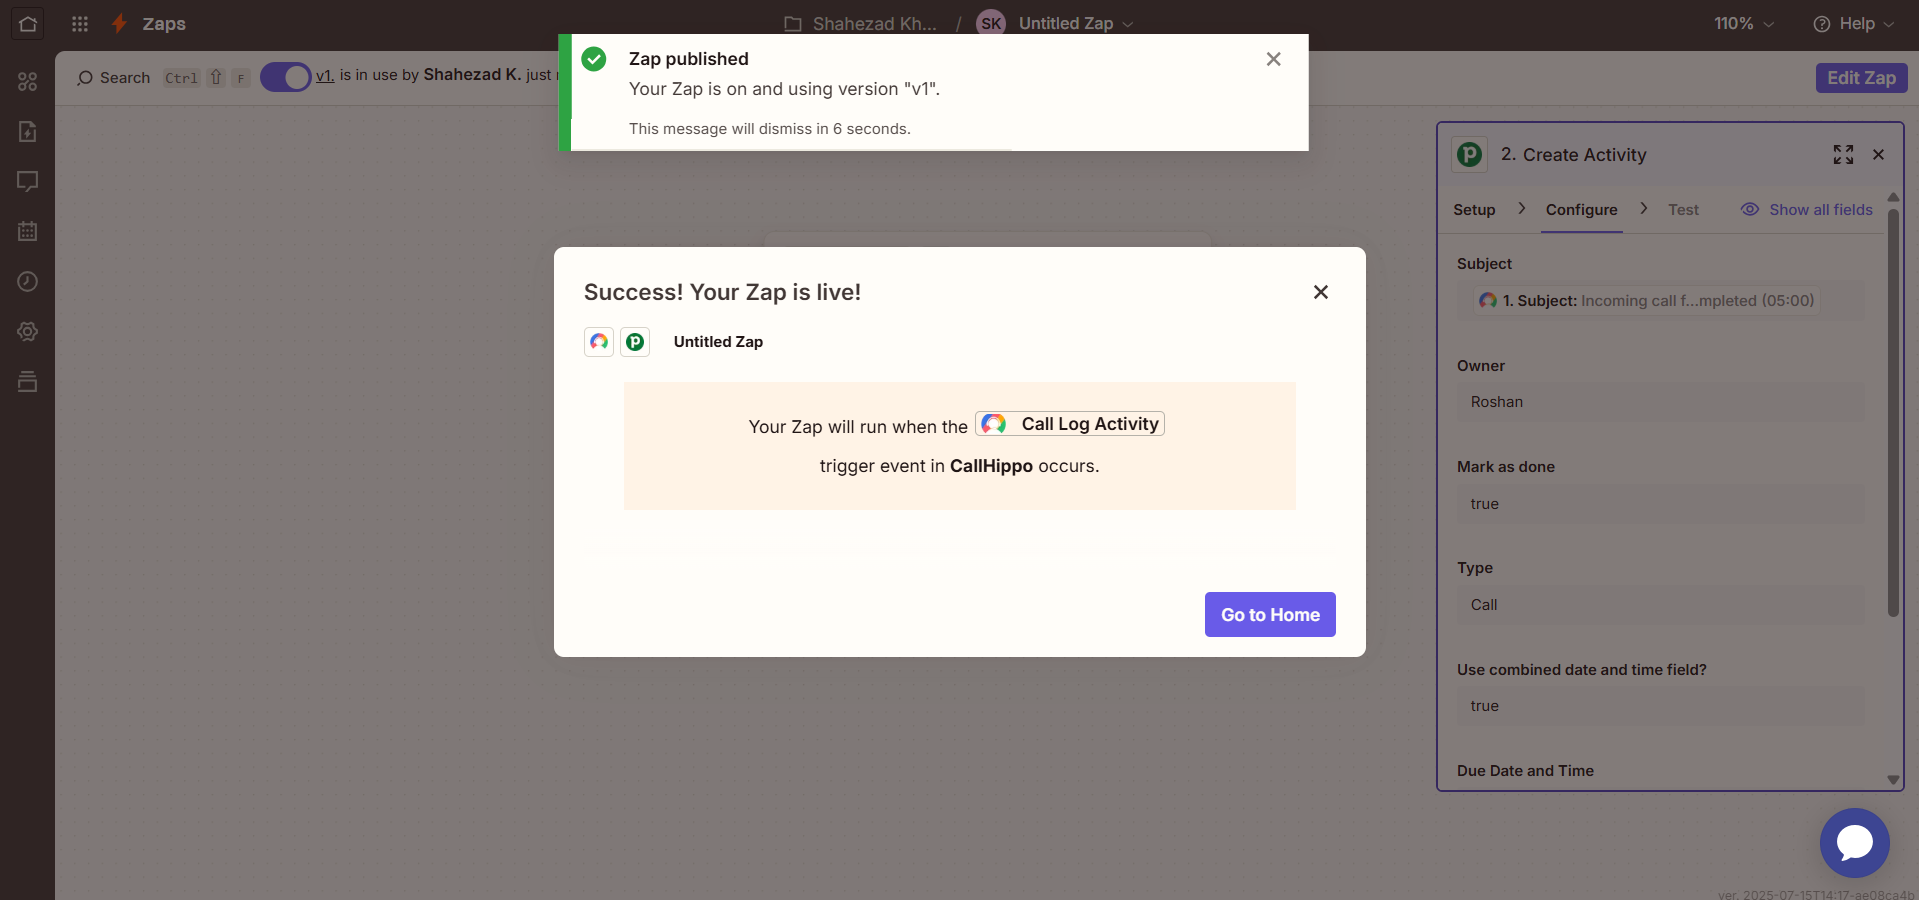
- Click Publish to turn on the Zap.
- Your Zap is now live. The chosen action will run in your app whenever the specified trigger occurs in CallHippo.
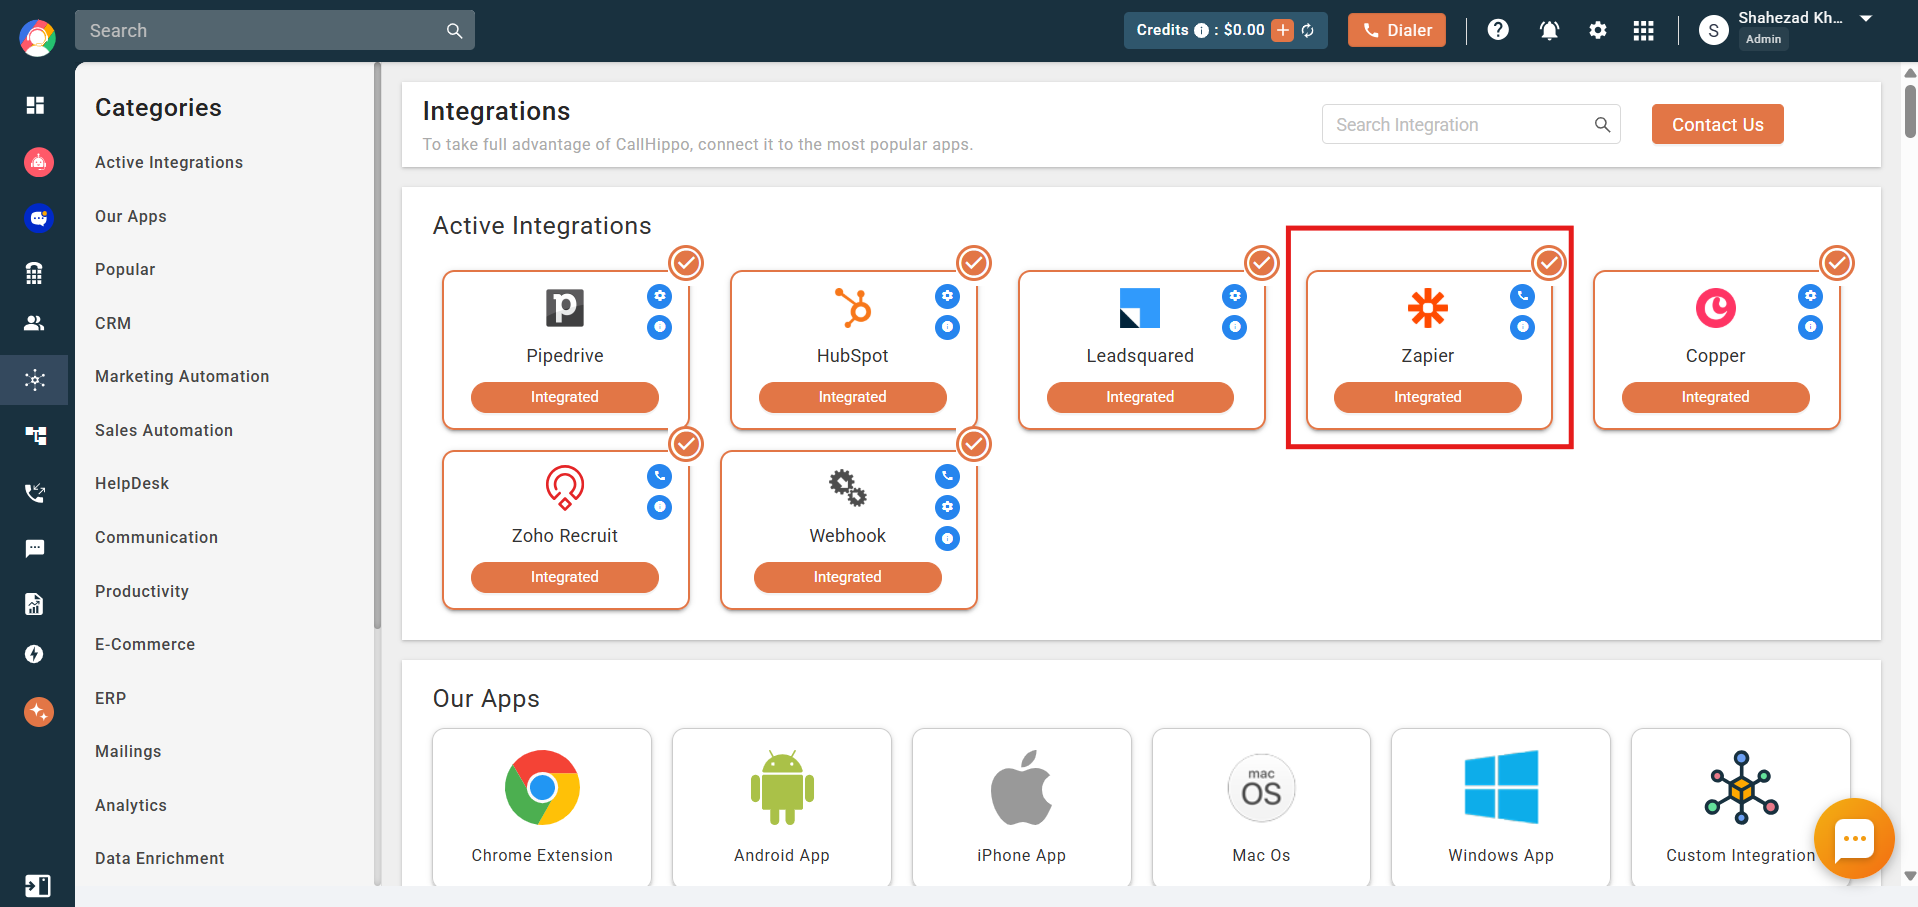
Back in the CallHippo web app, the Zapier integration status will now show as Integrated.
You can also build additional Zaps—for example, to create, update, or delete contacts, and add, update, or delete deals.
Frequently Asked Questions
Do I need a specific account type to connect Zapier?
Yes. An owner account is required to connect CallHippo with Zapier.
Why am I seeing dummy data while setting up a Call Log Activity Zap?
That’s expected. When adding a Call Log Activity Zap, CallHippo may return placeholder data purely for field-mapping purposes. Once you activate the Zap and make a real call, live data will flow into your integration.
How many apps can I connect through Zapier?
CallHippo can be paired with over 8,000 apps available in the Zapier directory, so you can automate almost any workflow.