
Connecting Zoho Desk with CallHippo turns your calls and texts into helpdesk tickets automatically, keeps your contacts in sync, and lets your agents dial customers straight from Zoho Desk. Follow the steps below to set it up.
Before you begin
- You need admin rights on both your CallHippo and Zoho Desk accounts.
- Have your Zoho Desk domain (for example, Zoho.com, Zoho.in, or Zoho.eu) handy.
Connect Zoho Desk to CallHippo
- Log in to your CallHippo account.
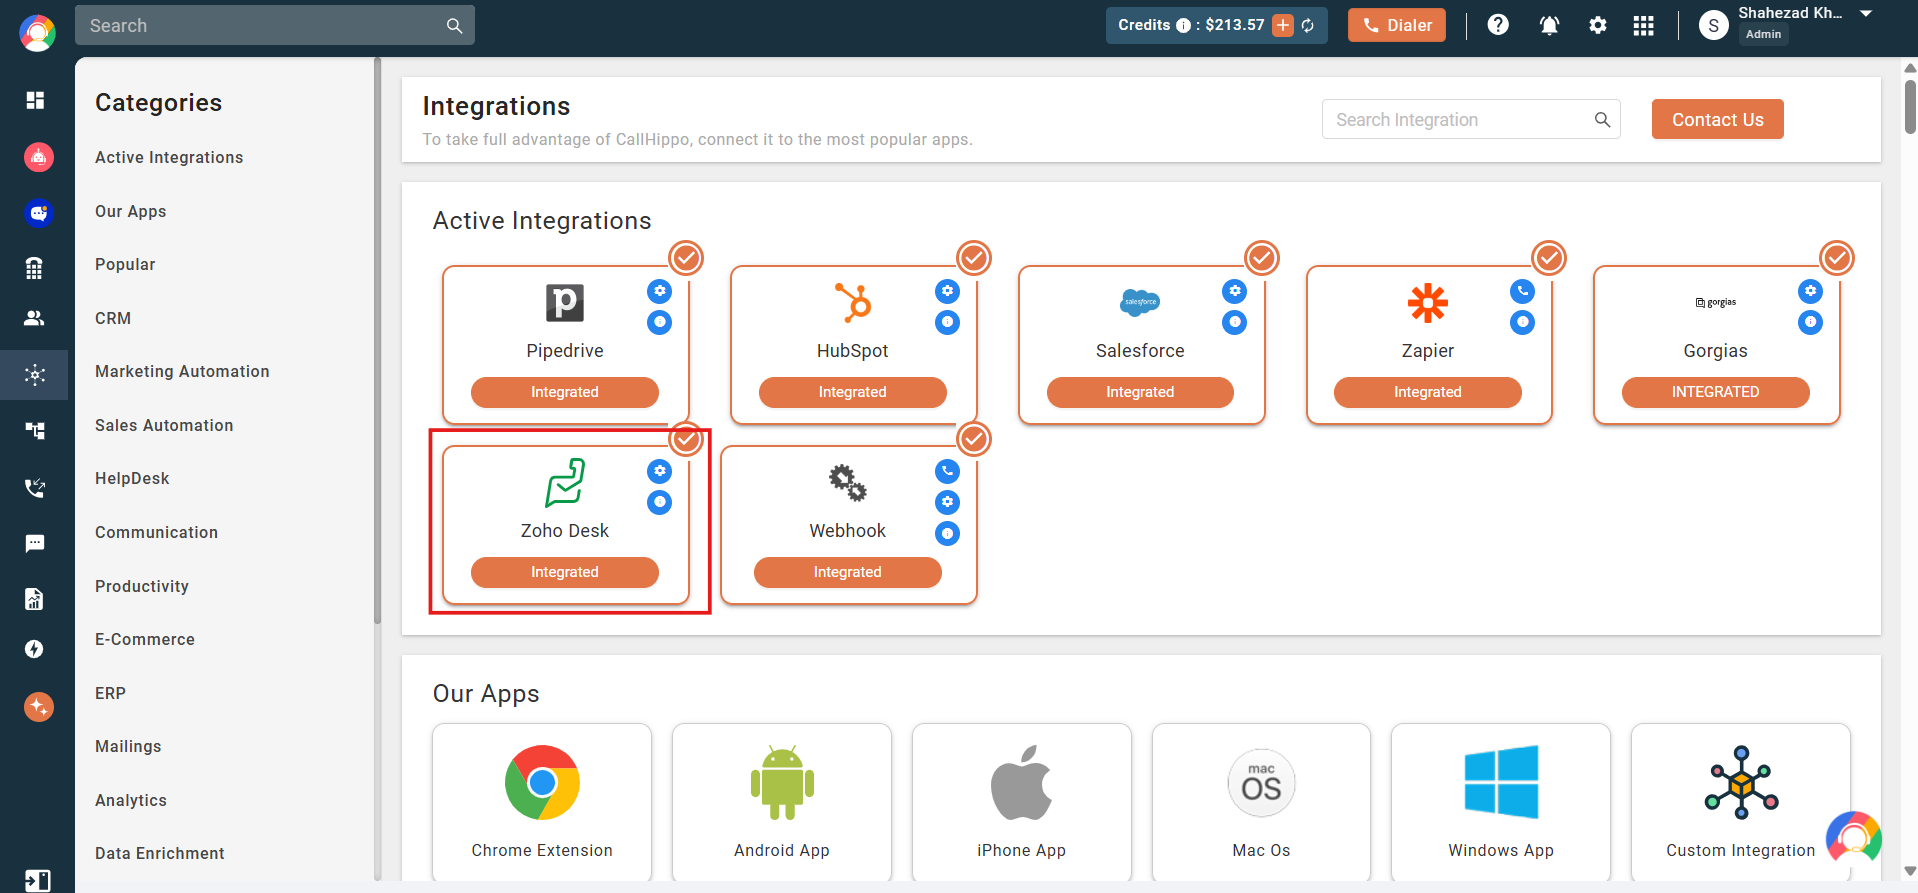
- Open the left sidebar menu and click Integrations.
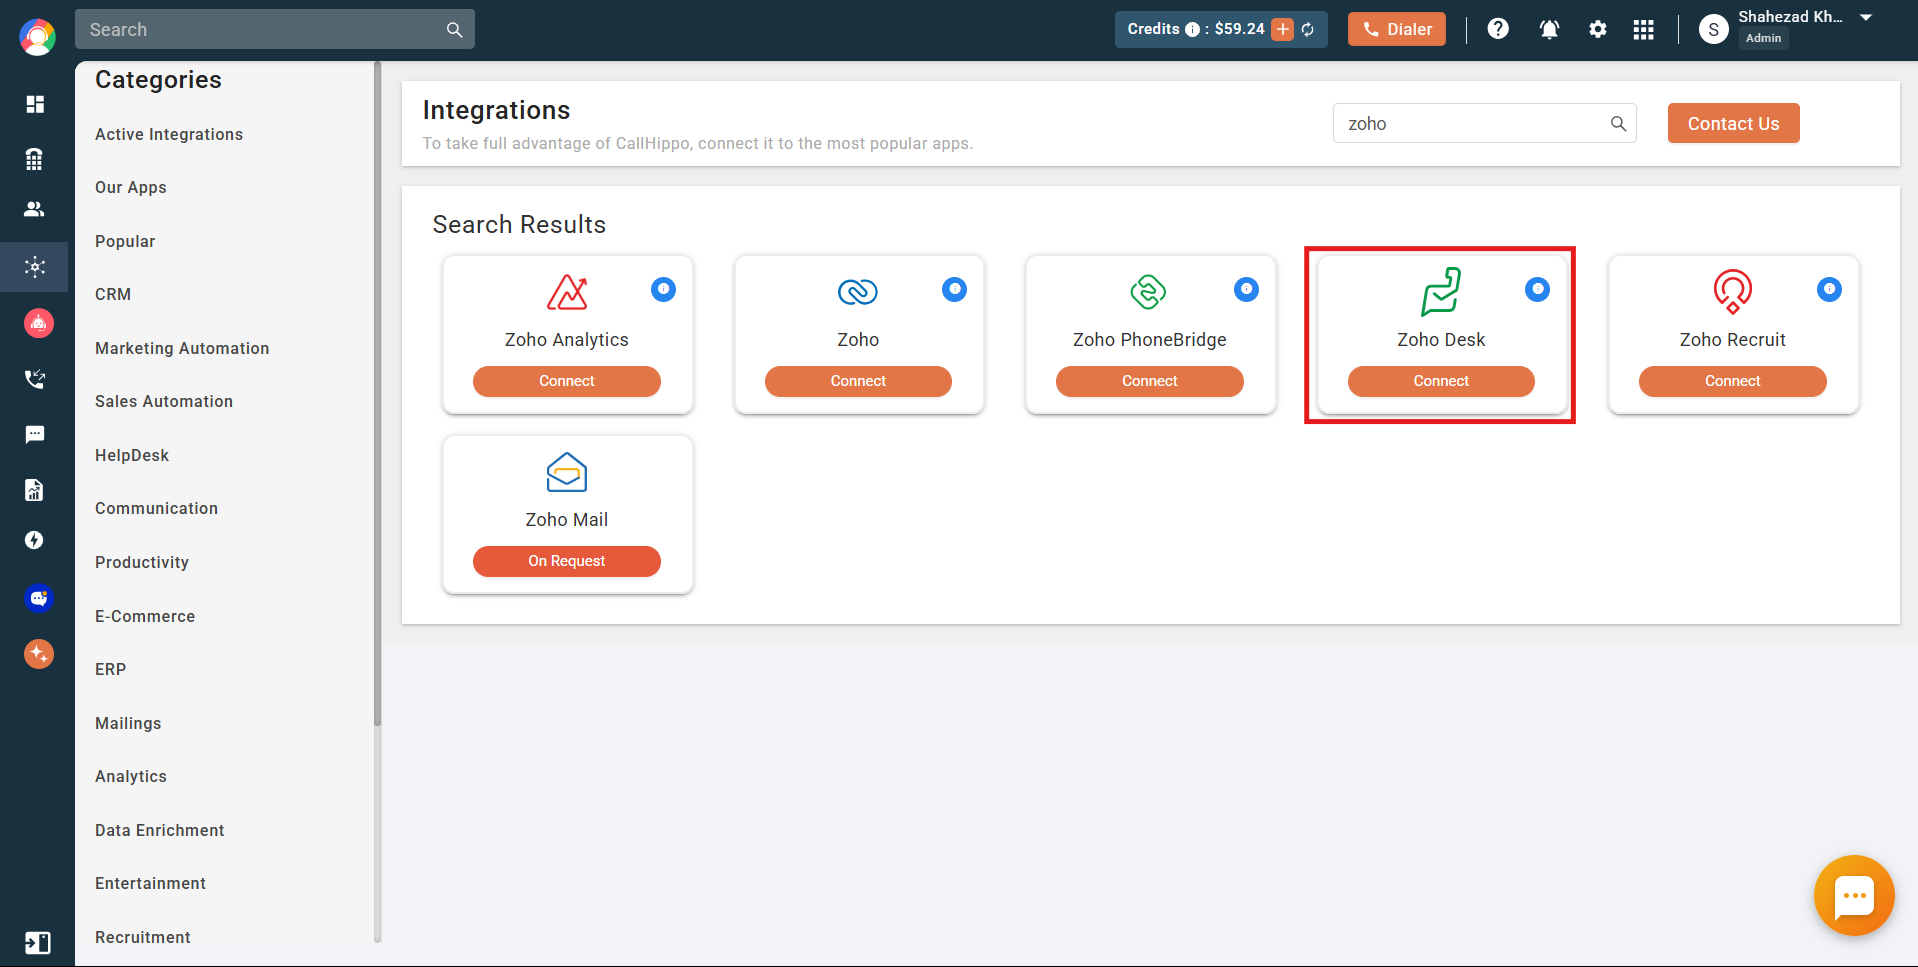
- Find Zoho Desk in the list (or search for it) and click Connect.
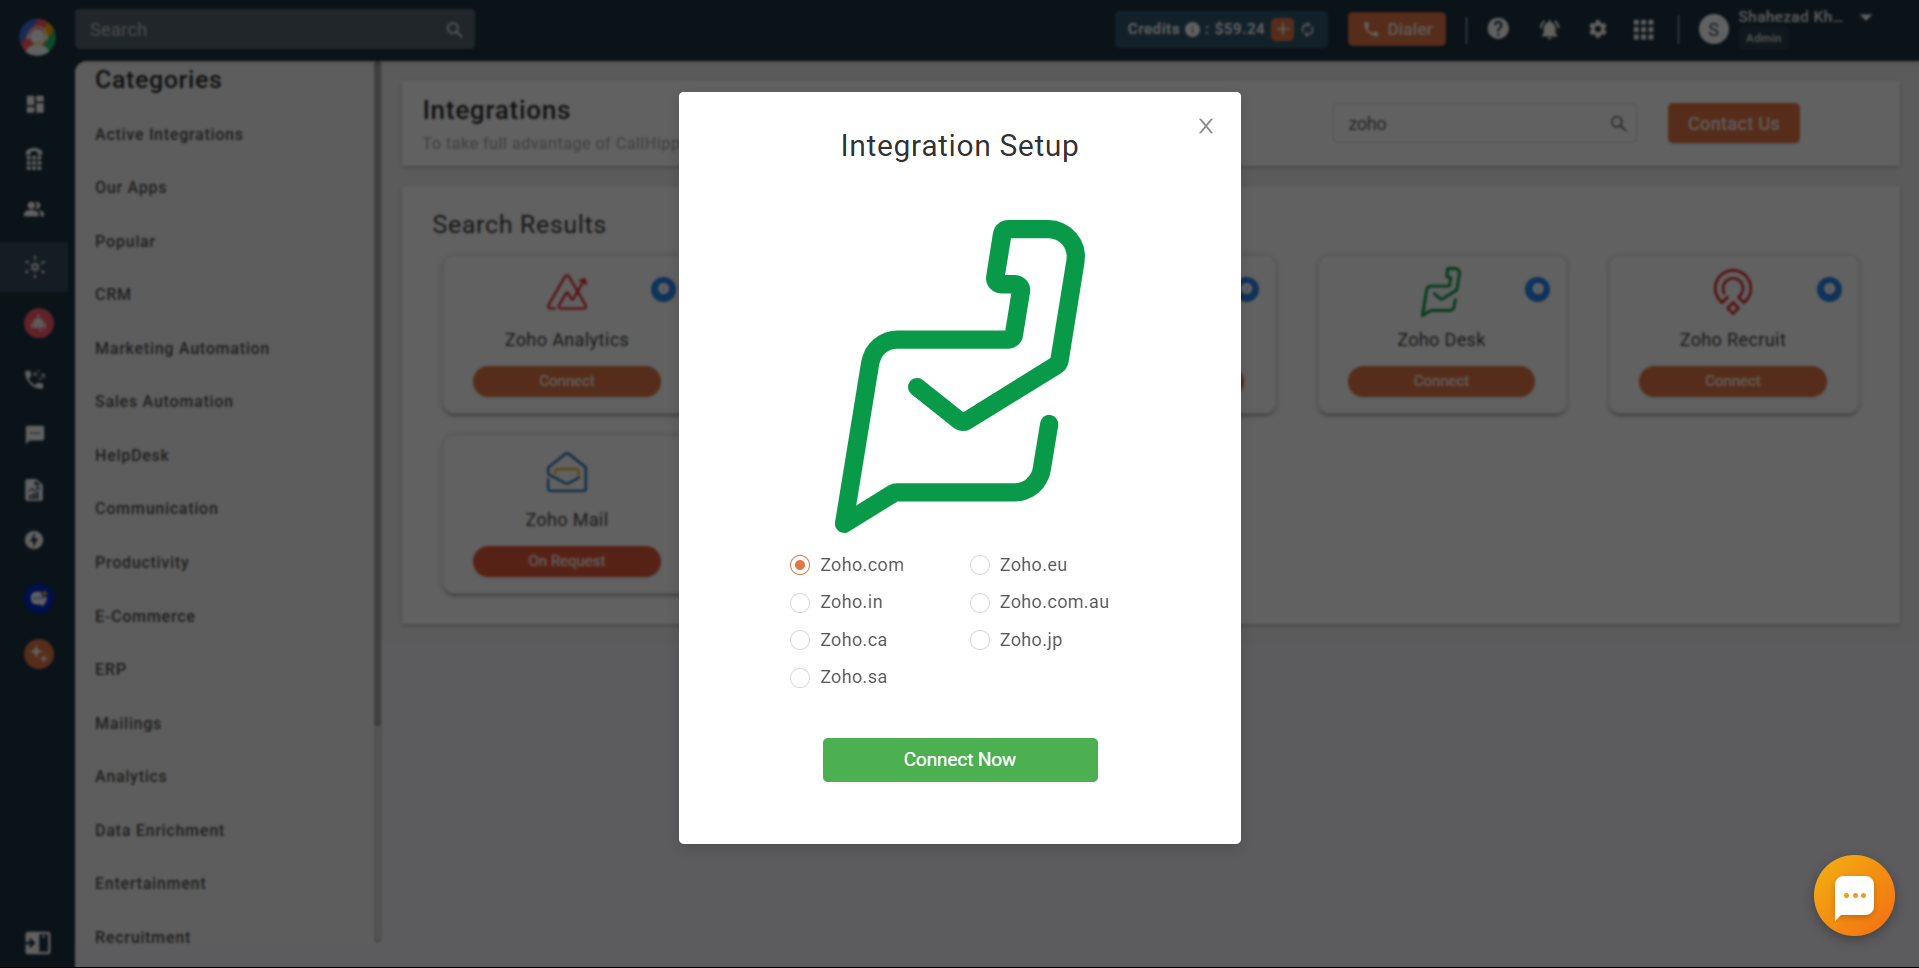
- In the Integration Setup dialog, select your Zoho Desk domain and click Connect Now.
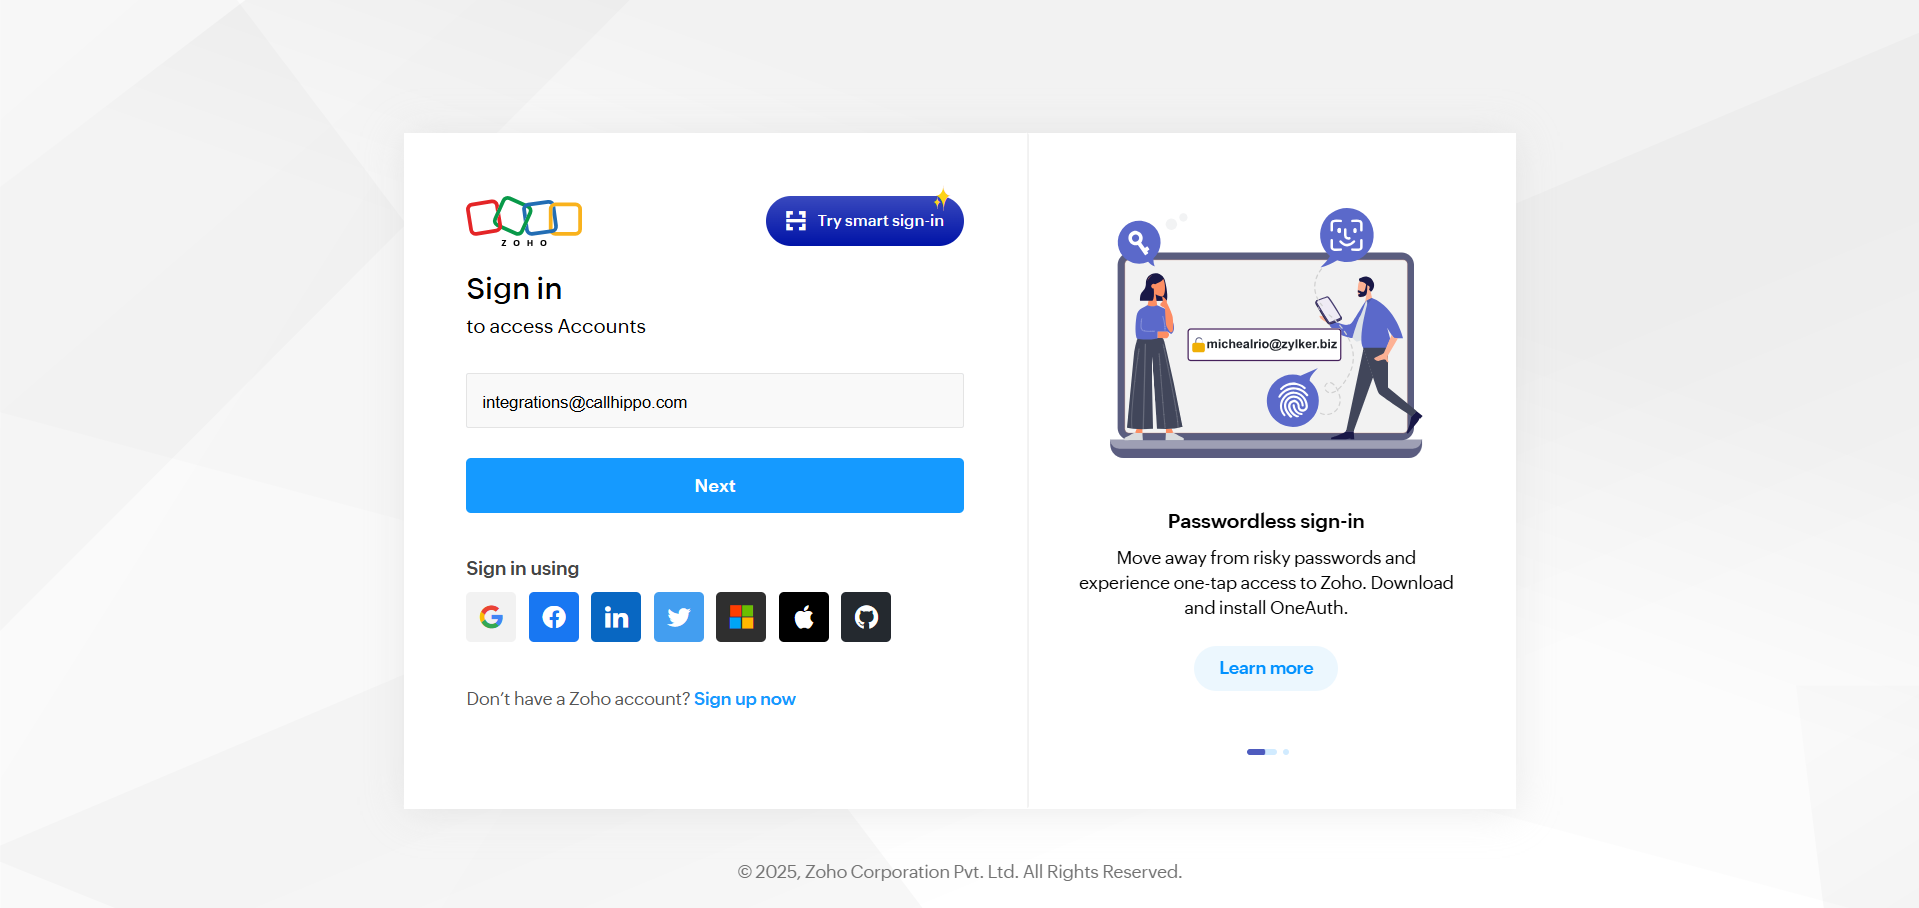
- If you are not already signed in to Zoho, enter your Zoho Desk credentials and click Sign In.
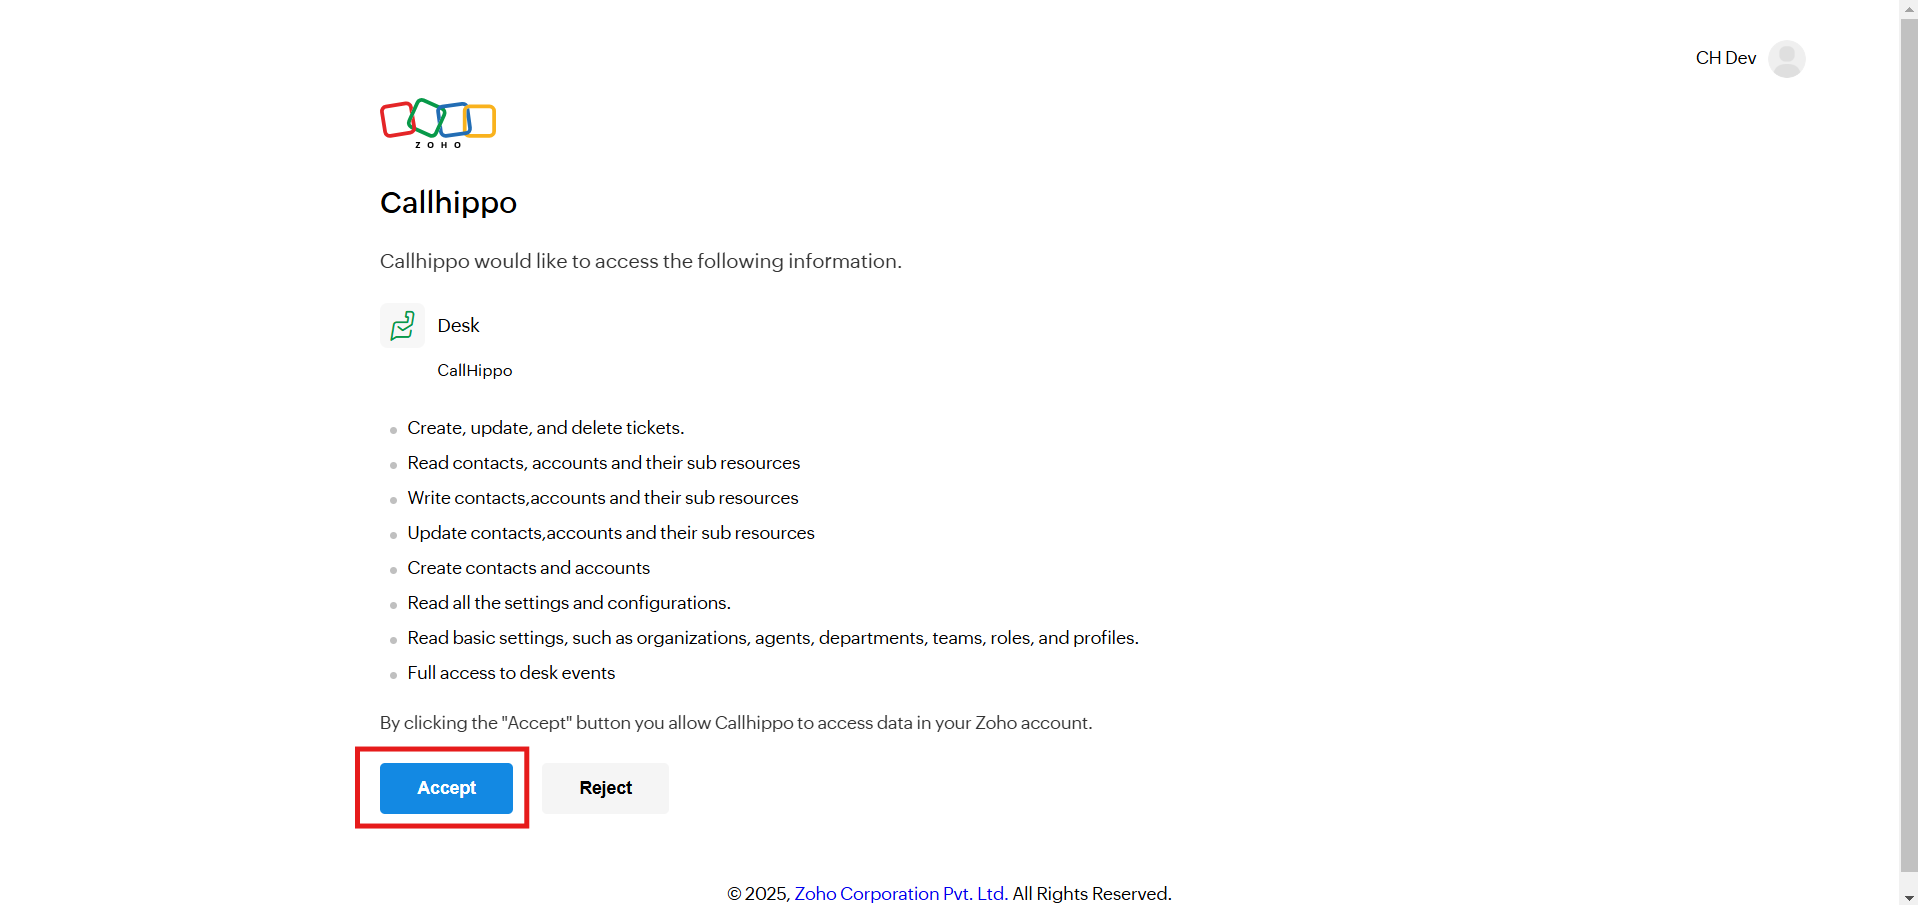
- When Zoho asks you to grant CallHippo access to your account, click Accept.
- You are redirected back to CallHippo. Zoho Desk is now connected and its status shows Integrated.
Configure integration settings
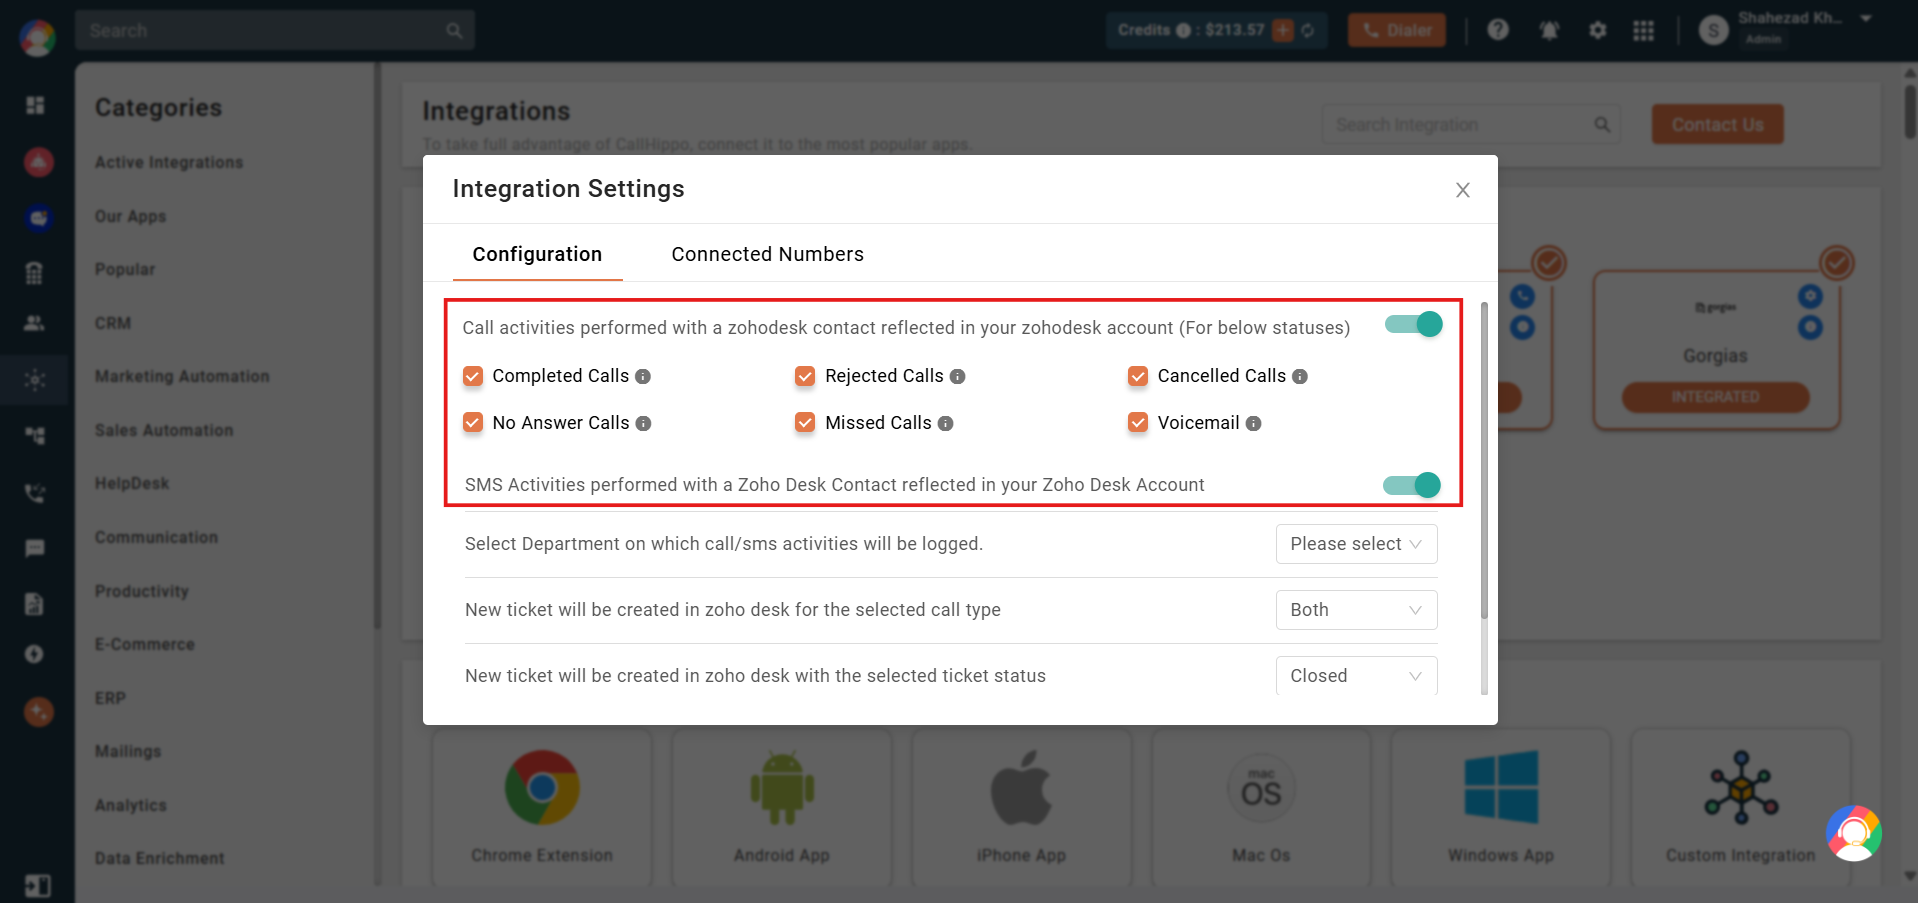
After connecting, the Integration Settings popup opens so you can control how CallHippo works with Zoho Desk.
- Call activities reflected in Zoho Desk — turn this on to log call activity (Completed, Rejected, Cancelled, No Answer, Missed, and Voicemail) on the matching Zoho Desk contact’s tickets.
- SMS activities reflected in Zoho Desk — turn this on to log SMS activity on the matching contact’s tickets.
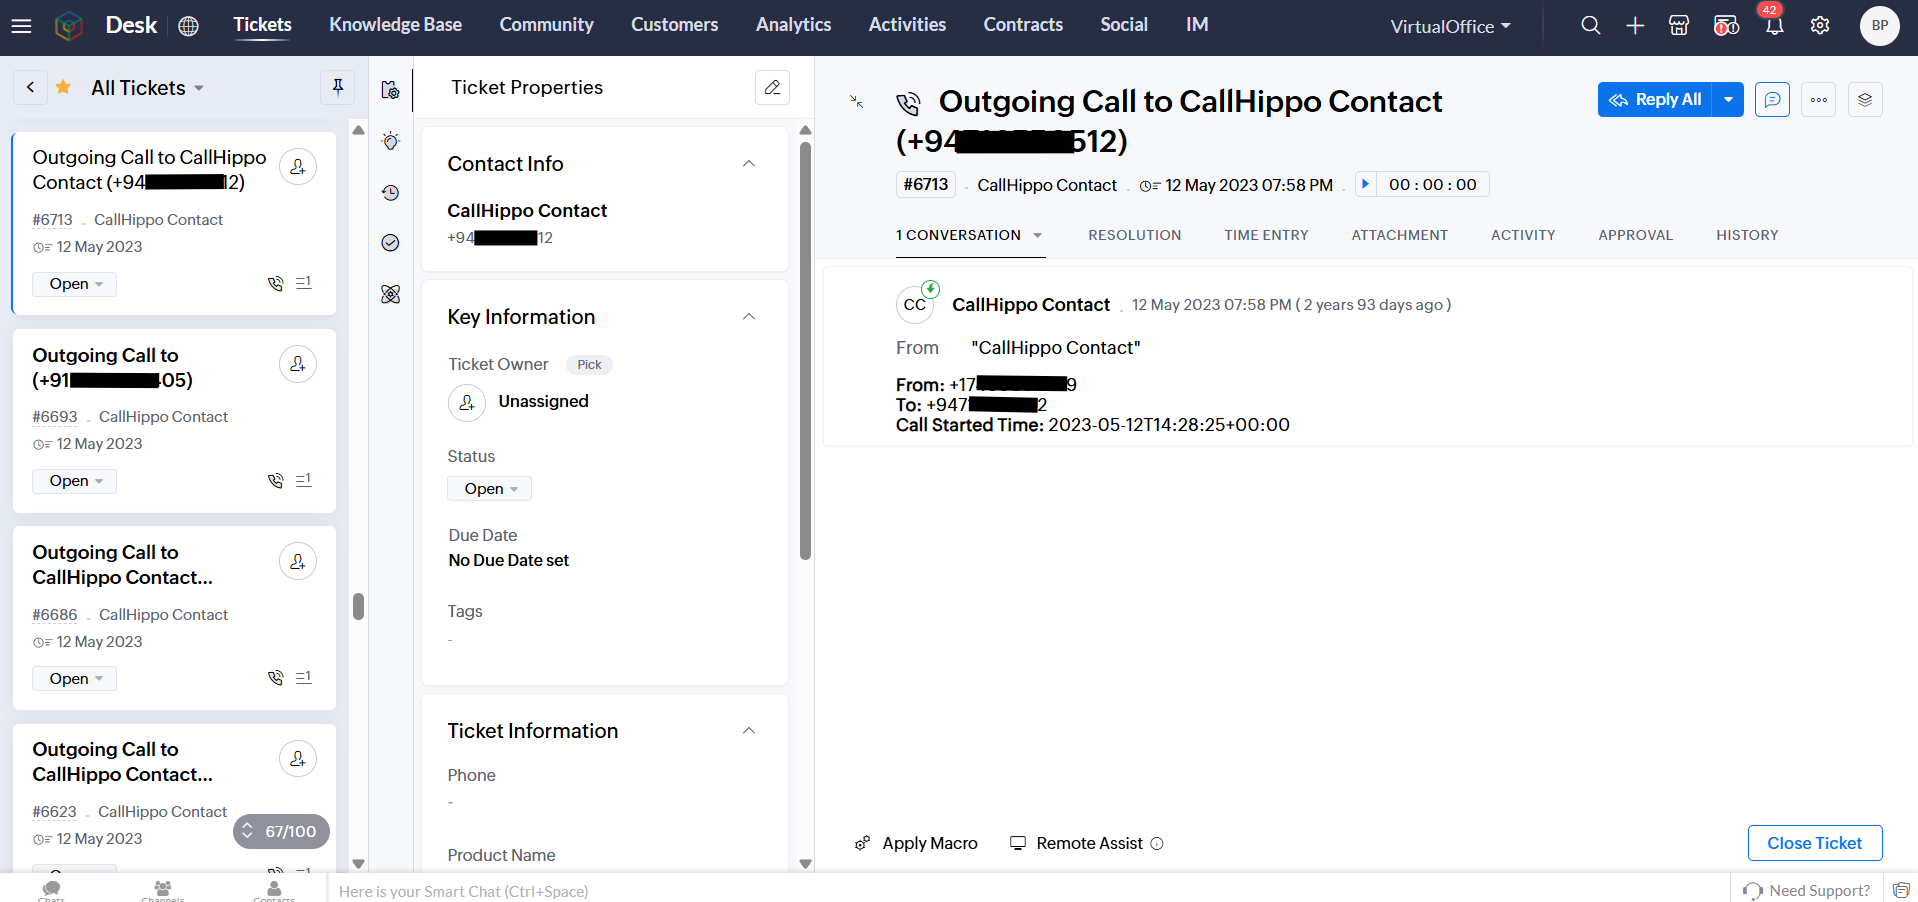
Once enabled, each call creates or updates a ticket in Zoho Desk with the call details.
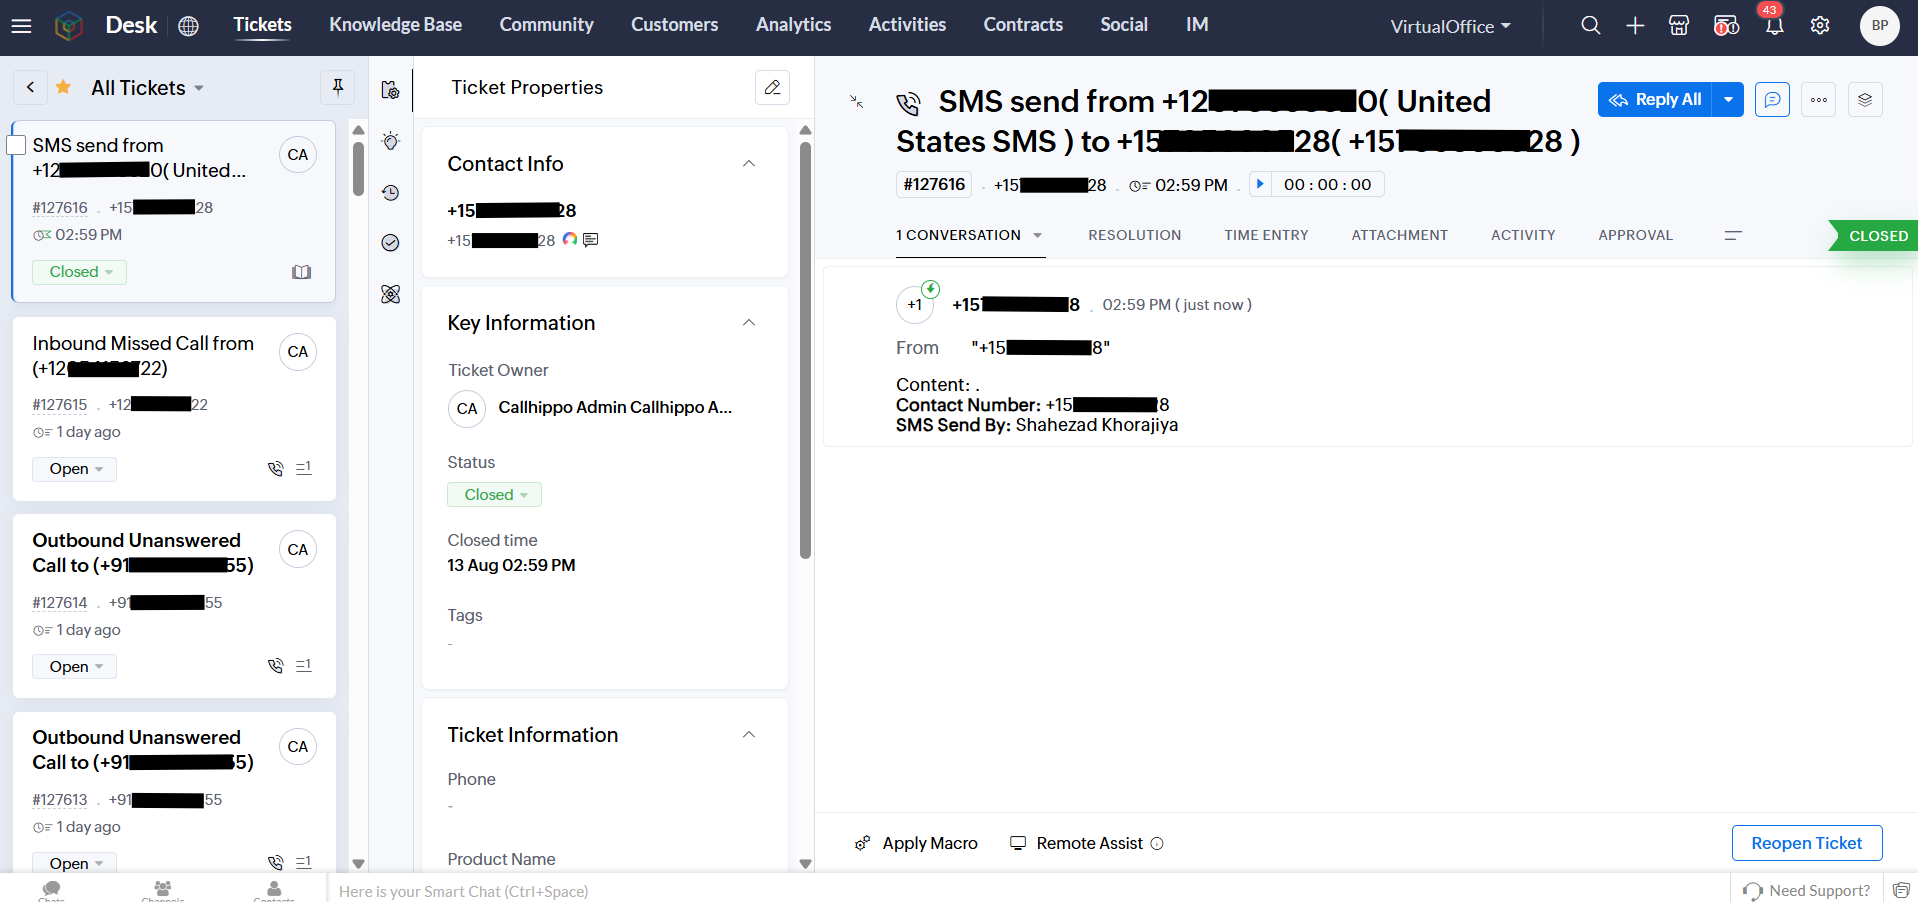
SMS messages are logged the same way on the contact’s tickets.
Use the remaining options to fine-tune ticket creation:
- Select Department — choose the Zoho Desk department under which call and SMS tickets are created. The customer is also saved as a contact in CallHippo and kept in sync as you add, update, or delete them.
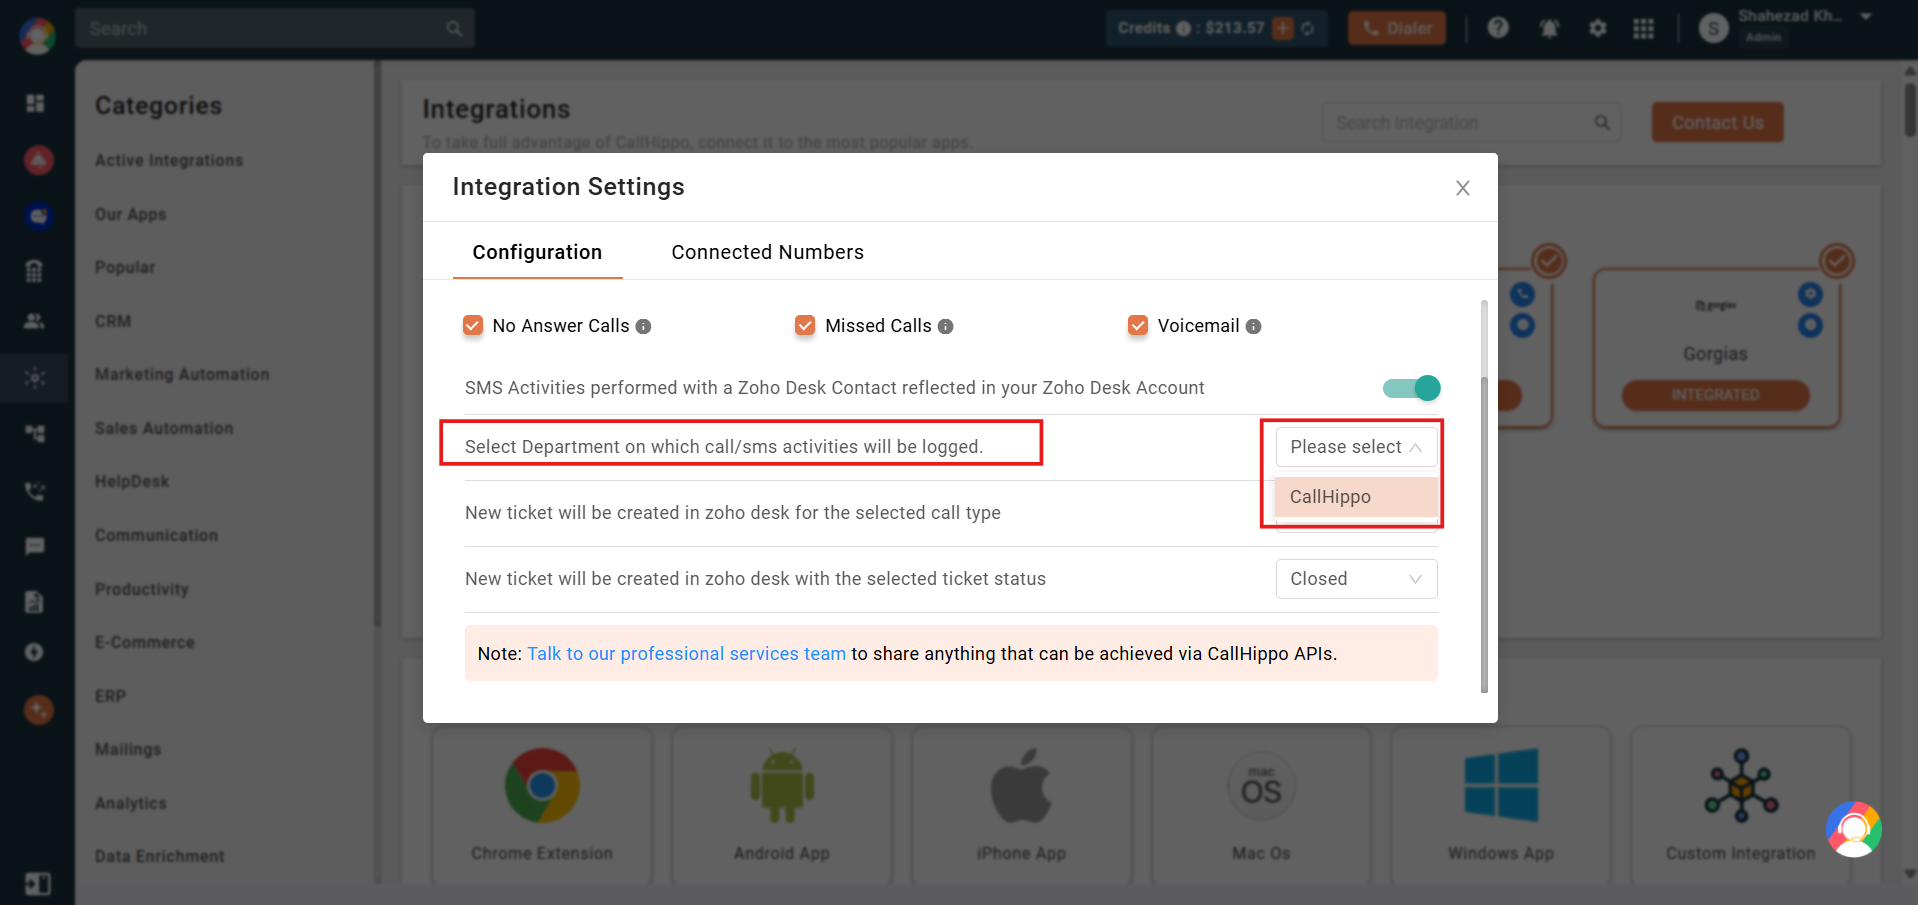
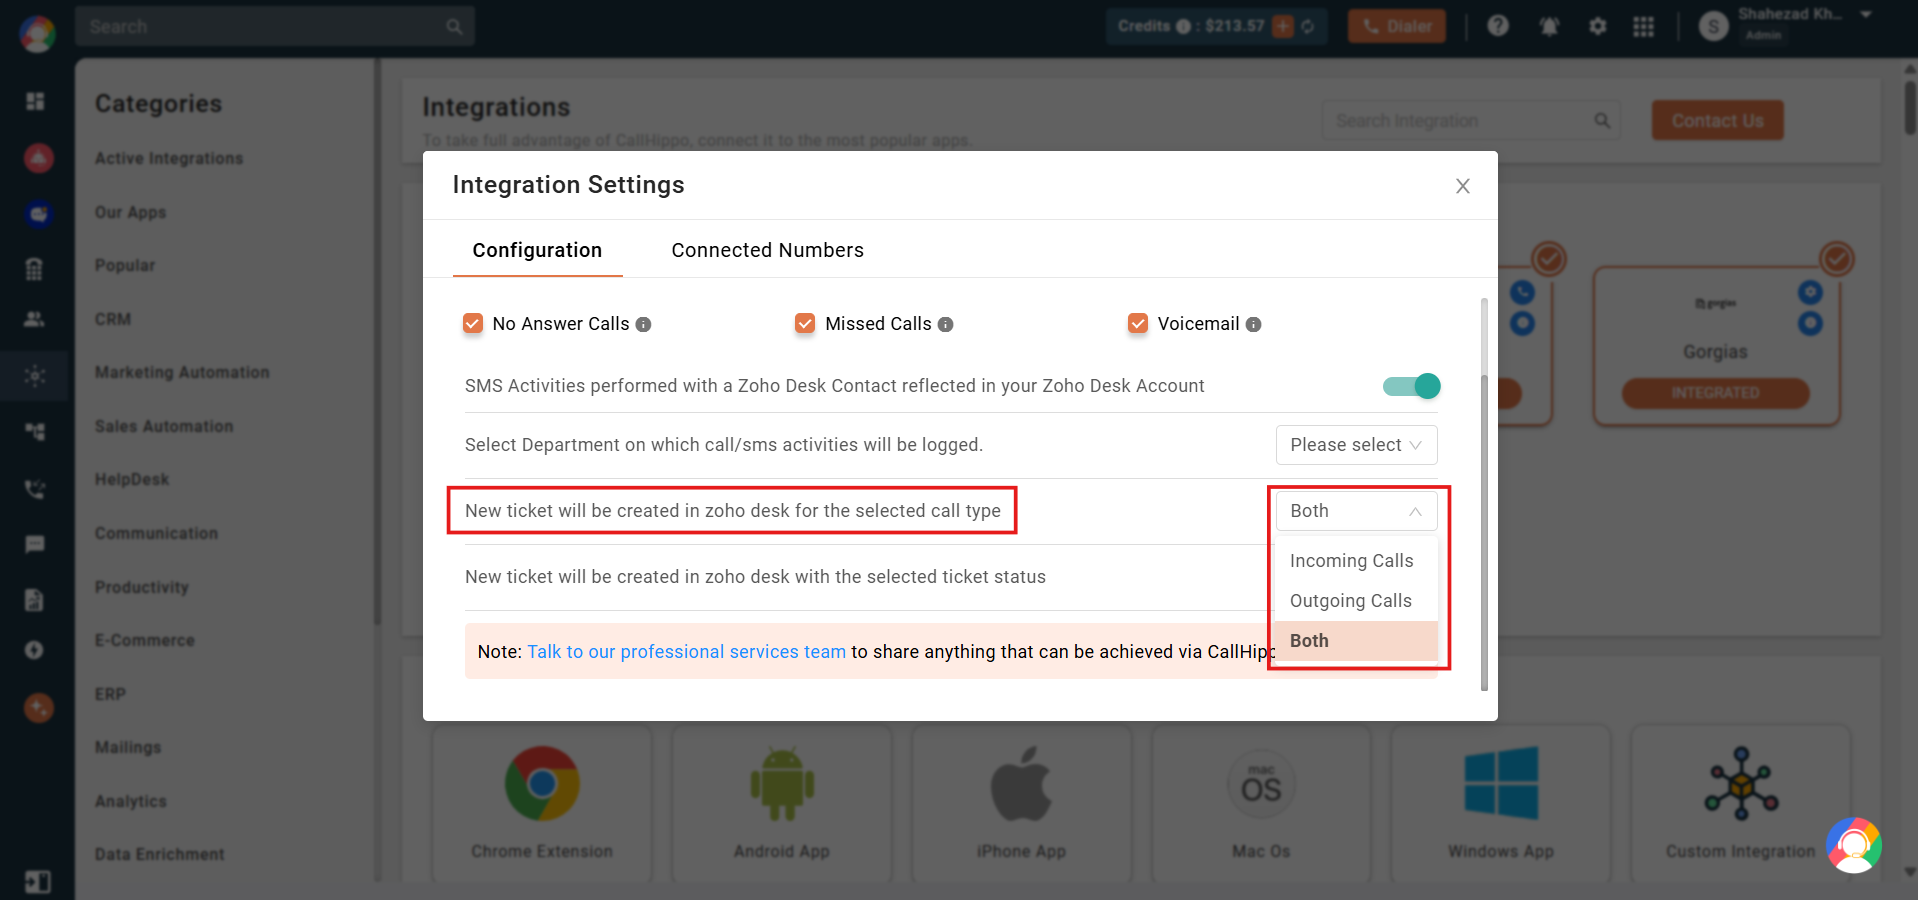
- Call type for new tickets — choose which calls create a ticket. The default is Both; pick Incoming Calls or Outgoing Calls to limit it.
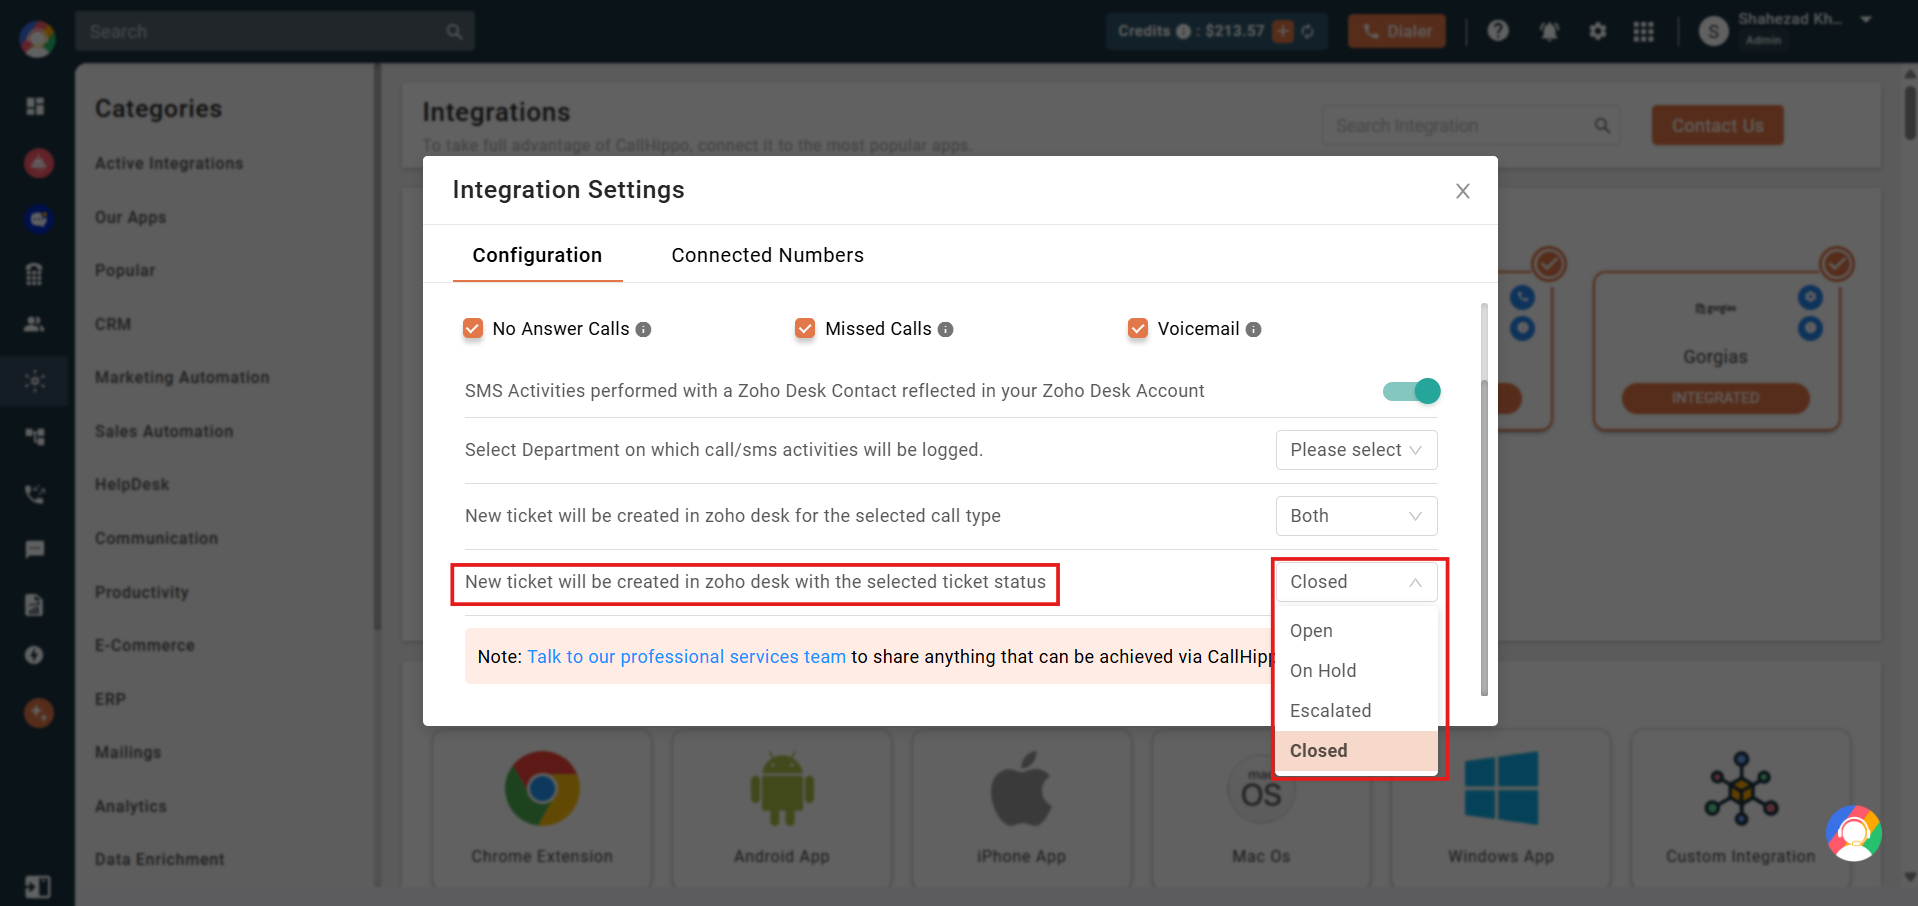
- Ticket status for new tickets — choose the status new tickets are created with. The default is Closed; you can also select Open, On Hold, or Escalated.
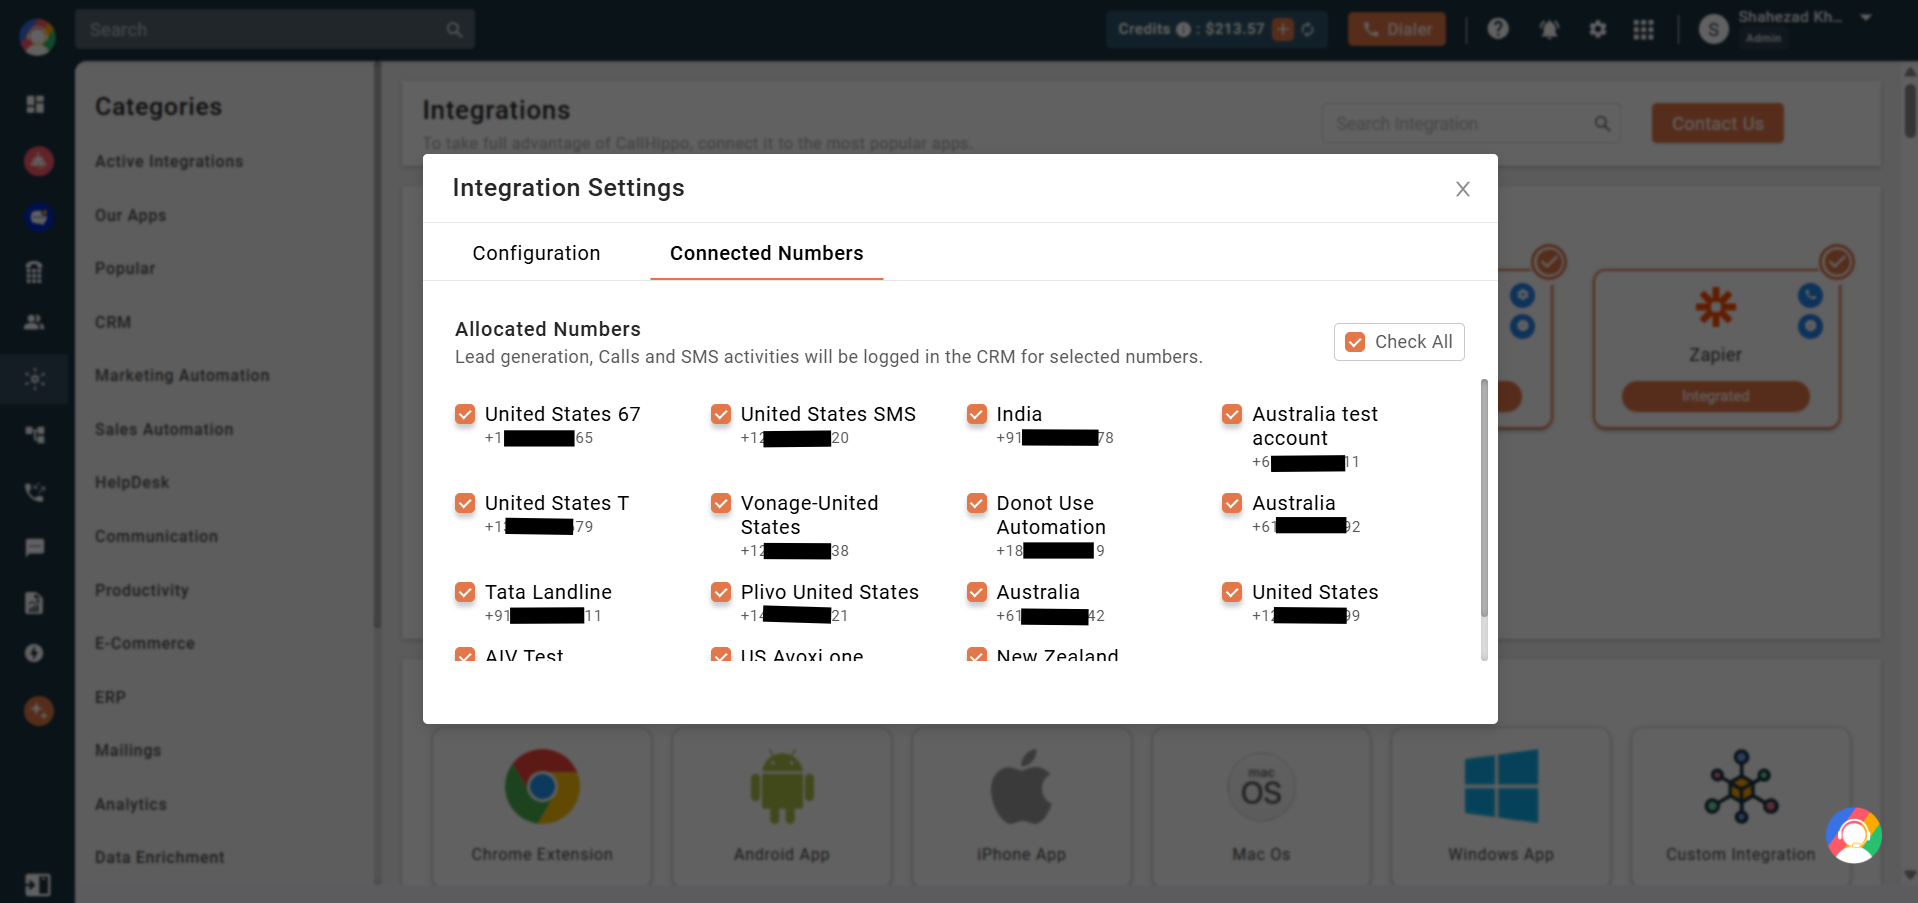
Connected numbers
Open the Connected Numbers tab to choose which of your CallHippo numbers should log call and SMS activity to Zoho Desk. Use Check All to select every allocated number, or pick them individually.
Enable Click to Call
- Install the CallHippo Click-to-Call Chrome extension from this link.
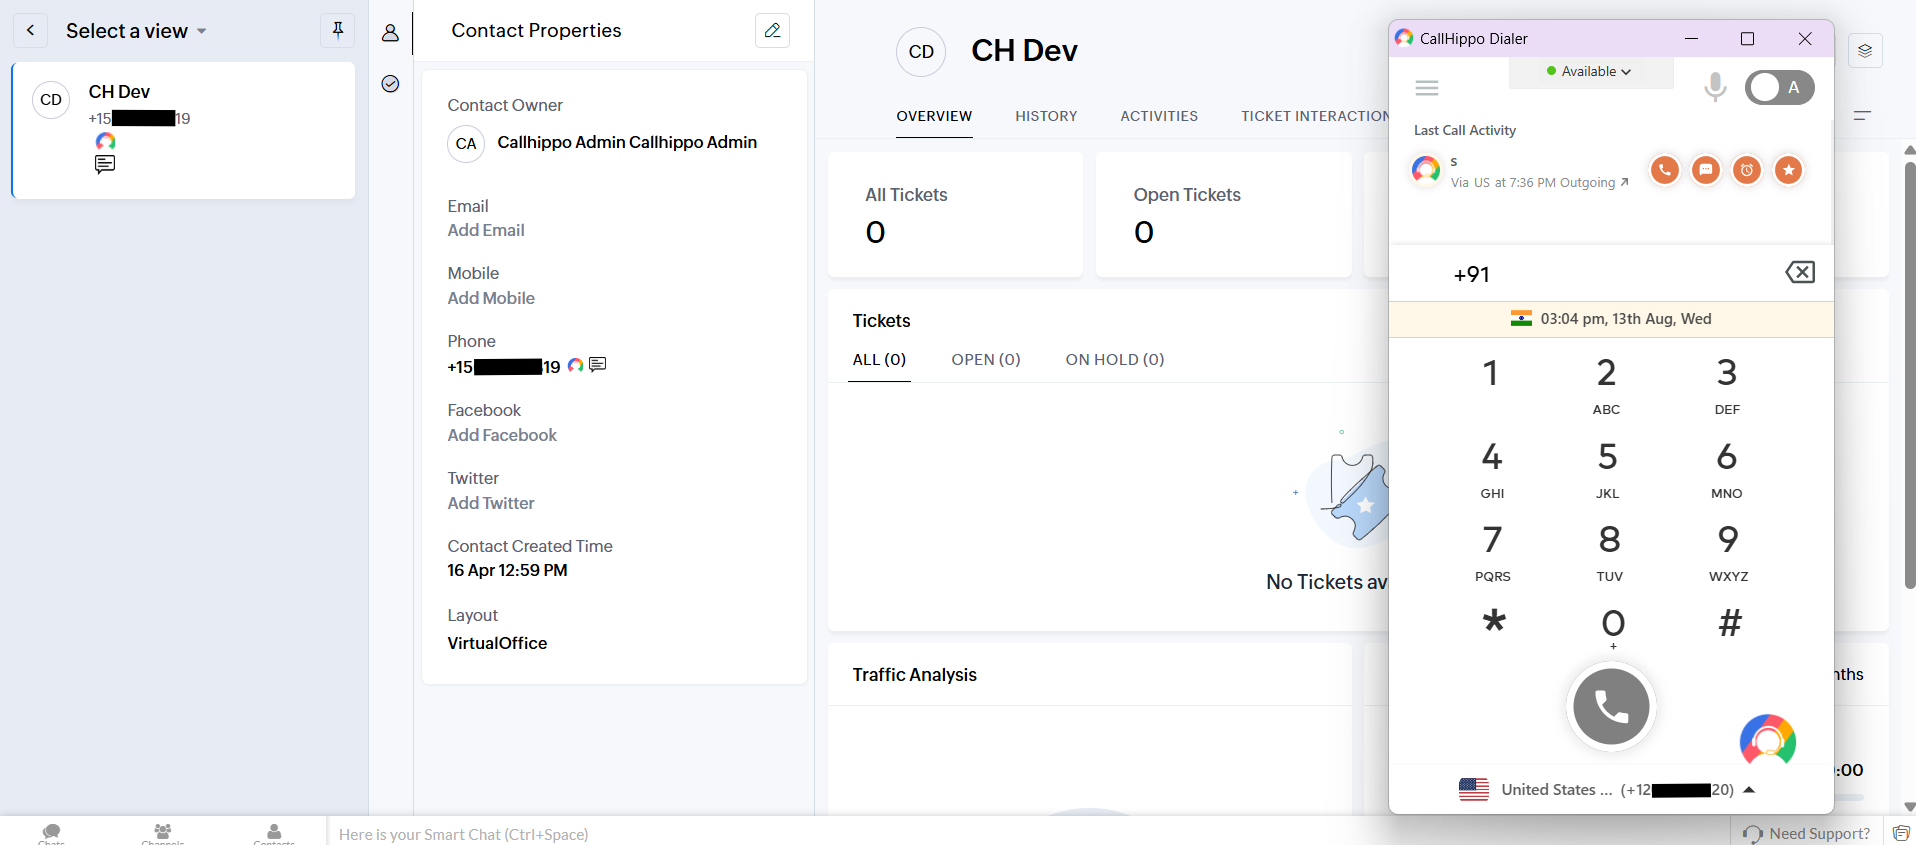
- Once installed, a CallHippo icon appears next to phone numbers in Zoho Desk. Click a number to place the call automatically through the CallHippo dialer.
Still need help? Reach us at [email protected].